You are currently browsing all posts tagged with 'diy'.
Displaying 21 - 30 of 37 entries.

bed for a 15cm princess- mattress

  • Posted on December 12, 2015 at 12:30 pm

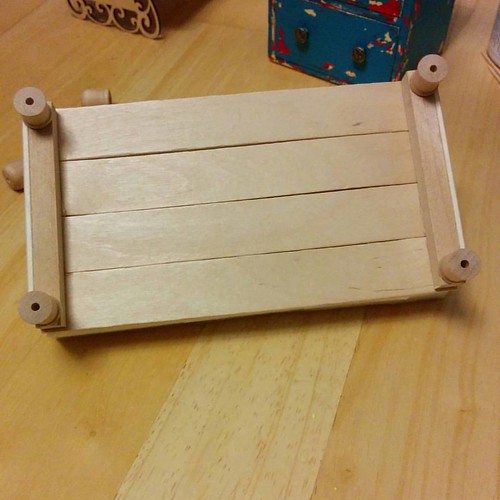
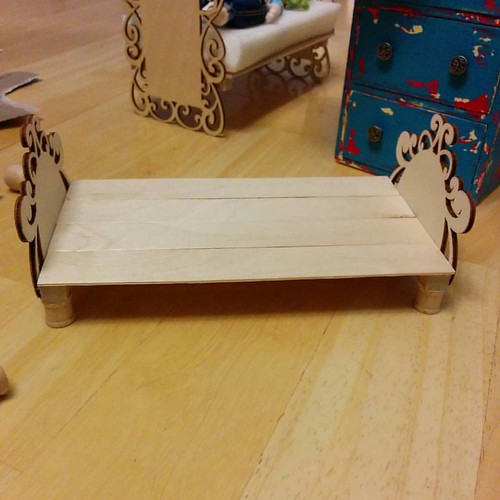
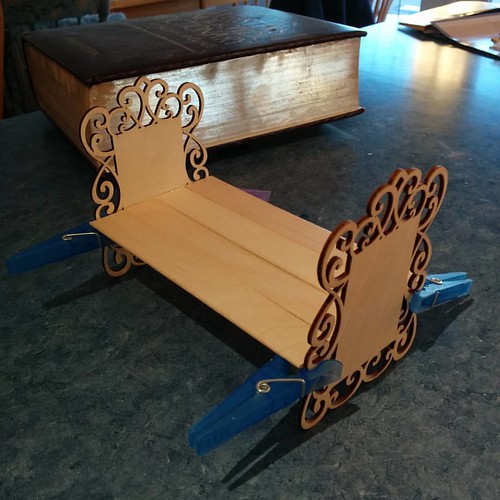
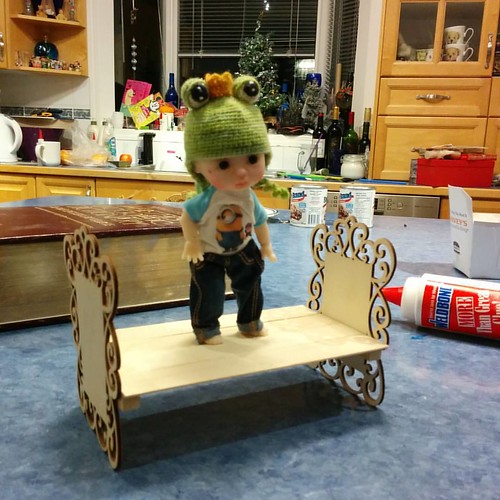
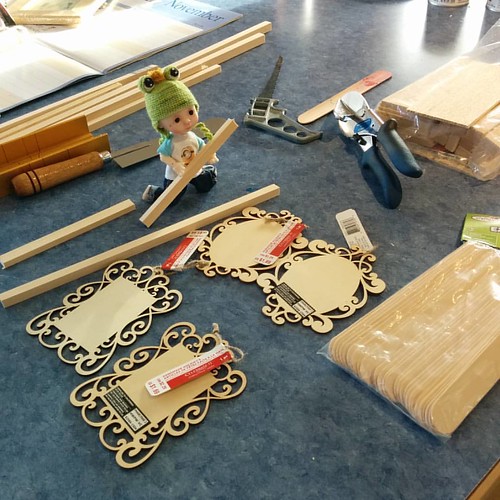
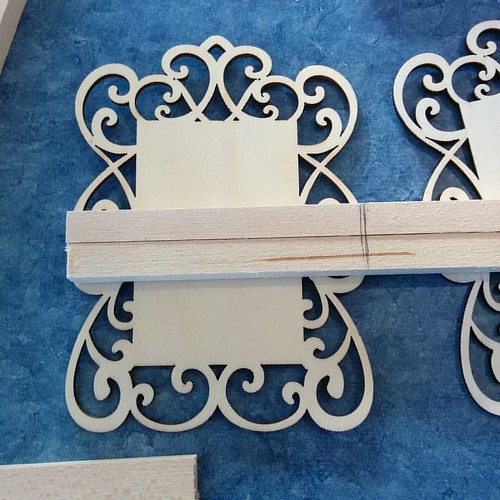
coming back to this one for a bit, while once again waiting for paint to dry on another project. (it is taking a very long time) this time i am working starting on the bedding. first the mattresses. to begin i cut out the filler. the rectangular bed got 1″ thick memory foam. that was too thick for the other two and hid too much of the head board so instead they got three layers each of warm and natural quilt batting.
Mattress filler

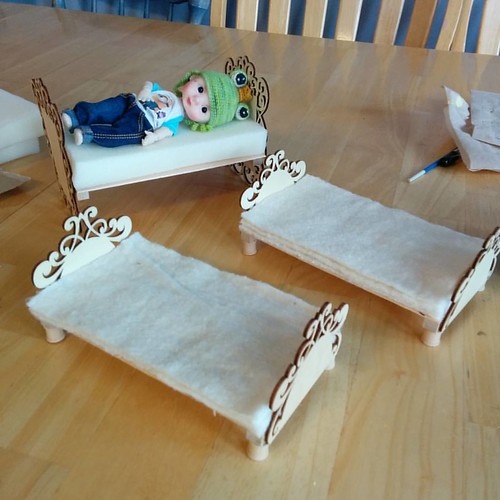
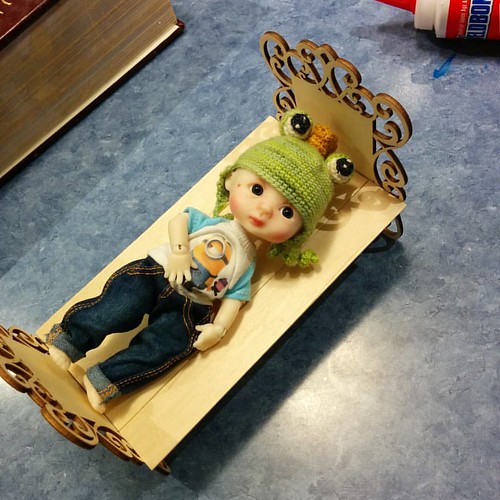
the covers are simple, pillow cover like. i cut a rectangle a little bigger than the filling, stitched it 1/4″ wider on each side for the smaller mattresses. 1/2″ bigger for the larger then “boxed” each corner, turned it right side out and stuffed. the small opening is closed with a ladder stitch. i had originally planned to make tufted and piped mattresses – even got one mostly done, but then realized that would mean i’d have to make bottom sheets for these tiny beds 🙁 so i tossed it and made these simple ones instead!
Mattress covers

1/4 scale fireplace

  • Posted on December 10, 2015 at 8:53 am

leaving the beds for a bit, just cause i want to get the woodworking done while i have no kids at home, and since christmas is coming, i’m going to tackle another project that has been on my list for ages…. a fireplace. i’m starting with a photo box using the lid only) a picture frame and a vague idea in my head of where i’m going….
Building a fireplace
i cut the frame down to make the front of the fire place. for the back i turned the lid over – it already was black inside which is a bonus since i may be able to leave that as is – then filled it in with a piece of packing foam. this is the same foam i used for my couch ages ago. i still have a bunch of it left over. it wasn’t quite deep enough so i put scrap pieces foam board on the back. i could have put the foam core on top but it wasn’t cutting as smoothly on the edges.
Mockup
i’ve always wanted to try doing egg carton bricks and this seemed to be the perfect place for them. unfortunately my first calculations were off and the 1/2″ x 1″ bricks i cut were just slightly too small. i ended up with either too much gapping or uneven rows and and asymmetrical pattern. so i recut them all at 1-1/8″ X 5/16″. that worked out perfectly and i got hem all cut out and glued down. however cutting two sets of bricks took all my time, and i’m out at drs again tomorrow so this gets put on hold for a couple of days most likely.
Brick "layed" and ready for painting

bed for a 15cm prince(ss) number 2 part 2

  • Posted on December 9, 2015 at 11:09 am

Possible legs?
i dug through my supply box for possible legs and came up with these. they were the ones i had enough of that looked like they might fit. after trying each set out, the spools ended up being the best for both scale and size.
Glue the chosen ones on
so i glued one to each corner
Another bed ready for bedding
flip it over and the bed is ready to go. or at east ready for bedding…

bed for a 15cm prince(ss) number 2

  • Posted on December 8, 2015 at 7:07 am

Toddler bed 2
using the oval ornament from the previous post, i chose this time to cut it in half since it wouldn’t stand alone. i made the base the same way as the first bed, except i cut the dowels the full width of the 4 craft sticks.
Glue to base
glue the head and foot boards to the base lining up the bottom edges and clamp till dry. the clothespins would make funky legs but they are just temporary 😉

bed for a 15 cm prince(ss) part 2

  • Posted on December 7, 2015 at 7:15 am

once the glue has set, line up the base with one set of curls to make sure it is straight and glue it on. clamp in place till glue dries. proper clamps would be ideal but clothes pins work in a pinch ;0)
Glue base to head board
you can leave the bed like that or paint it as desired.
verdict:
Not very springy
not very springy, it needs a mattress!
But just my size
but it’s just the right size. 🙂

bed for a 15 cm prince(ss)

  • Posted on December 6, 2015 at 12:48 pm

while we were waiting for paint to dry on the previous project, liya started hauling out wood and asking me to build her a princess bed that was just her size. feeling bad that every one thinks the poor girl is a boy since she is still bald i complied since it would be a fairly quick build anyway.
Building a bed for my prince(ss)
we gathered up a bunch of odds and ends to see what would work. the “frilly” ones are christmas ornaments i got on sale at michaels. we have jumbo craft sticks, odds and ends of square dowels left over from other projects, a bag of balsa scraps, my miter box, saws, pencil and glue. after some testing we decided to start with the rectangular ornaments for the head/footboard, the dowels for supports and 4 craft sticks for slats as the balsa wood was just a smidge too short and narrow.
Mark the supports
next we figured out how high the bed should be and marked the dowel supports against the end boards at that point
And the jumbo craft stick slats
and marked the ends of the craft sticks so they would be square not curved
Taped together I can cut them exactly even
i wrapped some scotch tape around the craft sticks so that i could cut them all at once. then laid the bundle flat in my miter box and zipped off the ends. it is turned this way just to show how even it came out. (the miter box is really handy for people like me who don’t really know how to do wood work, and if you use your 40% off coupon at michaels it is less than $10… even in canada!. go on a separate day and use the coupon to get the matching saw that cheap as well ;))
Glue supports across end of slats
center the trimmed supports across the very ends of the slats making sure everything is square and even, and glue down using weld bond, or wood glue.
Place heavy weight on top and wait for glue to dry
and placed a heavy weight on top and wait for the glue to dry

dollar store dresser upcycle part 4 finale

  • Posted on December 4, 2015 at 9:53 am

i painted the whole dresser with 2 coats of ultra matte varnish to maintain the lovely chalky/worn look no pics of that since it really doesn’t look any different. then glued down the knobs on the drawers measuring as carefully as possible to line them up
New knobs on the drawers
i’m really happy with the look and scale of them. once the glue sets i’ll be done, though it will take 24 hours for it to reach full strength.

and the finished dresser
Finished!
looks much better i think than when it started, the glue still has to cure for another 23 hours or so before i can safely open the drawers, but i am very pleased with how it turned out.
bonus pic with the matching desk and my mline minifee meg for scale i haven’t decided if she will use it as a file cabinet or an end table yet. maybe both depending on the photo shoot.
And with the matching desk

dollar store dresser upcycle part 3

  • Posted on December 3, 2015 at 8:11 am

last color added. now it starting to look like a battered dresser, perfect for the room of a student or fledgling artist
Dollar store "dresser" upcycle
while the paint is drying i started on the handles. i picked 6 small metal look buttons from my stash, cut the shafts off (using appropriate eye protection!) then glued on beads as spacers so they stick out a bit like real handles. this glue is really strong but has to cure over night so i started now. hopefully they will be ready by the time i finish the varnish coats.
Prepping the new handles

dollar store dresser upcycle part2

  • Posted on December 2, 2015 at 9:54 am

Dollar store "dresser" remake
base coat done and drying. it took four coats of paint but i managed to smooth out the top enough that you can barely see the divots. not something i would normally do, but i didn’t want to spend any extra money on a dollar store mdf dresser, and the paint was basically free since it was left over from another project. besides which the next step is to start painting distressed coats on top….
in the picture is also the paint i used. it is a great paint, seems to stick to anything. quite a bit pricier than the usual small tubes i use but the original project that needed coating was painted metal. i got it at michaels using my 50% coupon so it turned out not to bad. (we have a michaels right beside our favorite grocery store so i went in with a coupon 3 days in a row till i got the 3 colors i needed ;))

now for the fun part. this is where it temporarily starts looking worse. the first time i did this coat i gasped and said ” oh no, what have i done!” but i preserved and it got better… so, coat two is done with bright red painted on with a wooden stir stick dipped flat in the paint and then dragged across the surface to create a random pattern. the red needs to be both solid and blotchy if that makes sense. you want it to look chipped not transparent.
Dollar store "dresser" upcycle
back view
Dollar store "dresser" upcycle back view

dollar store dresser upcycle

  • Posted on December 1, 2015 at 10:14 am

ive been collecting odds and ends for quite a while with the goal of eventually building and furnishing a small dollhouse for my doll family. i decided it was time to start finishing up some of the projects that were in desperate need of an upcycle. one of the projects i’ve almost finished fixing is the desk meg was using in the last post. the supports didn’t match and the top was unfinished wood, but since i forgot to take pictures as i was going along i thought i would do a step by step of the matching dresser/file cabinet instead and then show them both together when i’m done 🙂
i started off with this
Dollar store "dresser" remake
a $2 mdf jewelry box from the dollar store, pretty gaudy and the knobs are far too large for dolly scale, but the drawers fit nicely and everything is square so it has potential.

first step was stripping off the rhinestones and the knobs. which i did (very carefully) using a sharp knife.
Dollar store "dresser" remake

next i paint it a creamy yellow using a chalk paint that sticks to anything
Dollar store "dresser" remake
after the first coat i can see that the painted design is still showing through, and the divots from the rhinestones as well. i really should fill the latter in with wood filler, but i don’t have any on hand and i don’t want to go out and buy anything for this particular project, so i’m going to see if they will smooth out with a few more coats of paint.