You are currently browsing all posts tagged with 'camp fire'.
Displaying 1 - 2 of 2 entries.

campfire part 3

  • Posted on October 3, 2018 at 10:06 am

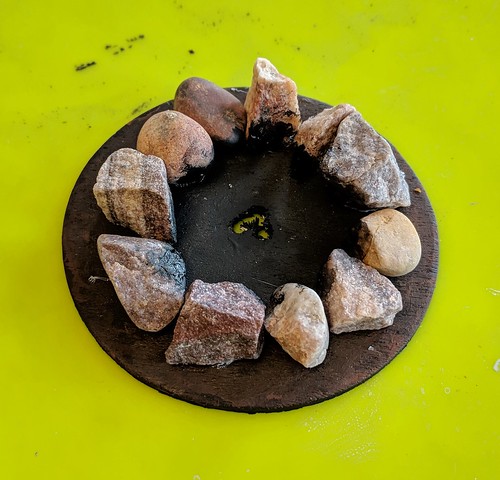
next step is adding the fire to the diorama
i wanted to hide all the wiring so i found a panel board at the dollerama for $4.
panel front
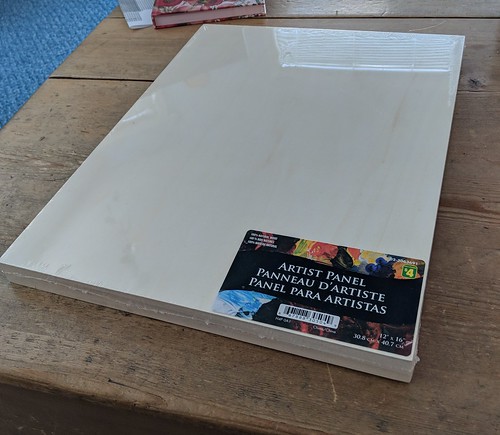
it is 12″ x 16″. a little small for photos, but it will fit nicely on a shelf.

panel back
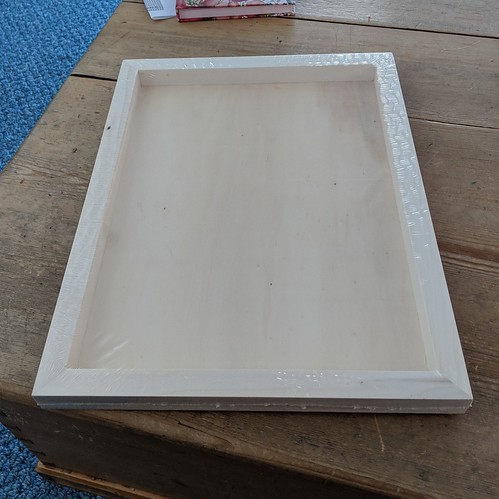
the back is hollow, with more than enough space to hide the wiring and battery

camp fire - hole for wires
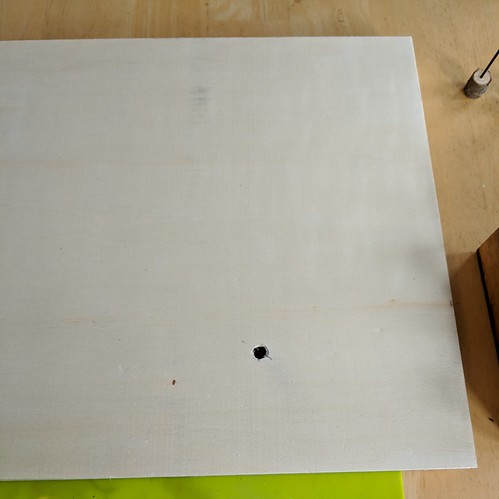
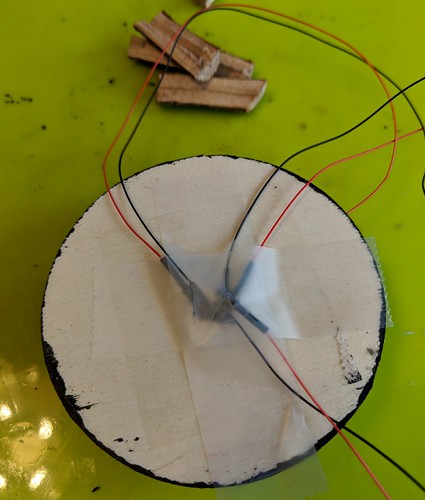
after deciding where i wanted the fire to go, i marked the center with an x and then drilled a hole large enough for all the wires to fit through. i didn’t have to drill three holes this time. the top disc will keep the leds from falling through the hole.

diorama grass
then i added the grass. first i traced around the campfire disc. this area will be left glue free. i spread glue all over the top, except for in the circle, and down the sides. then i spread a moss mat (mine was from walmart, because it was cheapest, but michael’s also has some and with a coupon the price isn’t bad.) i boxed the corners by cutting out little squares the width of the sides. this gave nice neat edges all round. As you can see, adding moss is a messy process, so best to have a broom or vacuum on hand! 😊

diorama cut out
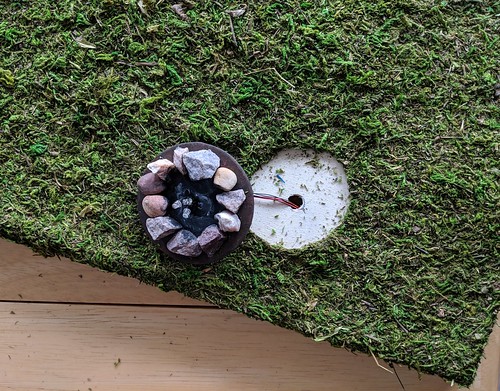
i then poked up with a pen through the hole from underneath, to find the center, and carefully cut out the unglued moss. i cut just slightly smaller than the actual circle

diorama campfire in place
lifting the edges i tucked the fire inside the cut out, adding bits of moss to a couple of places where i went too wide

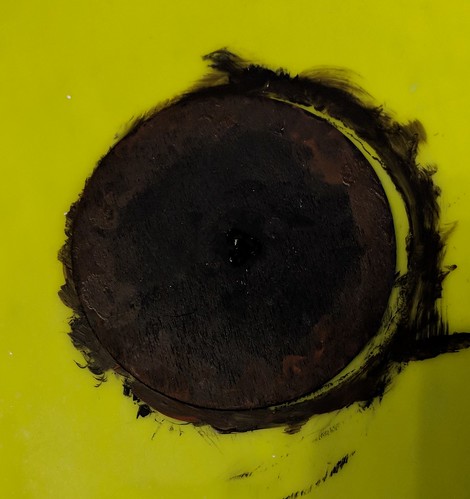
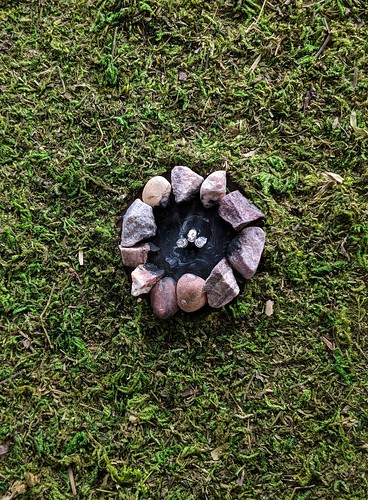
here you can see how i painted the gray/white ash as well

diorama underside
underneath i taped the wires with heavy duty tape.

diorama
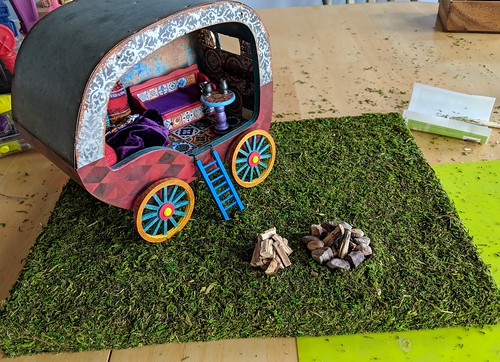
then i glued the firewood in place. the wood pile and caravan are just set on top.

almost done. i still need to add the battery. but i don’t have the right battery in the house and we are in the middle of a snow storm so it may take a day or two to go get one.

camp fire part 1

  • Posted on October 1, 2018 at 8:05 am

i’m ready to start making the camp fire now. i’m going to use an evans design led fire size 3mm. a 1.8mm would probably have been big enough, but i already had the 3mm and am trying to use what i have in hand before buying new.

the other things i need so far are a 3 inch diameter, flat, wood disk from michaels, and some small rocks from the gravel pad outside, (i picked out ones i liked for color shape and size and washed them to get rid of any bugs or dirt). also acrylic paint in black, dark brown, rust and white, and glue suitable for gluing rocks to wood, i used e6000.

camp fire
first i painted the top of the wood disk solid black for the charcoal, then while still wet swirled and blended in some dark brown and rusty brown to get the look of dirt around the edge. my realpukis are safety conscious 🙂

camp fire
i drilled a set of three holes in the center to thread my leds through. i should have done that before painting since i had to repaint around the holes with my black paint. when it dried again i arranged the rocks till i liked the look and then glued them down with e6000 glue. i let that set a bit and then painted the inner surface of the rocks to make them look soot covered.

camp fire leds back
finally i threaded the leds through the holes and taped them down in the back with a bit of tape. i just used regular tape since it doesn’t have to hold for long.

next step will be building the fire itself, but first i have to dry my “logs” in the oven. i took pruned, dead branches that have been sitting in my burn pile all summer (we have had a fire ban most of the summer so they never got burned). it is pouring rain so they are all wet, and i assume have bugs. i am going to bake them at 200F for 2-4 hours to make sure any bugs are good and dead! i’ll check them every 15 min or so to make sure they don’t catch fire. i wouldn’t mind if they got a bit scorched, but i would rather not burn my house down! 😉