You are currently browsing all posts tagged with 'upcycle'.
Displaying 1 - 4 of 4 entries.

dollar store dresser upcycle part 4 finale

  • Posted on December 4, 2015 at 9:53 am

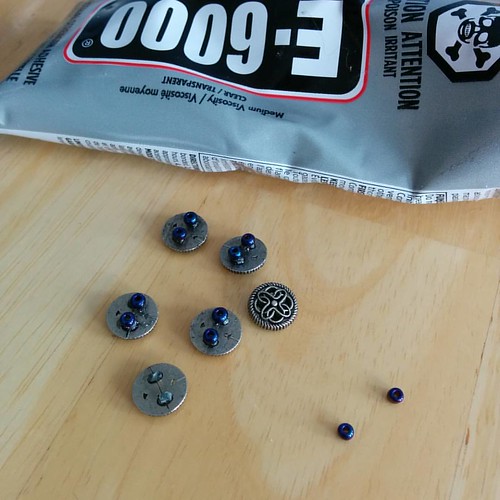
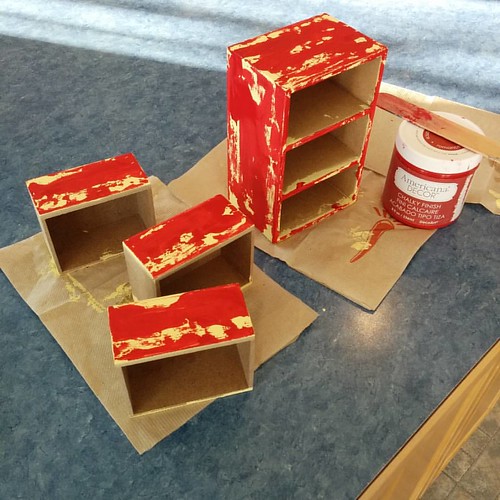
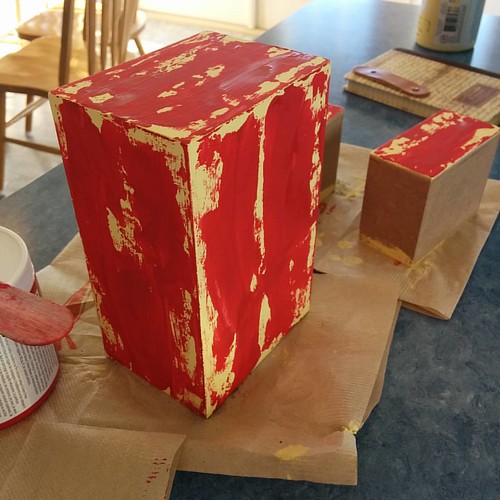
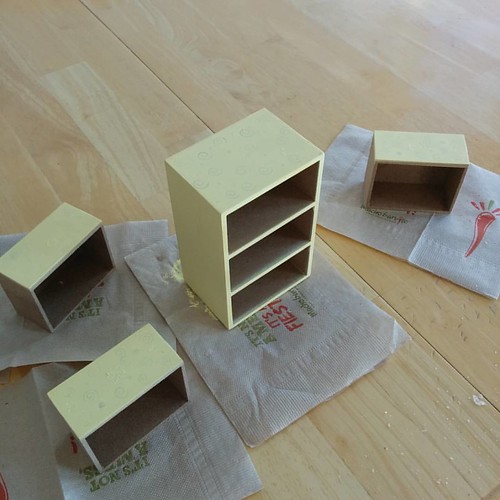
i painted the whole dresser with 2 coats of ultra matte varnish to maintain the lovely chalky/worn look no pics of that since it really doesn’t look any different. then glued down the knobs on the drawers measuring as carefully as possible to line them up
New knobs on the drawers
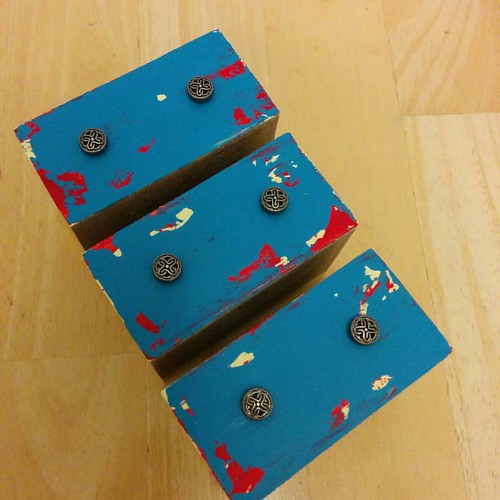
i’m really happy with the look and scale of them. once the glue sets i’ll be done, though it will take 24 hours for it to reach full strength.

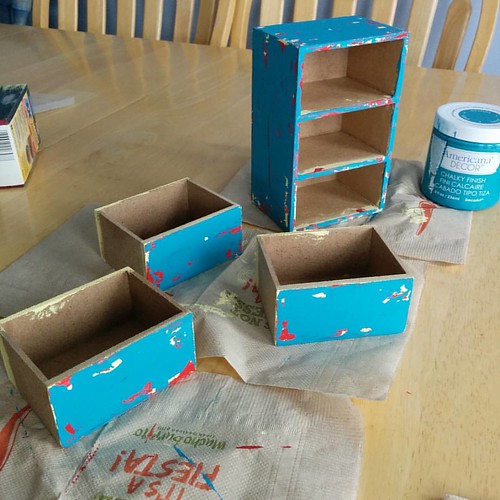
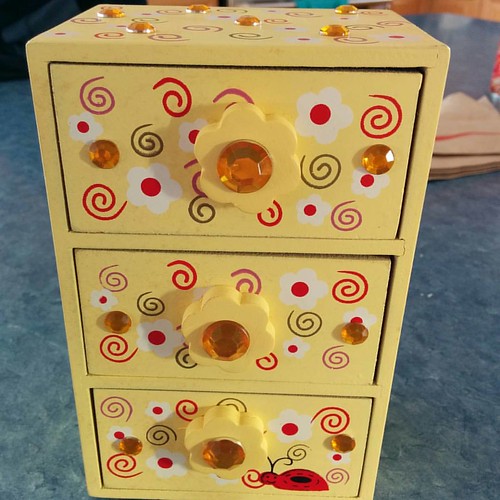
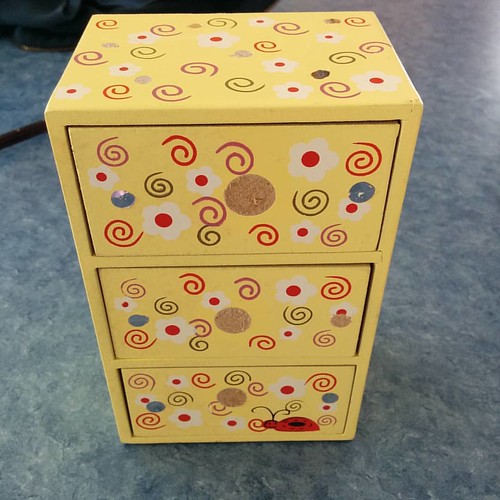
and the finished dresser
Finished!
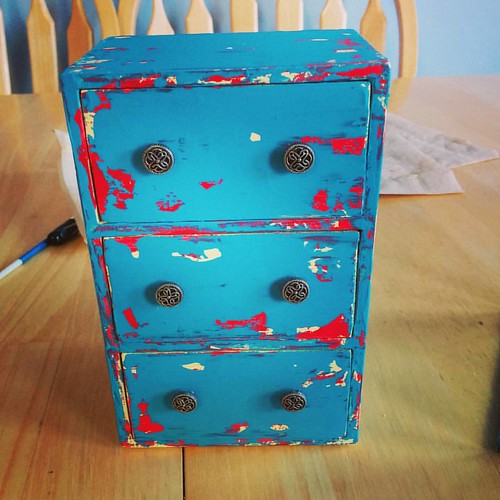
looks much better i think than when it started, the glue still has to cure for another 23 hours or so before i can safely open the drawers, but i am very pleased with how it turned out.
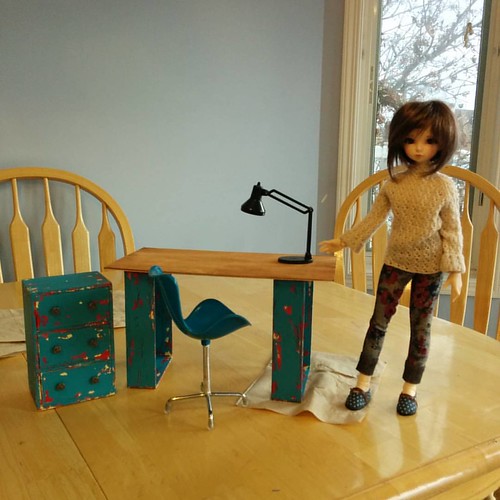
bonus pic with the matching desk and my mline minifee meg for scale i haven’t decided if she will use it as a file cabinet or an end table yet. maybe both depending on the photo shoot.
And with the matching desk

dollar store dresser upcycle part 3

  • Posted on December 3, 2015 at 8:11 am

last color added. now it starting to look like a battered dresser, perfect for the room of a student or fledgling artist
Dollar store "dresser" upcycle
while the paint is drying i started on the handles. i picked 6 small metal look buttons from my stash, cut the shafts off (using appropriate eye protection!) then glued on beads as spacers so they stick out a bit like real handles. this glue is really strong but has to cure over night so i started now. hopefully they will be ready by the time i finish the varnish coats.
Prepping the new handles

dollar store dresser upcycle part2

  • Posted on December 2, 2015 at 9:54 am

Dollar store "dresser" remake
base coat done and drying. it took four coats of paint but i managed to smooth out the top enough that you can barely see the divots. not something i would normally do, but i didn’t want to spend any extra money on a dollar store mdf dresser, and the paint was basically free since it was left over from another project. besides which the next step is to start painting distressed coats on top….
in the picture is also the paint i used. it is a great paint, seems to stick to anything. quite a bit pricier than the usual small tubes i use but the original project that needed coating was painted metal. i got it at michaels using my 50% coupon so it turned out not to bad. (we have a michaels right beside our favorite grocery store so i went in with a coupon 3 days in a row till i got the 3 colors i needed ;))

now for the fun part. this is where it temporarily starts looking worse. the first time i did this coat i gasped and said ” oh no, what have i done!” but i preserved and it got better… so, coat two is done with bright red painted on with a wooden stir stick dipped flat in the paint and then dragged across the surface to create a random pattern. the red needs to be both solid and blotchy if that makes sense. you want it to look chipped not transparent.
Dollar store "dresser" upcycle
back view
Dollar store "dresser" upcycle back view

dollar store dresser upcycle

  • Posted on December 1, 2015 at 10:14 am

ive been collecting odds and ends for quite a while with the goal of eventually building and furnishing a small dollhouse for my doll family. i decided it was time to start finishing up some of the projects that were in desperate need of an upcycle. one of the projects i’ve almost finished fixing is the desk meg was using in the last post. the supports didn’t match and the top was unfinished wood, but since i forgot to take pictures as i was going along i thought i would do a step by step of the matching dresser/file cabinet instead and then show them both together when i’m done 🙂
i started off with this
Dollar store "dresser" remake
a $2 mdf jewelry box from the dollar store, pretty gaudy and the knobs are far too large for dolly scale, but the drawers fit nicely and everything is square so it has potential.

first step was stripping off the rhinestones and the knobs. which i did (very carefully) using a sharp knife.
Dollar store "dresser" remake

next i paint it a creamy yellow using a chalk paint that sticks to anything
Dollar store "dresser" remake
after the first coat i can see that the painted design is still showing through, and the divots from the rhinestones as well. i really should fill the latter in with wood filler, but i don’t have any on hand and i don’t want to go out and buy anything for this particular project, so i’m going to see if they will smooth out with a few more coats of paint.