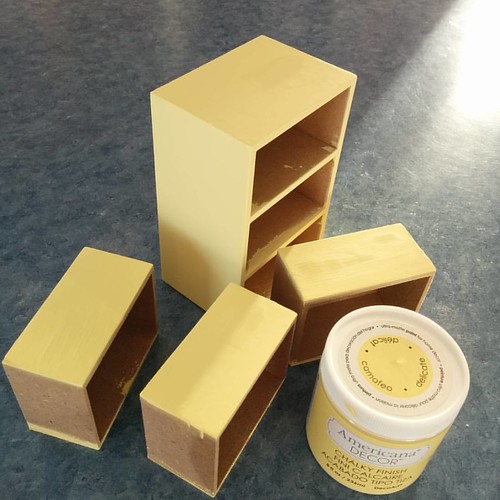
base coat done and drying. it took four coats of paint but i managed to smooth out the top enough that you can barely see the divots. not something i would normally do, but i didn’t want to spend any extra money on a dollar store mdf dresser, and the paint was basically free since it was left over from another project. besides which the next step is to start painting distressed coats on top….
in the picture is also the paint i used. it is a great paint, seems to stick to anything. quite a bit pricier than the usual small tubes i use but the original project that needed coating was painted metal. i got it at michaels using my 50% coupon so it turned out not to bad. (we have a michaels right beside our favorite grocery store so i went in with a coupon 3 days in a row till i got the 3 colors i needed ;))
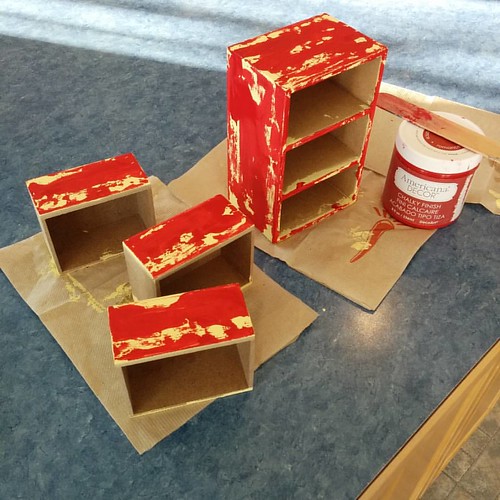
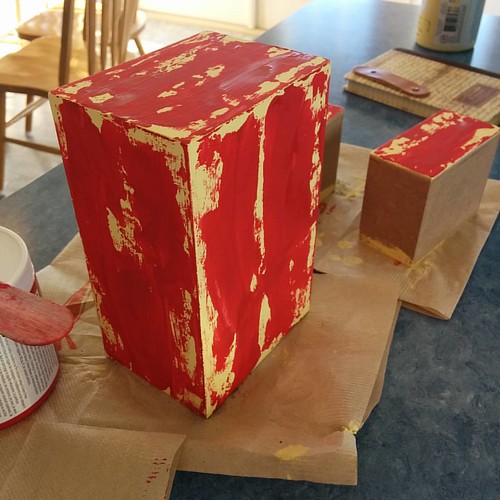
now for the fun part. this is where it temporarily starts looking worse. the first time i did this coat i gasped and said ” oh no, what have i done!” but i preserved and it got better… so, coat two is done with bright red painted on with a wooden stir stick dipped flat in the paint and then dragged across the surface to create a random pattern. the red needs to be both solid and blotchy if that makes sense. you want it to look chipped not transparent.

back view

Leave a Reply