You are currently browsing the crafts category
Displaying 1 - 10 of 82 entries.

stitch samplers

  • Posted on January 21, 2020 at 11:41 pm

one of the kals in the yarnathon this year is to make stitch samplers. they can be any size and contain any number of stitches from one to…. the only rule is they all have to be different and they have to be some sort of rectangle. (too bad, i had some great mandalas i wanted to make, but maybe next year) i decided to finally get around to making samples of some of the stitches i would like to try designing with. i often find and intriguing stitch, and then don’t like it when i go to stitch it up in laceweight, because the scale is off for my girls. i am planning to do a bunch of them and put them in frames to decorate my craft room. as usual i have already spent more time planning and making ancillary projects than i have actually making samples. case in point. the frames…

i had a rough idea of the types of frames i liked, and that i thought would work well. i didn’t want a lot of small frames, so collage frames seemed to be the way to go. i looked at a lot of them and for the most part there was always something not quite right. my favorite was a large barnwood style frame with what looked like several clotheslines strung across it from which you could suspend several pictures using small clothepins. it had an open back so your wall color would show through. the only problem with it was that for some weird reason there were only 3 clothespins per “line” so you could only put up 2 pictures (or in my case samples) and they would have to share one of the pegs. i envisioned something more like an actual clothesline with tiny knit crocheted blankets or quilts hanging from it. i figured i could probably adapt a frame to suit, but i wanted a real wood one, not a wood- grain-painted-plastic one like most of the larger ones i could find. so i headed off to the local thrift shop to see what i could find.

generally at the thrift shop you can’t have anything definite in mind, but have to instead look beyond the surface of what there is to discover its’ potential. i had hoped to find a large frame, somewhere in the 11x16ish range. they had them, but they were cheap plastic, just what i didn’t want. at the back of one of the bins i found one that i thought had potential. it was a long narrow frame, with a mat cut so that you would stick in 3 pictures side x side or up and down. it was solid wood, with the miters so tight i could barely see the seam. i wasn’t enamored with the stain color, but i could always sand that off and re-stain it. it would mean doing one long clothesline, instead of several shorter ones, but i thought it would work, and it was only a couple of bucks.

i next went to the dollar store and picked up some narrow cord and tiny clothespins and i was in business

after i got it home i looked up at more frames online to see exactly how i wanted to do this and had the thought that it would look really cool with a random wood backing instead of the wall showing through, so i measured the opening and went off to the hardware store for wood strips. my first thought was to just get a few strips and stain them different colors, but when i got there i found out that by sorting through them and looking at the grain/color i could get enough variety from the natural wood. i ended up getting two polar strips 1-1/2×1/4″x4 feet long and two oak strips the same size. i also picked up a package of flat thumbtacks to tie my clothesline to.

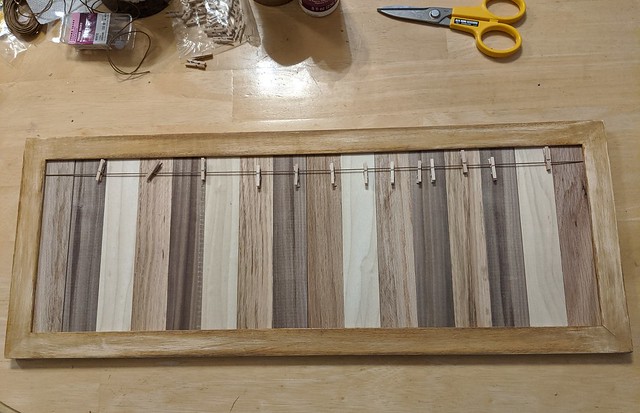
out in the garage i measured the wood strips against the cardboard backing to make sure they would fit inside the frame and cut them to length, placing the pieces inside so that the color striped randomly. i really lucked out here and my pieces filled the frame exactly with no big gaps and no need to split any of the boards lengthwise. next i glued the cardboard back to the strips to hold them all in place and, once the glue dried, lifted it out of the frame . i took the frame and sanded it down, planning to re-stain it, but once i got the shine and some of the color off, i really liked the way it looked, so just left it. i stuck two of the thumbtacks in the back of the frame and tied on my clothesline. the pins are just placed on the line like they would be in real life, rather than strung on the line like most frames i have seen. that will give me maximum versatility, since i can add or remove the pins as necessary. the normal swivel pins that hold the back on had to be removed since they no longer worked and i didn’t want them scratching my wall. to replace them i put several more thumbtacks in the frame, just overlapping the back board enough so that the whole thing will stay together. if it is ever necessary to fix the clothesline i can always pull them out to get the back off.

of course i was so busy making this i never though of taking photos till it was all done :doh

anyway here it is. i had thought of sealing the whole thing with matte varnish, and i still may later, but for now, i like it just the way it is 🙂
quilt frame

and the back
the back
you can see the holes here i removed the original clips. also the thumbtacks to hold the frame on, and the ones set farther back for the clothesline. you can also see what the original frame color looked like
new years resolutions?

  • Posted on January 1, 2020 at 4:50 pm

i had decided i was going to forgo the esk yarnathon this year and instead only knit stuff that has been in my design queue this year, but as usual as soon as the kals and badges are posted i start scheming to see which ones i can re-work for my dolls :doh

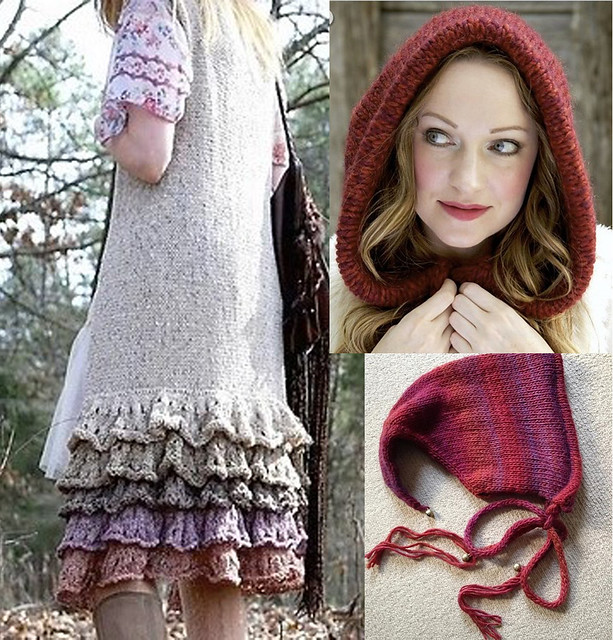
nandi is going through a mori-girl stage, so she asked for this wrap and hood
mori girl

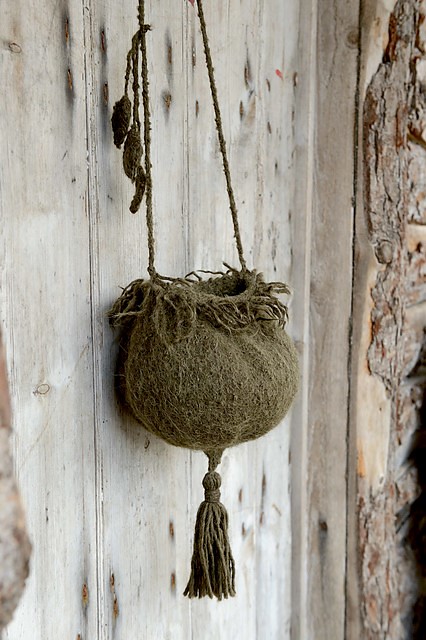
cricket fell in love with this basket and wants it as a bed/nest
seedpod bed

and i fell in love with this project for me. i’m planning to do it colors that coordinate with my craft room and knit up some new/favorite stitches for reference/wall art

i’m sure there will be a few more things once the girls make up their minds!

an advent wreath.. er log

  • Posted on November 30, 2019 at 2:39 pm

the kids are getting very excited for christmas so meg has planned 24 days worth of activities to help them wait. tomorrow is the start of advent so she needed to make an advent wreath so the girls could light the candles (no the boys will not be allowed to help, honestly would any sane person let noah or emrys anywhere NEAR fire?)

i know it supposed to be a circular wreath, but she decided a birch log would make a cool option so here goes…

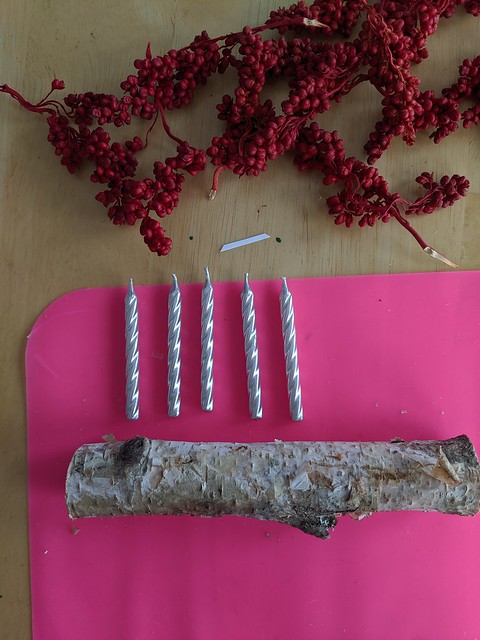
advent log, determining the length
first lay the candles out to decide how long the log should be

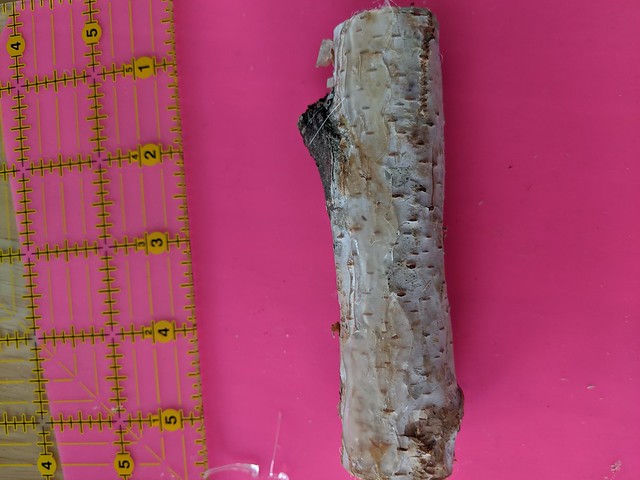
advent log hot glue
before cutting the log i put a couple of rows of hot glue on the bottom and then squished it flat on my silicone sheet, this made it a bit more stable and less likely to roll. i could have cut a piece off the bottom to make it flat instead, but this was easier.

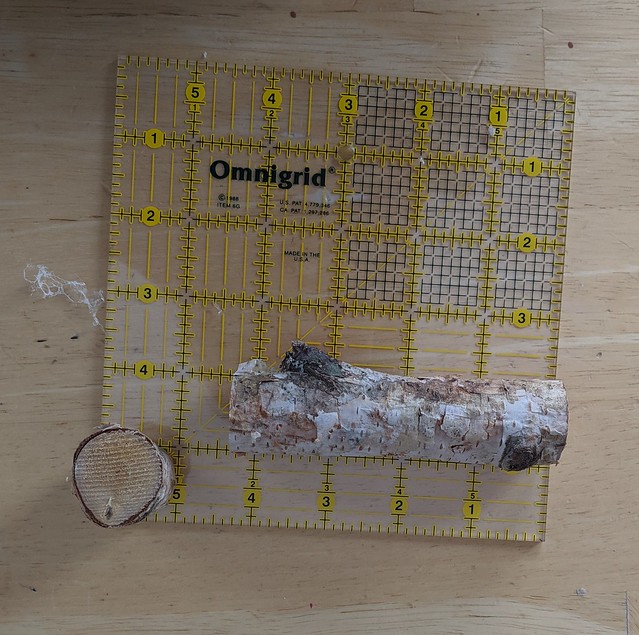
advent log sizing
here are the dimensions we used

advent log, holes drilled
i marked the candle positions with a tiny x, then drilled the holes using progressively bigger drill bits til the hole fit. working up that way helps keep the birch bark from shattering or the log from splitting. the final size for these (birthday) candles was a 7/32 drill bit.
as you can see the candle rolled on me in spite of the hot glue, and the last hole is a bit wonky, but it doesn’t show if i photograph straight on

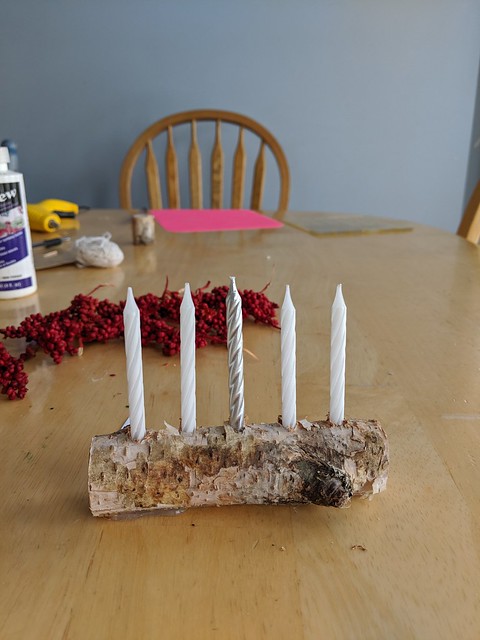
advent log candles
here it is with the candles. we couldn’t find the traditional purple and pink, so went with white and silver instead, because it looks nice 😉

next i needed to decorate it
advent log decor options
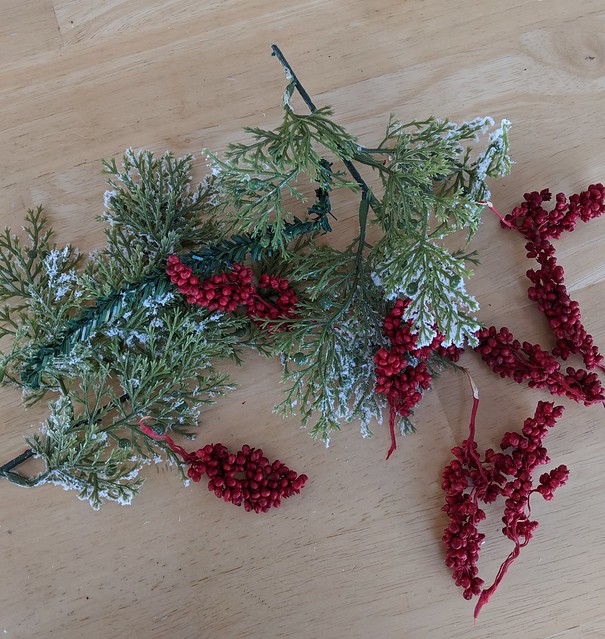
tiny red berries from a potpourri mix, and greenery pulled of a dollar store wreath

advent log done
cut to size, glued on and it’s done

the boys rebel

  • Posted on August 12, 2019 at 11:45 am

the boys were complaining that all my blankets were too girly, so they picked the colors out for this one. the round is a mat for beside the bed
what's on my blocking pad

photo challenge

  • Posted on April 17, 2019 at 2:21 pm

lost and wandering
i was challenged to do a collage to illustrate a yarn color, so i chose the one with my favorite name “lost and wandering” and picked photos from our travels of dolls wandering that picked out the colors in the yarn

feb 14

  • Posted on February 15, 2019 at 10:56 am

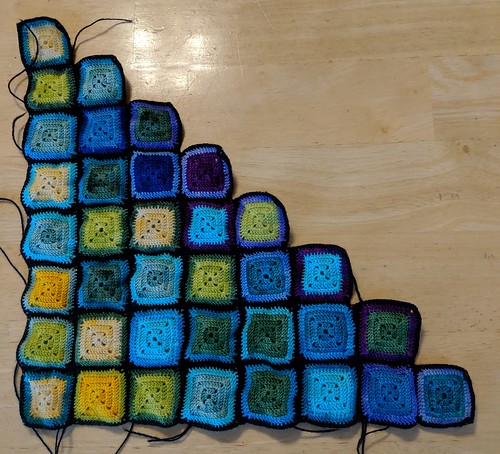
the rows are getting longer and now take over a week
feb 14

meg’s new cowl

  • Posted on February 14, 2019 at 2:38 pm

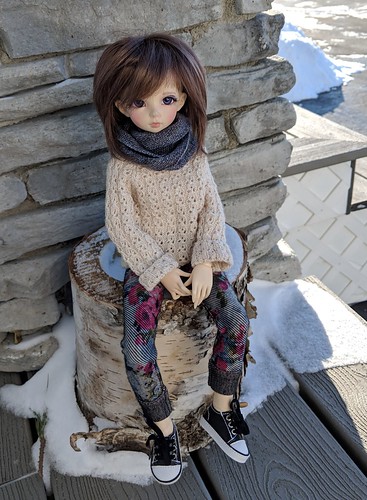
i made a new cowl for meg and i love how this one came out. it was kind of a pain to knit, linen stitch on 1.5mm needles (i was using the wrong length for most of it too) but in the end it was worth it. i like this one so much i want to order more yarn and size it up for me!
megs linen stitch cowl

i’m not sure she was super impressed with me for not clearing the snow off the stump before i had her sit down though
sitting on a snowy stump

feb 5

  • Posted on February 7, 2019 at 4:42 pm

feb 5
got to use some of my colder temps this row

temperature blanket day 3

  • Posted on January 3, 2019 at 1:14 pm

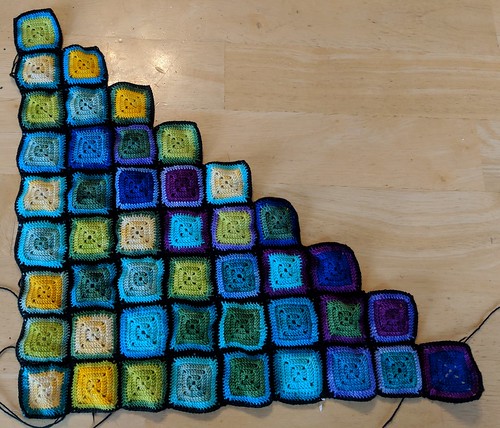
after much dithering and changing my mind on how to do this, i realized that by only recording the high temps, i would have very few squares with my favorite colors- all those represented by the bottom colors, plus we often have wide temperature changes here, and i wanted to somehow show how great the change was in a single day. so i am doing the middle three rows as the high, then a 4th row as the low for the day, surrounded by a sc row of black. the squares with be joined with more black
by crocheting in the ends as i go. that way i should have at most one black end per day to weave in.

here is my final (i think) set of colors and the temperatures they represent. i expanded the range so i could use up more odds and ends of yarn instead of new balls.
28+ tart (prairie)
26-27 ravelry red (malabrigo lace)
22-25 fuscia (malabrigo lace)
18-21 neon pink (prairie)
15-17 cactus flower (malabrigo lace)
12-14 sunset (malabrigo lace)
9-11 sauterne (malabrigo lace)
6-8 butter (malabrigo lace)
3-5 applegreen (malabrigo lace)
0-2 water green (malabrigo lace)
-1 to -2 verde adriana (malabrigo lace)
-3 to -4 sapphire green (malabrigo lace)
-5 to -8 button jar blue (prairie)
-9 to -12 nassau blue (prairie)
-13 to -16 cian (malabrigo lace)
-17 to -19 azul bolita (malabrigo lace)
-20 to -22 jewel blue (malabrigo lace)
-23 to -26 wino forever (prairie)
-27 to -30 jacinto (malabrigo lace)
-31 to -35 periwinkle (malabrigo lace)
-36 and below natural (malabrigo lace)

yarn usages
2 daily highs to 1 gram
3 daily lows to 1 gram.
5 black edgings to 1 gram

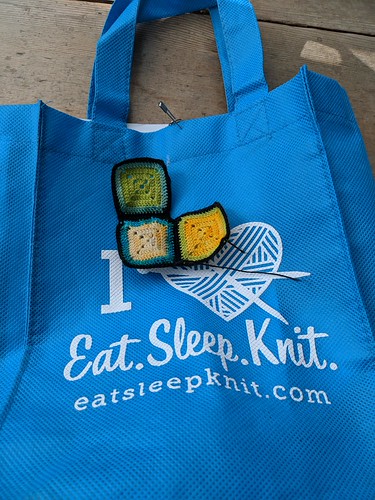
here is the first three days, sitting on top of my carry bag. this is my absolute favorite project bag, it is the perfect size and was a prize from a previous eatsleepknit yarnathon.
temperature blanket day 3

a new year a new plan

  • Posted on January 1, 2019 at 6:35 pm

continuing to work on my great craft purge, i’m planning to make this the year of the yarn stash buster. i added a lot to my stash last year. (esk has too many gorgeous yarns) but this year i need to start using it up. i’m still planning to do the yarnathon this year, but only as far as i can adapt the kals to doll knitting.

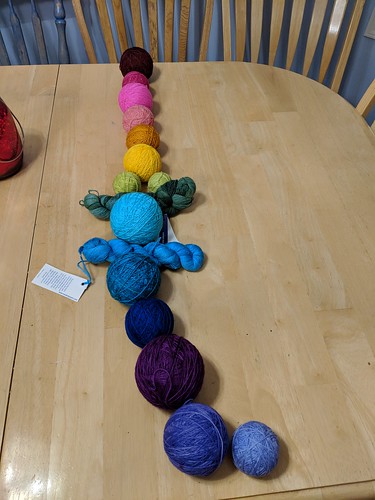
today i was going through my queue and my stash to get a rough idea of what i would like to do. the first batch of yarn i pulled was 14 colors of malabrigo lace or madelinetosh prairie to do a temperature blanket.
temperature blanket
that will give me one color for every 5 degrees of temperature change…