You are currently browsing all posts tagged with 'realpuki'.
Displaying 21 - 30 of 47 entries.

time to put the wheels back on

  • Posted on September 20, 2018 at 7:27 am

putting on the wheels
first i cut 3/4″ dowels just slightly wider than my caravan, so the wheels won’t rub on the sides. my dh drilled holes in each end just long enough to insert the axle pins

putting on the wheels
next they were stained with one of the many stains in my paint box. i liked this rusty brown the best with the rest of my colors.

putting on the wheels
i glued the axle pins into the axles, then glued the axles to the bottom of the caravan using wood glue.

ladder
while my realpukis are very acrobatic, i decided to make it easier for them to climb in and out. i had this little ladder in my box of spare parts. don’t remember what i was planning to do with it, but it worked perfectly here.

for some reason it was longer on one side on the bottom, and the other on the top? so i evened it up before i painted. to make it a bit safer i took a pair of size 2 sewing “hooks”, bent them into a more useful shape and snipped off the ends. then i drilled tiny holes in the top of the ladder and glued the hooks in. i could have just used wire, but i had the hooks left over after i used the “eyes” elsewhere, and they were the right color. my wire was not. 🙂

a quick little project

  • Posted on September 17, 2018 at 7:50 am

i decided to add shelves along the back wall. not terribly practical for a moving vehicle, but i thought they would look cuter than cupboards.

a quick project- shelves
first i cut three shelves from craft sticks, in various/lengths widths. 6 balsa wood rectangles will form the support brackets.

a quick project- shelves
here they are glued together

a quick project- shelves
and painted. i need more yellow in my caravan, so yellow paint it is

a quick project- shelves
once again i over estimated. i had cut the shelves before i put the bed in. once it was in, there was only room for one shelf. i used the middle one.

and the bedding

  • Posted on September 16, 2018 at 12:46 pm

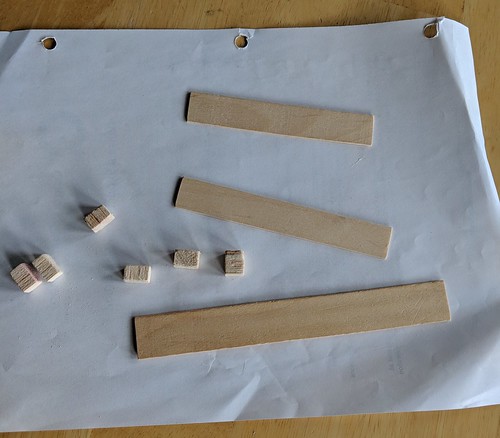
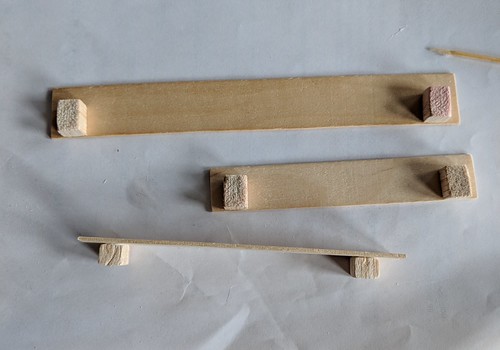
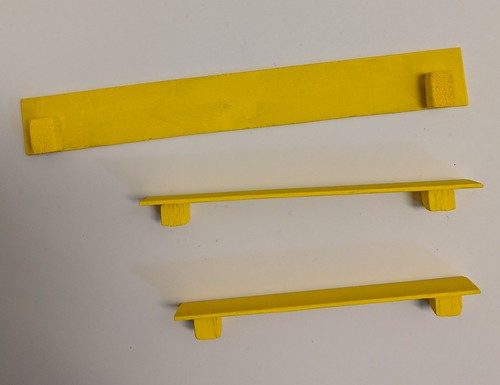
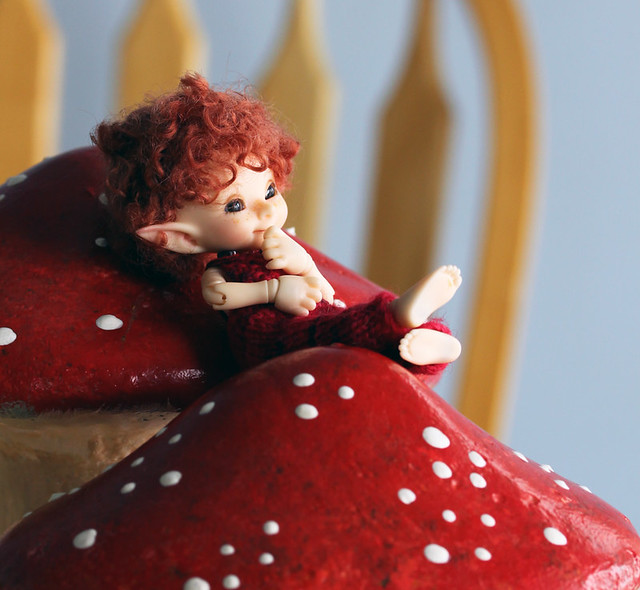
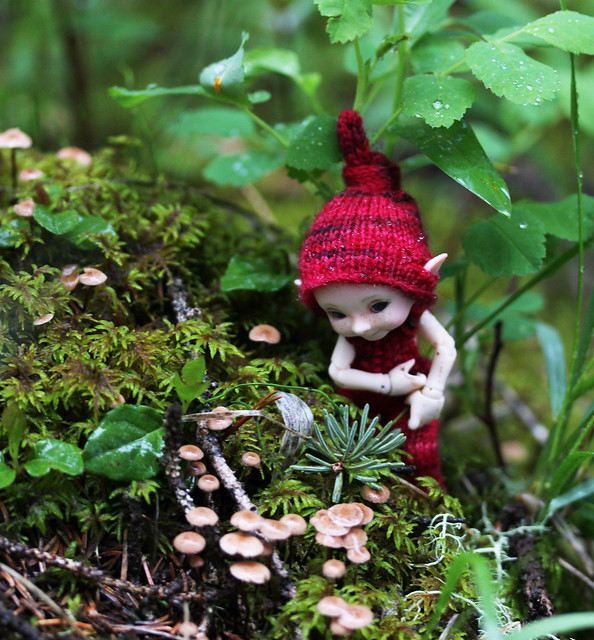
time to get to work on bedding for the bed

first a mattress,
mattress
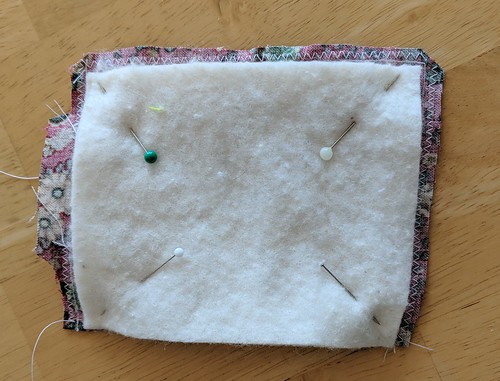
i wanted it to be fairly thin, so it didn’t take up too much space. i cut out two pieces of warm and natural time to start on bedding
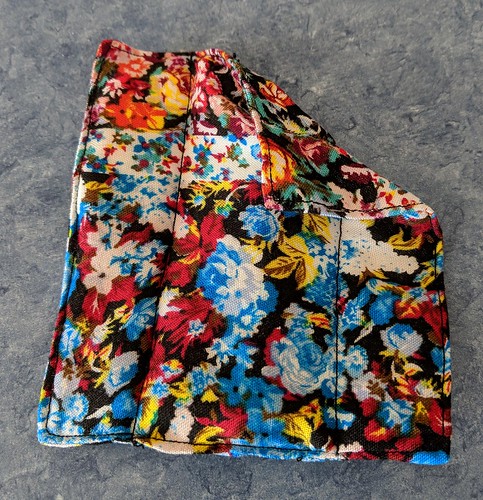
cut two pieces of warm and natural, the exact size of the bed, then used it as a pattern to stitch the mattress

mattress 2
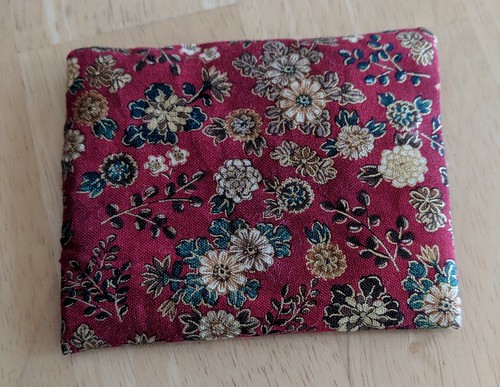
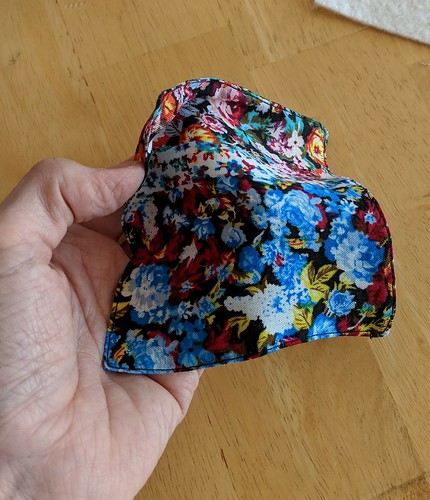
turned, stuffed and stitched closed. the lighting is off, the colors are a bit brighter and it has metallic gold accents. much closer to the picture below

mattress
and in place.

next the bedding
quilt take 1
i had this lovely soft rayon, which i bought just for this project. it had a printed pattern on it that kept changing, and i loved that particular rectangle. it had the right colors, and looked like striped piecework without having to sew seams. the fewer the seams, the better it drapes. to get the little piece i wanted, i had to buy .4m. luckily it was on sale and really cheap.

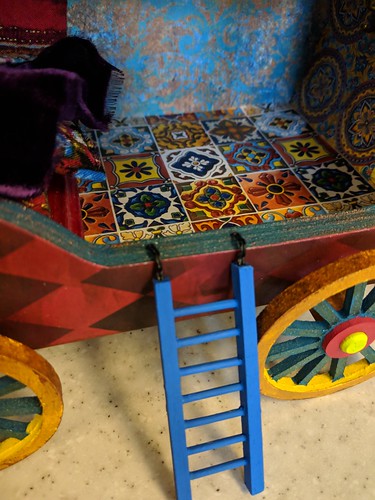
to keep the quilt/blanket drapey i made an unstuffed quilt. it looked like it would work nicely, but unfortunately once i put it on the bed, it was still too stiff. i still like how it drapes, so am sure i can use it somewhere else.

luckily there were three identical rectangles across, so i could try again.
quilt take 2
the good news was, that i got to try a technique that i’ve been wanting to try for ages. this time i stuffed the quilt with a single layer of warm and natural and one of tinfoil, folded over three times for sturdiness. i used spray adhesive to hold them together on the underside of the quilt, but left the top loose, except for the two rows of quilting. it worked perfectly! i can scrunch and bend the quilt to achieve whatever level of messiness my ‘pukis have left 🙂

lastly pillows!
pillows!
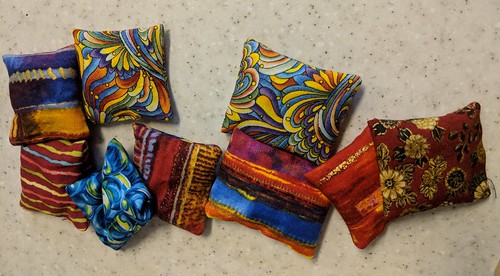
i pulled a bunch of fabics and cut little rectangles for pillows. since they take so little fabric i went a bit crazy….
they are stuffed with tiny glass beads to let them “plop” realistically. it is also possible to poke little “head dents” in them which will stay till i shake them out or move them.

pillows, the chosen ones
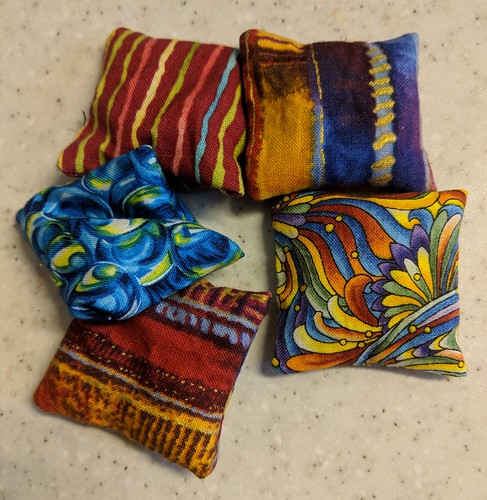
of course once i put them on the bed i realized i had way too many! so i selected just five. the rest will go in my box of spare props to be used in another project or sold.

bedding
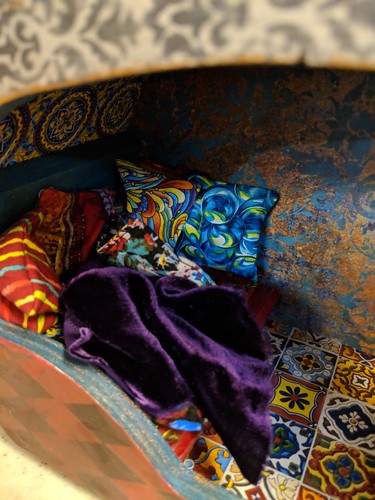
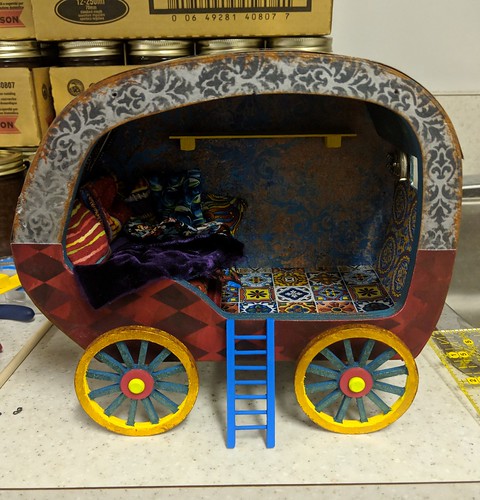
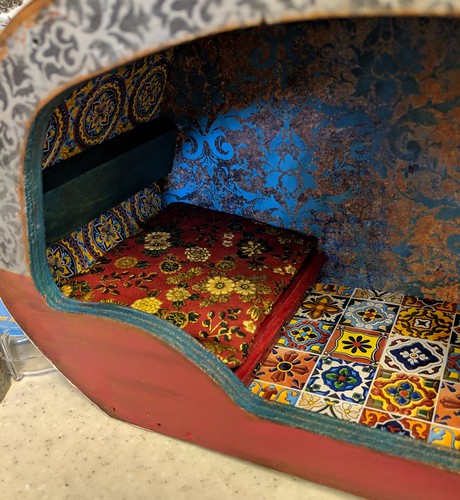
and all the bedding in place. the purple blanket is a rectangle of silk velvet (much softer and a bit thinner than regular) i left it with unfinished edges and no lining to keep it soft.

wheels painted

  • Posted on September 10, 2018 at 6:34 am

i’m not a terribly neat painter, so these took a surprisingly long time to paint. i had to do one color at a time, then keep touching up where i over painted. but they are done, and i’m happy. i was originally planning bright red wheels, with yellow centers, but realized they would get lost against the red body of the caravan, so i reversed the colors. it’s hard to tell in the picture, but the very center is lime green. the outer ring is metallic gold, and the outer edge is sponged lightly with brown and antique copper, supposedly to look like they are dirty from driving along dusty roads, but i’m not sure that was quite successful. regardless i think they work.
wheels

i absolutely adore these wheels (photo by francesca sorbello.)
carretto

if i was a better painter i would try adding embellishment, but alas i’m not…

i thought you were cleaning?

  • Posted on September 6, 2018 at 7:38 am

the purge is actually going well. i got 4+ large boxes of stuff for the charities. i’m taking a load over tomorrow for the local one and my parents are taking the others to the one out of town. now my only problem is i am running out of boxes!

but in the midst of purging, i found several of projects that i needed to decide if i would finish them or give them away. some of them are fairly involved so they went off into the do later pile, but a couple of them looked like they could be finished up relatively quickly.. or at least a good portion of the project. so i decide to get started and see if my vision was even reasonable.

the first was this birdhouse. i bought it a while back, ’cause it was on end of season clearance, and i thought it had good potential to become a caravan for my realpukis
i thought  you said you were cleaning?
the goal is a gypsy/bohemian look so i went through my file of saved tiles and printed off this one for the floor. i sealed it with a spray coat of clear matte varnish to keep it from running or rubbing off too easily
i thought  you said you were cleaning?
the wheels were the next to go. i thought the original ones were dorky looking and now that i have decided to finish this, i ordered spoked wooden ones instead. they should be here in a couple of weeks. the inside got painted with a coat of bright yellow. once that dried i rethought my plan and printed a yellow and blue tile instead to go between the wood beams, then painted over the yellow with a mix of blue, olive green metallic and teal metallic mixed together loosely. ie, i stirred them till they were partly, but not completely blended, then brushed them on trying not to overbrush so the color was partly streaky. i only did one coat so the yellow shows through in spots as well.
i thought  you said you were cleaning?
here you can see the wall and ceiling beams and tile
i thought  you said you were cleaning?

of course in keeping with my plan, the great craft room cleanup continued between coats of paint 🙂

take time to relax

  • Posted on October 3, 2012 at 1:01 pm

chillin

we’ve been working like mad the past few weeks trying to get stuff ready for an etsy store opening, it seems there is an endless amount of things to do!. tumnus reminded me today to take time to just relax and enjoy life

the boys run away…

  • Posted on October 1, 2012 at 4:27 pm

today was the first of several photo days to try and get my etsy store up and running. the little girls were fairly cooperative, i think it helped that it was kind of like playing dress up for them, trying on lots of pretty dresses then twirling in front of the camera, but noah and tumnus ran away to look for boys to play with. “too many frills!” they exclaimed

noah and tumnus

tumnus is a lot less cooperative since he got his new curly wig and dropped the “mr” he now looks and acts much more like a little boy than a grown elf. noah who also got new curlier hair likes the change since it gives him a boy closer to his age, instead of just girls!

adoption meme

  • Posted on August 20, 2012 at 7:08 am

i finally managed to join in on an adoption meme going round on flickr. i got tagged just before we went on holidays but since there were people still doing it, i figured better late than never. basically it works like this. you take a group picture of your dolls or make a collage of them, whichever works better (due to the widely disparate size of mine i figured the collage was a better bet) then people look at the dolls and decide which of them they would like to adopt if they could pick one without changing anything, and vote for their choice in the comments section. each person that joins in is then “tagged” to do the same with their crew.
adoption meme
so this isn’t all my dolls, since several of them are undergoing revision right now and are in pieces but they are the ones available for photos
top row left to right: smidge, mr tumnus, beezie, amberglas
2nd row: noah, skylar, crystalorn, kiri,
3rd row:eilidh, tiera, cailyn, quinn
bottom row :becca, ananda, shaelyn, ember
who would you pick if you could take one just as they are?

mr tumnus and the fairy fluff

  • Posted on August 19, 2012 at 1:20 pm

mr tumnus and the fairy fluff
mr tumnus is a gentle soul who loves to quietly explore his world, preferring nature to the busyness of city life. but after all if you were only 4 inches tall wouldn’t you prefer gardens too, even wild ones?

mr tumnus and the fairy mushrooms

  • Posted on June 26, 2012 at 11:09 pm

we been out off-roading this week. several of the kids have come along and we had great plans for lovely photo shoots in the woods, unfortunately it as been pouring rain. now this makes for wonderfully fun off-roading and glorious sprays of muddy water as we drive through huge puddles, but it is not great for picture taking and most of the kids refused to get out of the jeep at all! mr tumnus had a sharp eye out and spyed some lovely fairy mushrooms that he just had to have for dinner. i managed to get a quick shot of him, dripping with rain and a little muddy, just about to pick a nice basket full.

mr tumnus and the fairy mushrooms