indulging my love of peacocks with another closeup
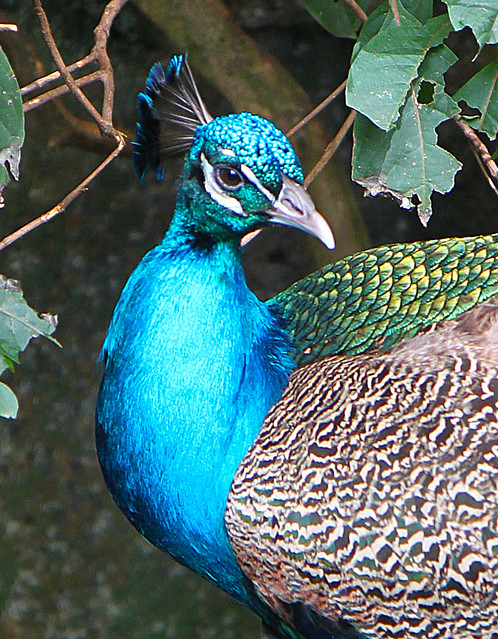
i think God must have had fun mixing these colors,
You are currently browsing the archives for 2012.
Displaying 31 - 40 of 91 entries.
amazing irridescent color
building a treehouse part 3
i got the back wall done. i glued small square dowels to the top and bottom of the frame and then trimmed the skewers the right length before gluing them on. it’s a good thing i didn’t make the wall any higher or i would have had to piece it. the skewers were just long enough to fit. i really lucked out there since i didn’t think to check before making the frame. i think i need to glue a crossbeam across the middle of that wall to even out some of the warping. i picked the slats that were the straightest end to end, but didn’t check for bowing.
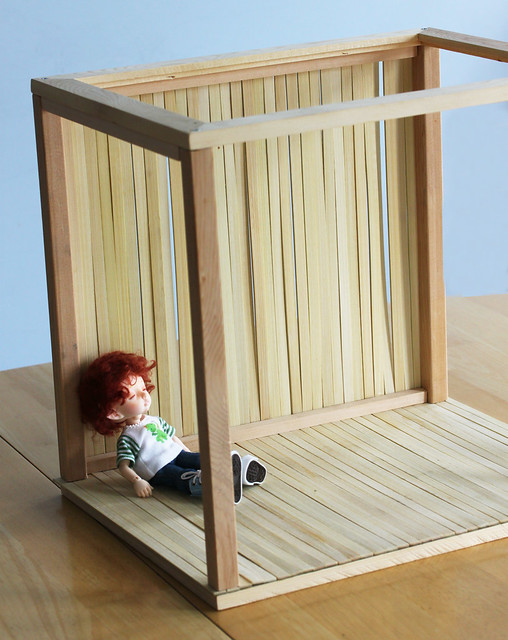
noah insisted on helping, but was so tired towards the end he fell asleep.
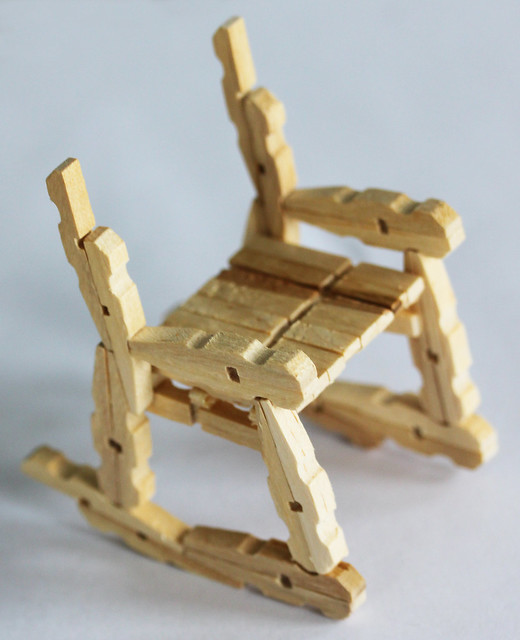
miniature clothespin rocker
i took a short break from the treehouse to make a rocking chair from clothespins and woodsies match sticks for my real pukis. it’s a variation on a clothespin rocker i’ve seen posted in several places, but i switched out some of the clothespin pieces for woodsies to make it more symmetrical, so i thought i would post a quick tutorial.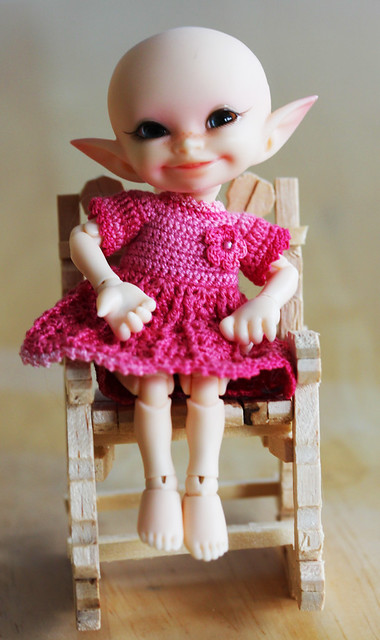
smidge is graciously modelling without her hair since otherwise you can’t see the chair at all 😆
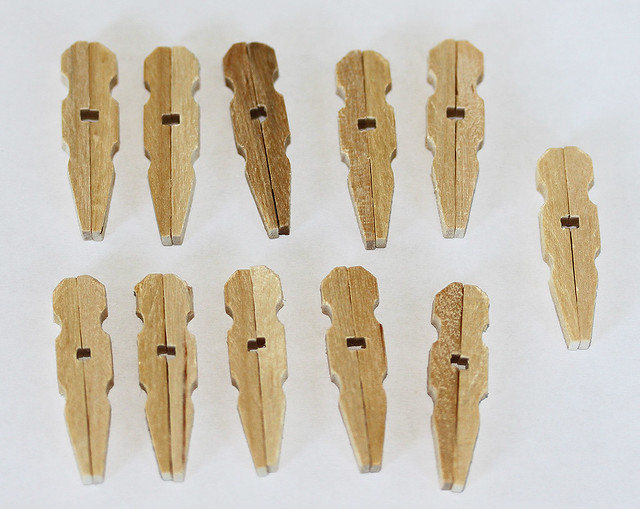
first remove all the springs from 24 miniature clothespins then glue 11 sets together back to back. i used aleene’s fast tac glue since it sets fairly quickly and dries really hard and clear.
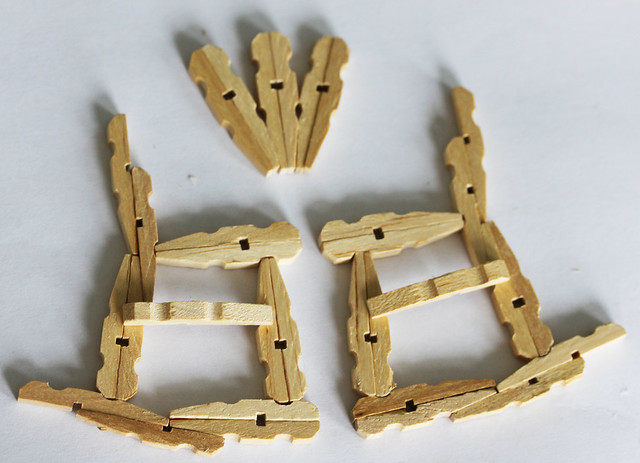
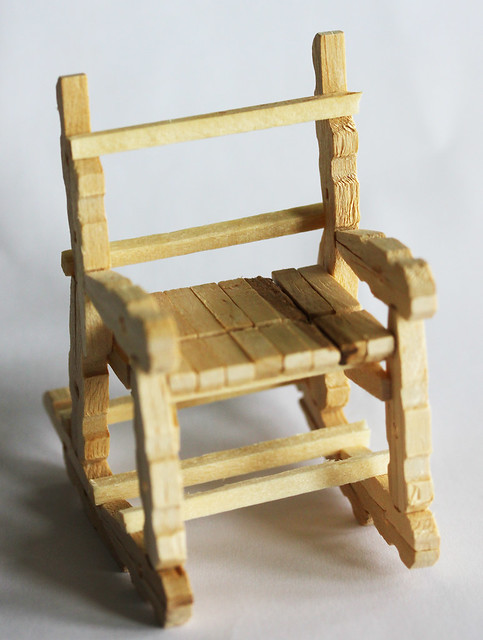
following the picture glue three sets together for the chair back and the rest together as shown for the sides. (you will also be using 10 half pins to finish up the sides.) make sure the sides are mirror images of each other and that the crossbar is the same height for both sides.

cut three “woodsie” matchsticks the same length as the width of the widest part of the chair back. these will be the seat supports
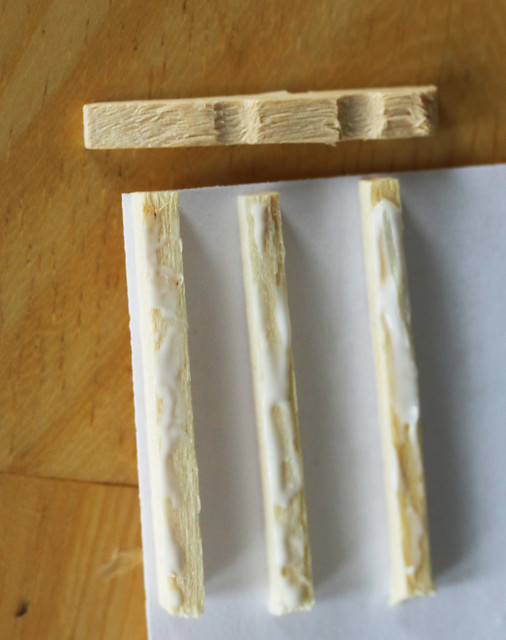
i lined the seat supports up on the corner of a piece of paper to make sure they were squared properly. two should fit in the dips of the clothespin and the third almost at the thinest part of the end. run a line of glue down each wood strip
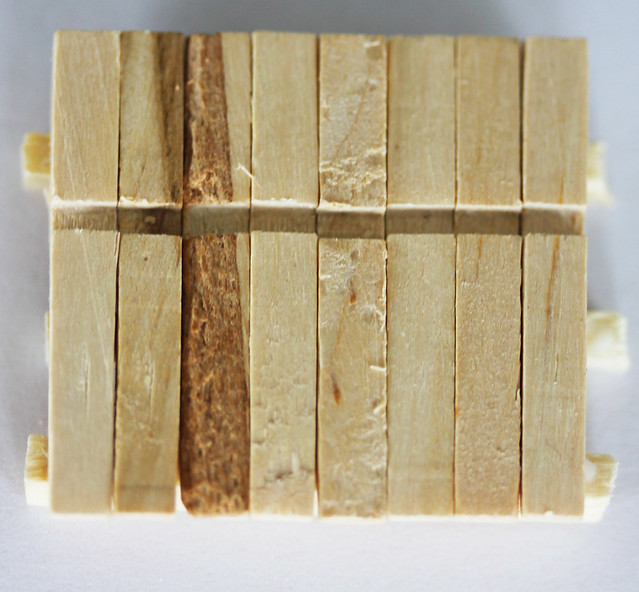
cover your wood strips with clothespin halves. mine took 8 halves for this size but a larger size only took 5.
turn the sides so that the crossbars face in and glue the seat on
another view of how the seat is attached
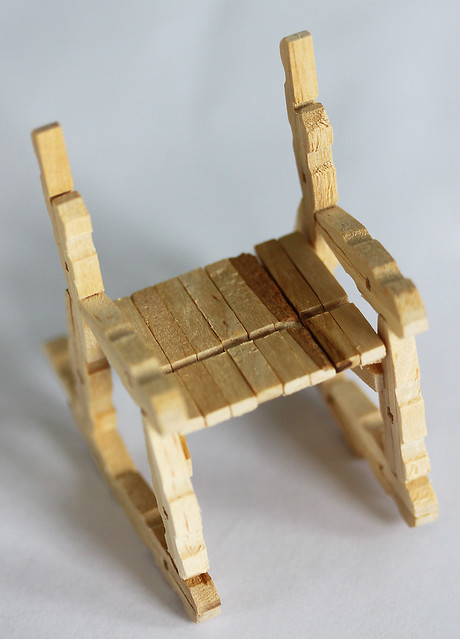
cut 5 woodsies long enough to reach across the frame. you will be putting the seat back pieces on the natural ledges formed by the clothespin ends. one on the front, one on the back. (if that doesn’t make sense let me know and i’ll try and take another picture. the other 3 brace the rockers. two inside the legs and one across the back right against the legs.
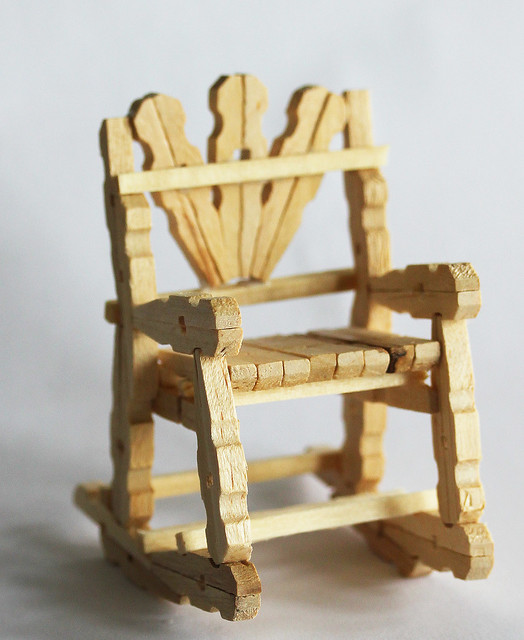
last glue the seat back in place. the should just touch the outer uprights and rest on the lower seatback brace. gluing it to the upper brace though is what really holds it in position. and now your chair is done.
you can make it with larger clothespins for larger dolls but you will have to get bigger wood for the braces as well.
have fun and if you want to show yours off, feel free to post a link :o)
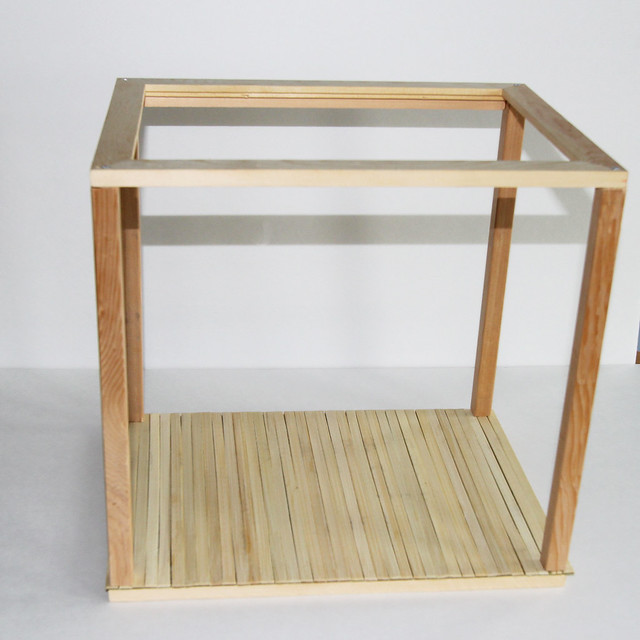
building a treehouse part 2
i finished up the base by cutting a piece of foamcore to fit in the hole of the frame,then glued it down. you can see it fills the space pretty exactly. this is so neither the flooring or the base will bow when i attach the tree stump
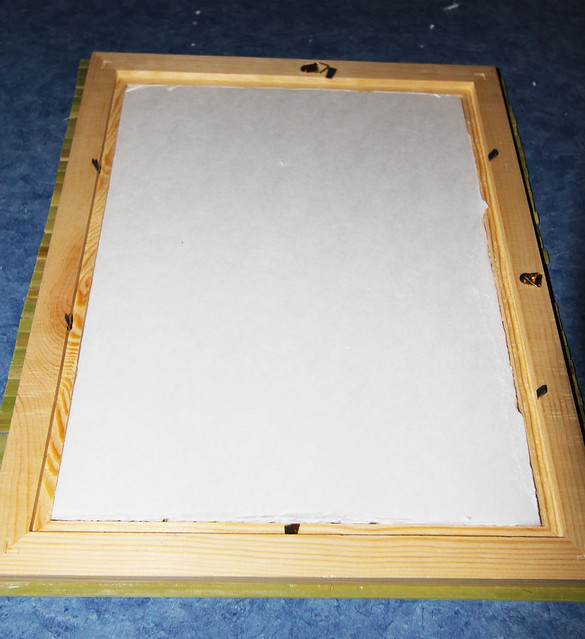
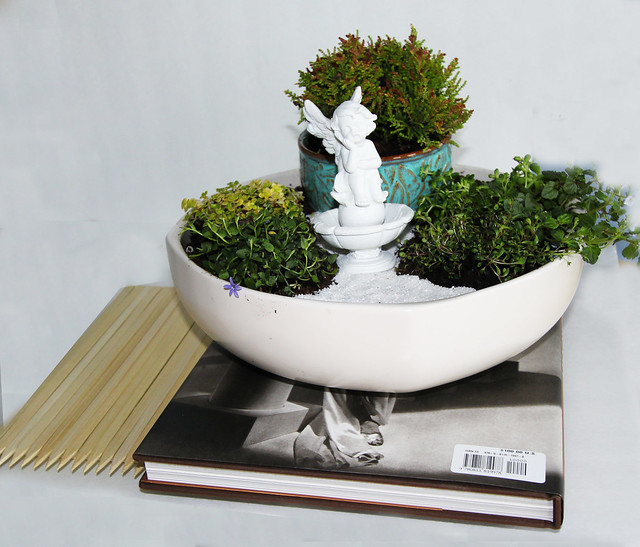
then i added back the hardboard backing and glued this to the foamcore, using a stack of books as weights to hold it all flat as the glue dried.
i trimmed the boards so that they were close to the frame, then cut 1/2″ square strips of wood 11-1/2 inches long for the side supports. i first attached them to the corners of the second frame then the corners of the floor. i tried screwing them in but didn’t have the right size square head attachment for my drill so ended up drilling holes slightly too small and then hammering the screw in. odd but it worked.
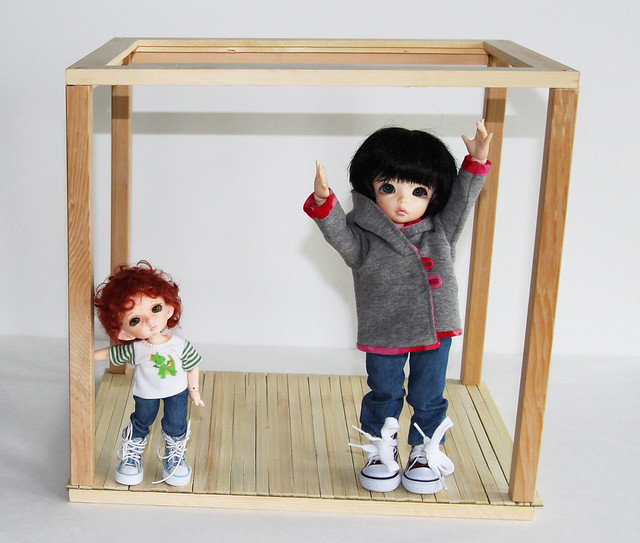
here kiri and noah demonstrate the size. i probably could have made it a smidge shorter, but the proportions are nice this way so i’m happy with it.
building a treehouse
i have several large bushes with severe die-back from a storm, and that combined with this picture from a japanese mook, 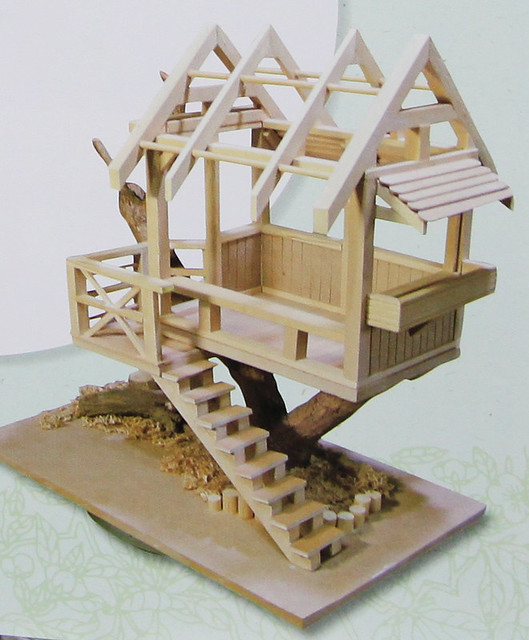 inspired me to make a treehouse for my tinies.
of course being me i’m not sure the house will be recognizable by the time it’s done and it has already grown from just fitting my realpukis to being big enough for my pukifees and littlefees to play in. i promised the rps a smaller one later. anyhow i thought it might be interesting to chronicle how i made it as possible inspiration for someone else or just for my own interest 😉
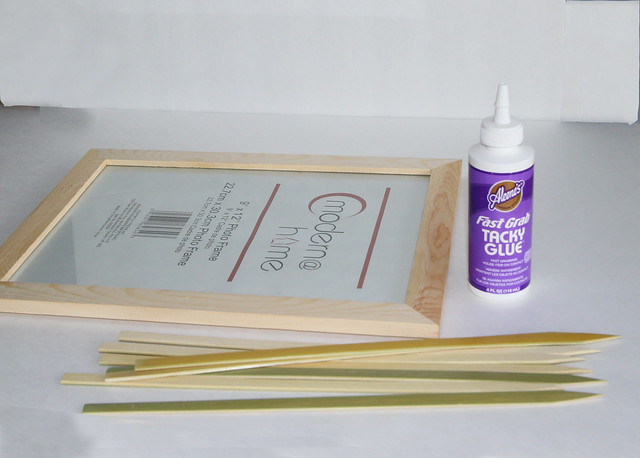
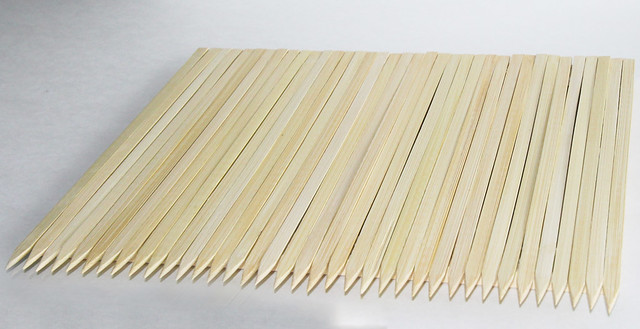
i found some great flat frames at the dollar store to use as the floor and roof supports, and flat bamboo skewers to use as planking.
i glued them down in sections, periodically checking that they are staying reasonably straight, the skewers themselves aren’t perfectly straight – though i did discard the really warped ones – so i’m planning to make it look as though a child helped build it.
here is the floor laid down and glued in sections (just ’cause my weights are too small to do it all at once.) i’ll be cutting the points off later
last picture today is of the “weights” holding the wood as flat as possible t omake good contact while the glue dries
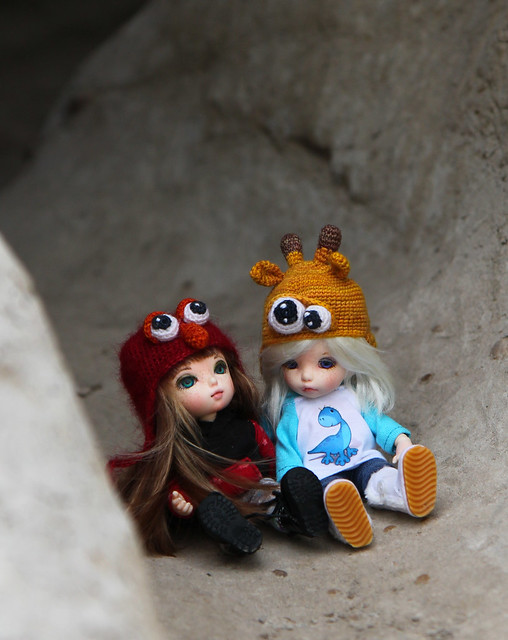
amber and crystal travel to drumheller
amber and crystal went exploring in drumheller on the weekend. they found a cave, but decided it was a bit too dark and scary so they sat in front to “admire the view”
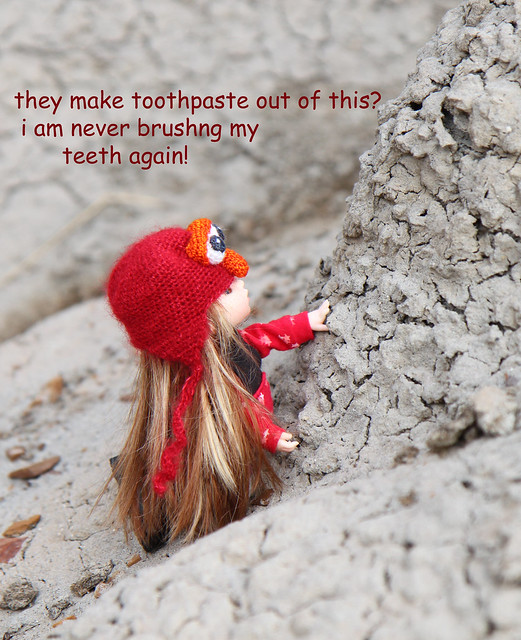
amber was disgusted to find out the popcorn mud is used to make the base of toothpaste
crystal did a bit of exploring on her own so missed the toothpaste conversation
house hunting
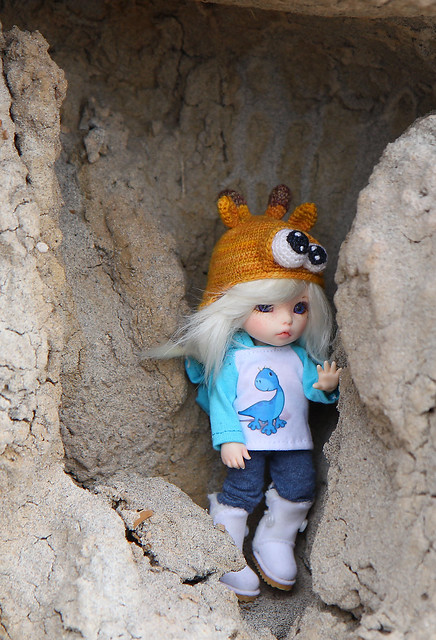
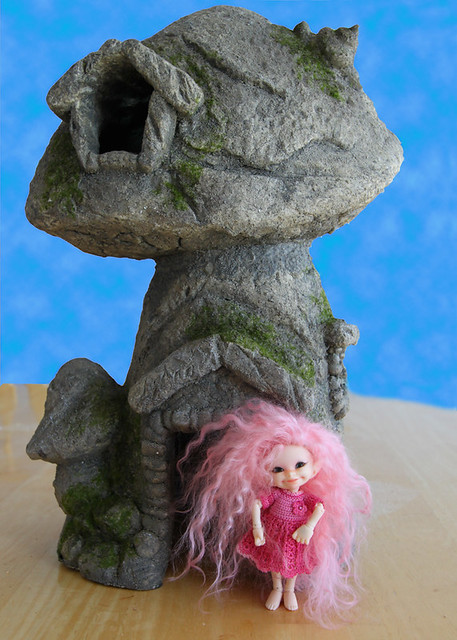
smidge went house hunting this week and found a lovely fairy house. she tried very hard to like it, but in the end, the annoyance of constantly hitting her head on the door frame made her decide to keep looking
noah
noah finally got some clothes. he raided amberglas’ closet and made off with a dino t-shirt and jeans. then celebrated his “new clothes” by climbing up and down trees. something he had found impossible while wearing a paper towel toga 😆
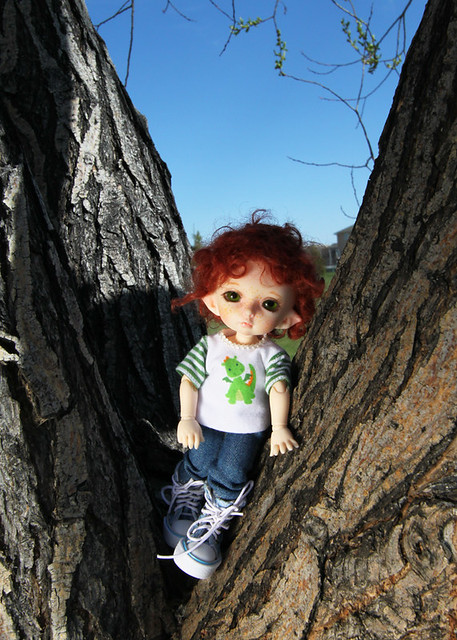
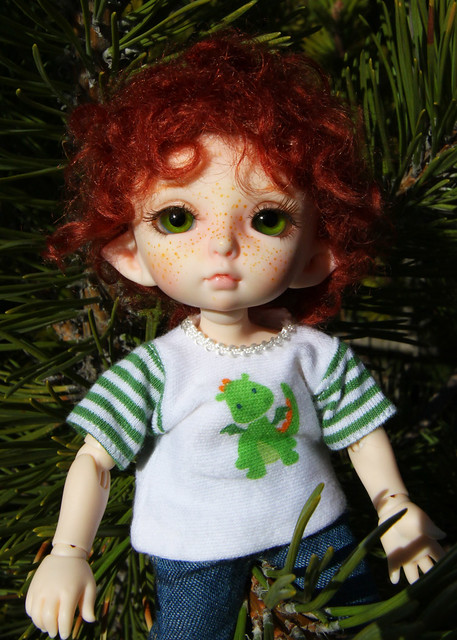
(he asks that you kindly ignore the frilly neck on his t-shirt, but says he got really tired of waiting for me to make him one of his own!)
clearing backgrounds
on a field trip with on of my kids, as the “official”event photographer, i came home with a whole pile of pictures that needed to have all the extra people photoshopped out. there are various reasons why kids can’t be photographed but the end result is that no picture can be used that has more than one child in it, and many of those pictures can only be seen by the staff and parent(s) of that particular child. at a crowded place like the zoo, that poses a lot of interesting challenges and requires me to stretch my skills in using photoshop. now obviously i can’t post any of the photoshopped pictures, but i though i’d put up some of the interesting (to me at least) animal shots which i have done using the same techniques.
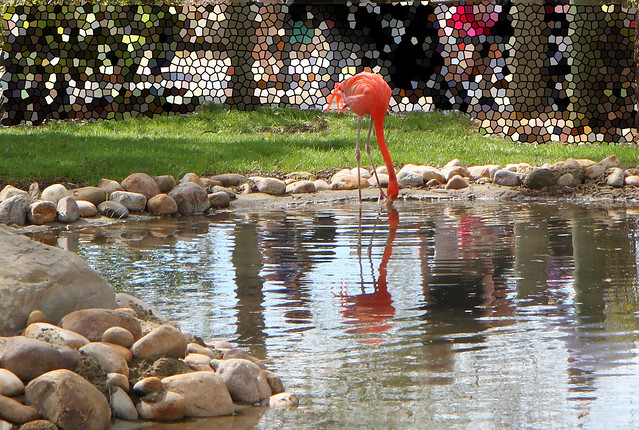
this one gets rid of all of the annoying people in the background using a stained glass effect. it would be really expensive in real life, but wouldn’t it be cool?
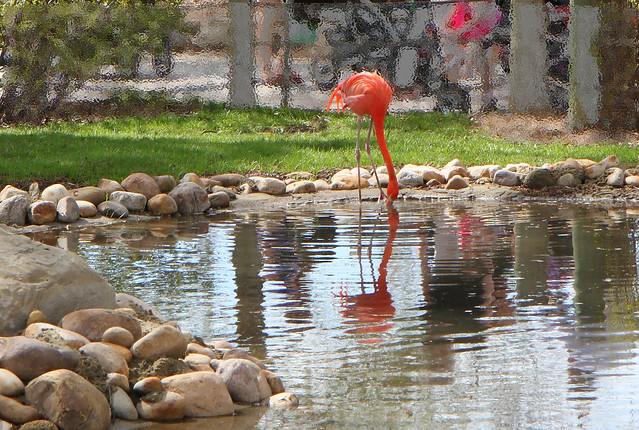
this one makes it lok as if there is a wall of watery glass around the enclosure.
string of pearls
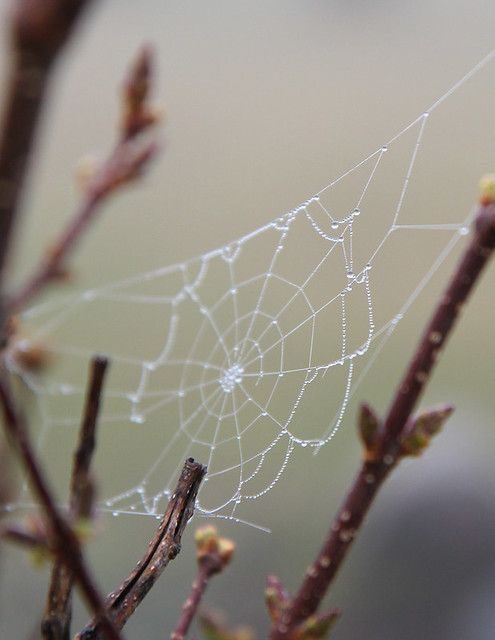
heavy fog covers the spiderweb in water drops like strings of pearls.