(this tutorial is picture heavy and might take a while to load)
i just finished making 2 of these lace skirts with crocheted waistbands, and thought it would be fun to share how i did it. it was so quick and easy that you can have a cute skirt for your bjd in just a couple of hours or less (depending on how fast you crochet)
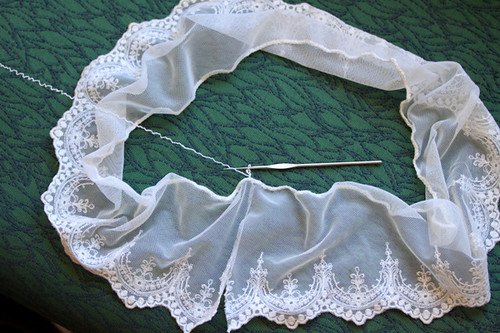
first off you need to gather your supplies. i used about 1 meter/yard of 12.5cm/5″ wide lace, a small amount of bamboo lace yarn, a piece of elastic 3mm/1/8″ wide and long enough to fit over your girls hips with some overlap and a 1.00mm crochet hook (us size 11/12). that was enough to make a nicely gathered skirt for an msd sized bjd. for a sd sized doll i would use 1.3-1.5 meters of lace any width you deem appropriate.
ok, off we go….
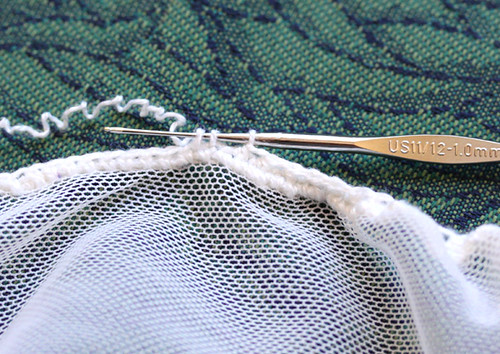
starting at one end of the lace with the right side towards you, crochet single crochet along the top edge. i went down about 3mm or so to catch enough of the lace to keep the stitches from ripping out. i also crochet over the yarn end so i don’t have to sew it in later.

this particular lace had a narrow woven in thread to reinforce the top, but my other skirt just had a cut edge.
try to keep your stitches at least roughly, evenly spaced apart, so that the later gathering is even, but you don’t have to be too exact. i didn’t count the holes by any means, just kind of eyeballed that it was about the same. the other thing to watch out for is that your stitches aren’t too close together or the waistband will be too bulky. i gathered it in ever so slightly with my stitches.
continue on till you get all the way across.

this is your longest row. it gets shorter from here.
when you get to the end, bring the lace around to form a loop, being careful not to twist it. stitch a join to the beginning of the row. if you like you could sew the lace edges together by hand or on your sewing machine before you finish that first row.
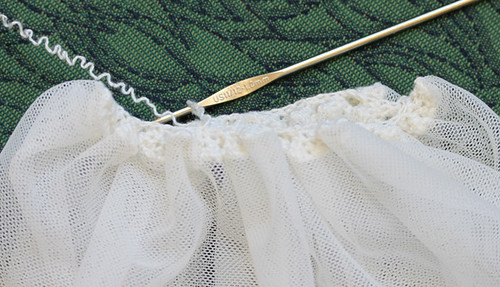
now we start to decrease. crochet 2 stitches together all the way around.
repeat until the skirt opening is just a little bigger than your girls hip. for this skirt i did two rows of decreasing every stitch and one row of crochet two together then 1 stitch plain, all the way around. it will all depend on how many stitches you made on the first row, and how long you cut your lace, what your decrease pattern will be.
now it’s time to add the elastic. you can do this one of two ways. the first skirt i made, i stitched one double crochet chain one, in each single crochet of the row below. then i threaded the elastic over and under each double crochet all the way around.
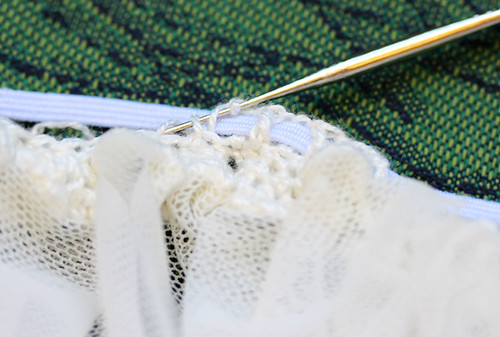
the second skirt i thought, there has to be a faster way, so i tried the following;
chain 4 in the first stitch of the last row of single crochet (counts as 1 dc chain 1). place your elastic under that stitch. going under your elastic, dc chain 1 in next sc. continue stitching around, alternating 1 stitch on top of elastic, next stitch under, till you get to the end. your last stitch should go under the elastic, then flip the end of the elastic back under the first stitch so it stops and starts in the same hole. join your thread in the third chain of that first stitch and fasten off.
pull your elastic in until it just goes around your girls hip if you stretch it a bit. overlap the two ends, cutting off any excess, and stitch together.
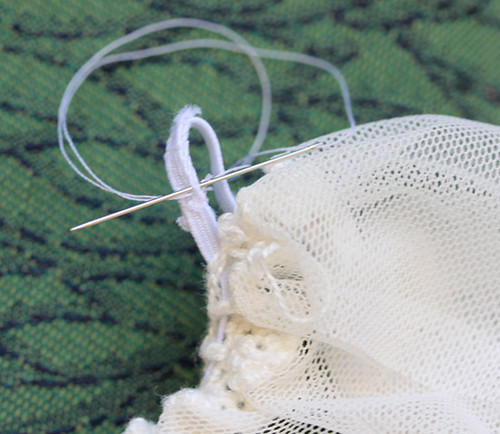
sew the yarn end(s) in and, if you want to, hand stitch the lace edges together. i made my skirts in a hurry while sitting in a hotel room so quite frankly i didn’t bother. i just put the cut edges at the center back when i wore them for pictures and with all the gathers it didn’t show at all.
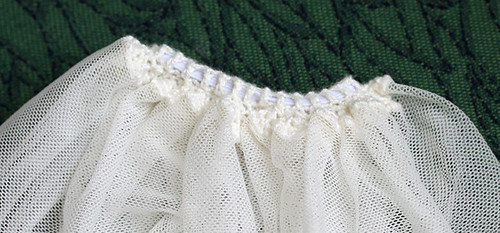
this is what your finished waistband should look like.
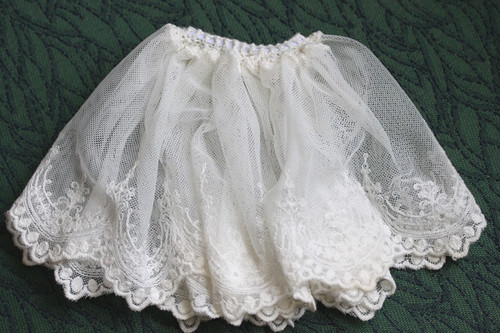
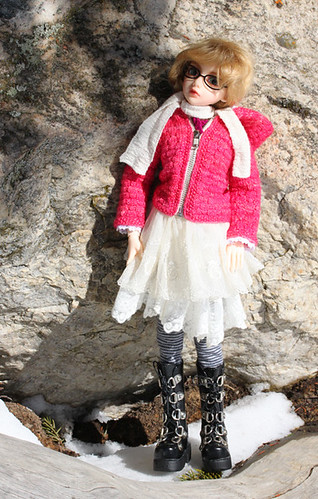
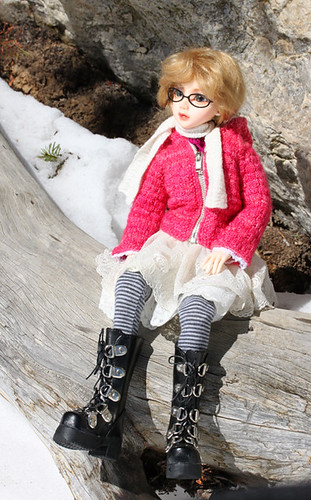
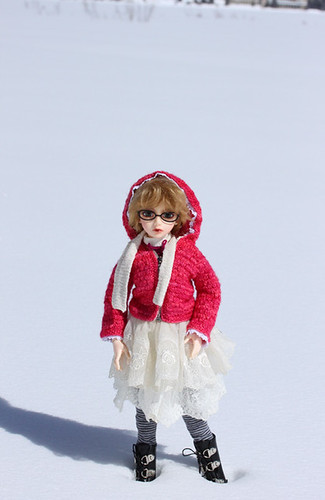
and your finished skirt. now wasn’t that easy?