i took a short break from the treehouse to make a rocking chair from clothespins and woodsies match sticks for my real pukis. it’s a variation on a clothespin rocker i’ve seen posted in several places, but i switched out some of the clothespin pieces for woodsies to make it more symmetrical, so i thought i would post a quick tutorial.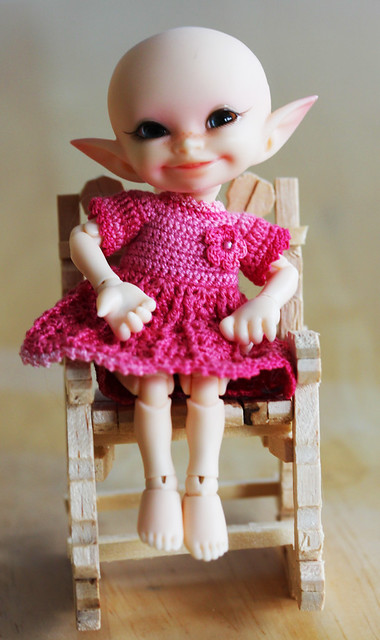
smidge is graciously modelling without her hair since otherwise you can’t see the chair at all 😆
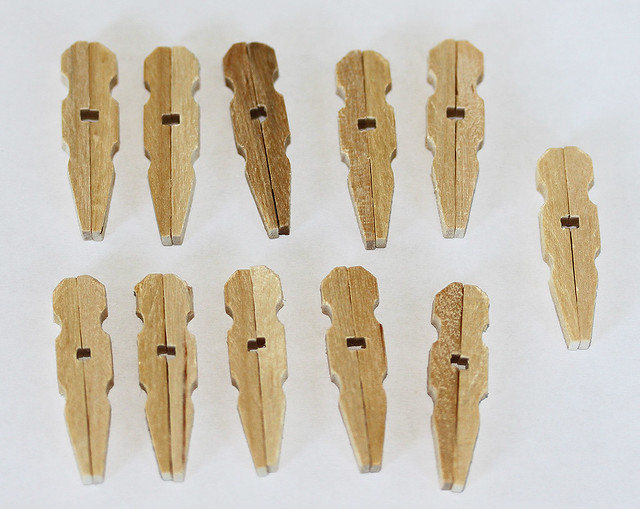
first remove all the springs from 24 miniature clothespins then glue 11 sets together back to back. i used aleene’s fast tac glue since it sets fairly quickly and dries really hard and clear.
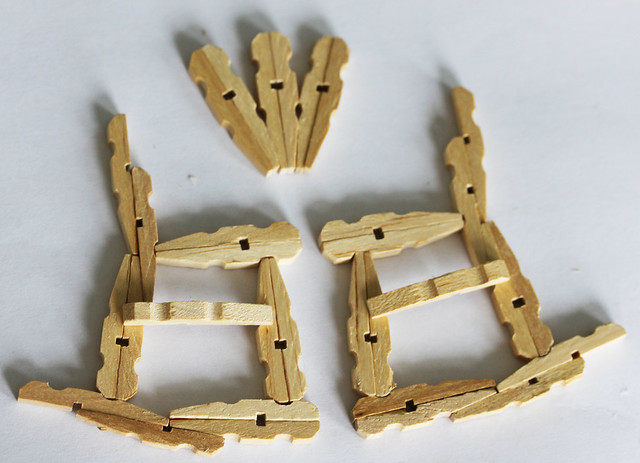
following the picture glue three sets together for the chair back and the rest together as shown for the sides. (you will also be using 10 half pins to finish up the sides.) make sure the sides are mirror images of each other and that the crossbar is the same height for both sides.

cut three “woodsie” matchsticks the same length as the width of the widest part of the chair back. these will be the seat supports
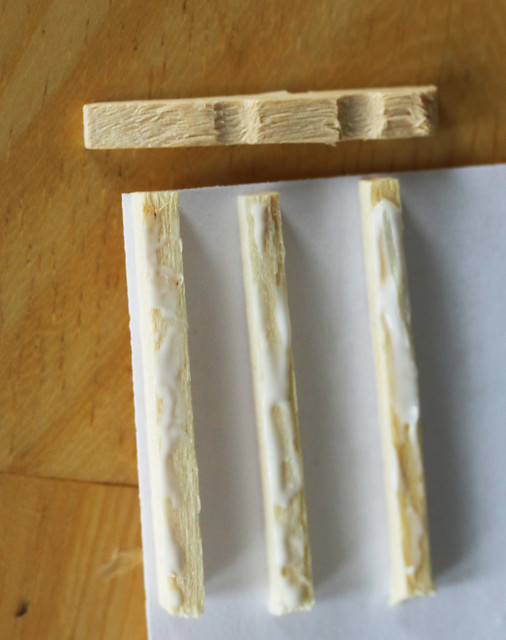
i lined the seat supports up on the corner of a piece of paper to make sure they were squared properly. two should fit in the dips of the clothespin and the third almost at the thinest part of the end. run a line of glue down each wood strip
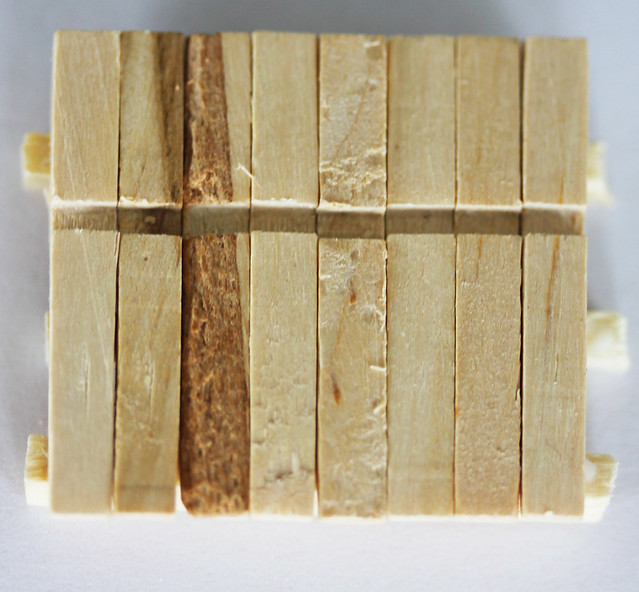
cover your wood strips with clothespin halves. mine took 8 halves for this size but a larger size only took 5.
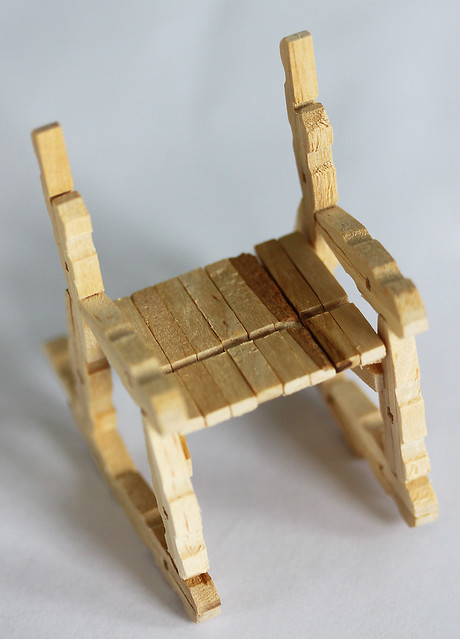
turn the sides so that the crossbars face in and glue the seat on
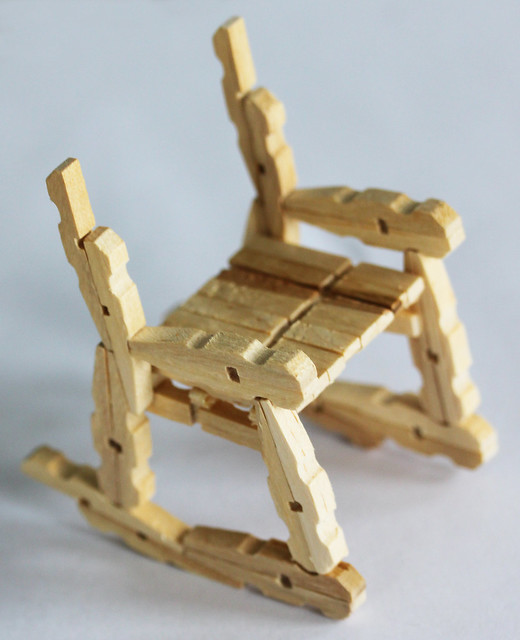
another view of how the seat is attached
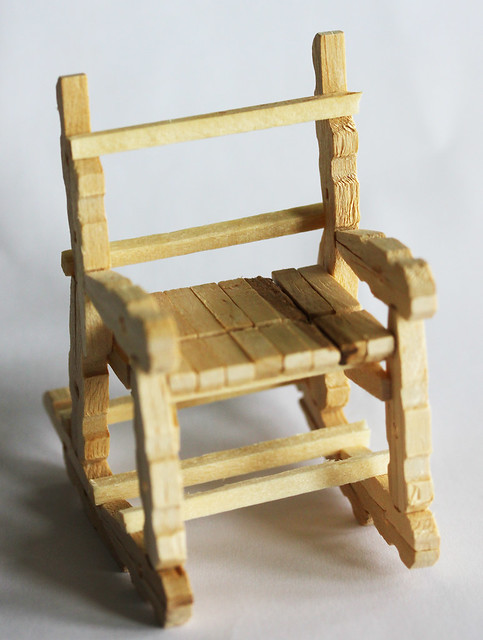
cut 5 woodsies long enough to reach across the frame. you will be putting the seat back pieces on the natural ledges formed by the clothespin ends. one on the front, one on the back. (if that doesn’t make sense let me know and i’ll try and take another picture. the other 3 brace the rockers. two inside the legs and one across the back right against the legs.
last glue the seat back in place. the should just touch the outer uprights and rest on the lower seatback brace. gluing it to the upper brace though is what really holds it in position. and now your chair is done.
you can make it with larger clothespins for larger dolls but you will have to get bigger wood for the braces as well.
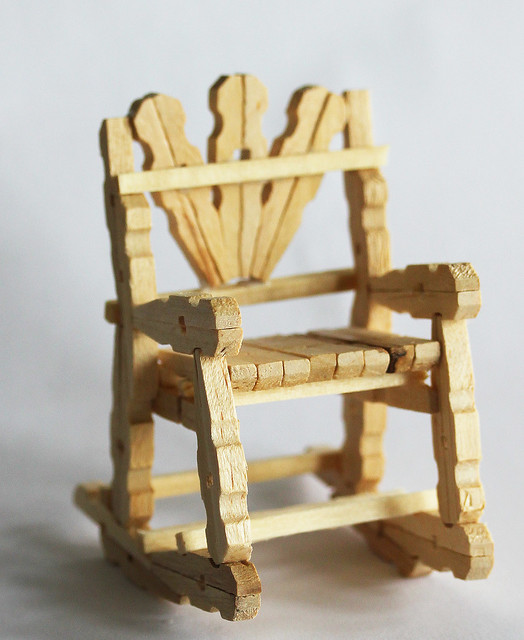
have fun and if you want to show yours off, feel free to post a link :o)