You are currently browsing the archives for 2011.
Displaying 161 - 170 of 174 entries.

banff/lake louise trip day 4

  • Posted on May 22, 2011 at 6:16 pm

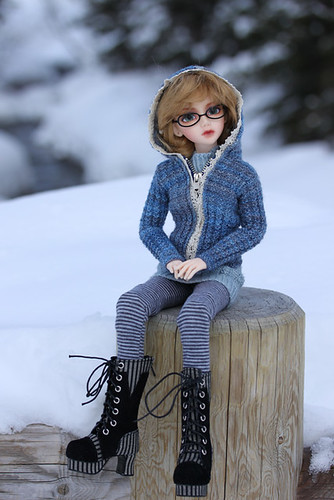
today our luck with the weather was still holding. it continues to be clear and just around 0 centigrade. another great day for exploring.
the fence makes a great seat
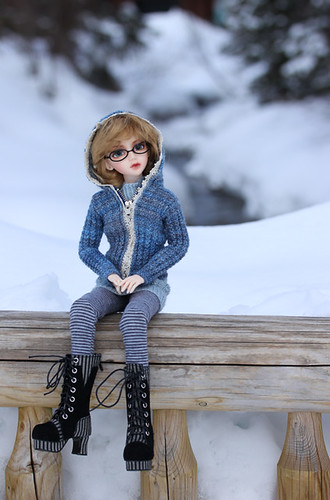
we crossed a creek on a rustic wood bridge and couldn’t miss the opportunity for a good photo op.
admiring the lake view
today i’m wearing a slim fitting, textured wool jacket in madelinetosh lace mourning dove, a blue gray variegated yarn. the front edge is trimmed in cream lace to add to  its feminine appeal.  i gave up my lace skirts in favor of a light blue tunic-dress over my leggings.  you’ll see more of that later.

bridge across the creek

behind me you can see a bit of the creek that still flows unfrozen and undaunted

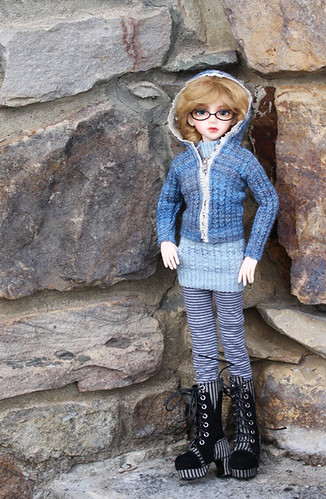
a cool stone wall

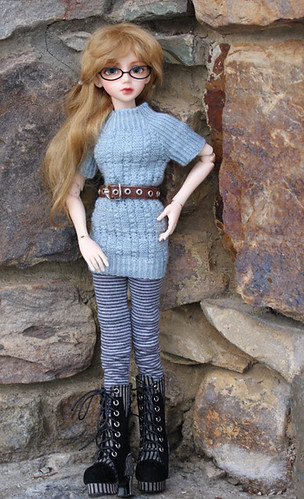
farther on we found a great stone wall that makes a perfect backdrop for more pictures.  i love the rustic look.  can i take it home, please?

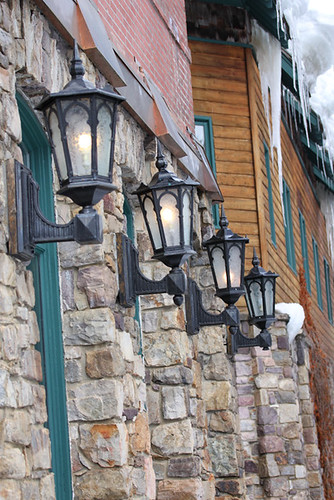
lanterns in perspective

higher up were cool lanterns glowing even though it was still only mid- afternoon.

i love this background

it was warm enough to take my jacket off and give you a glimpse of my tunic-dress. it is knit in madelinetosh lace denim color,  a very subtle blend of light blues. i love how the variegated yarn softens the texture slightly, almost like a soft focus photo.

my first (and second) faceup part 3

  • Posted on May 22, 2011 at 3:29 pm

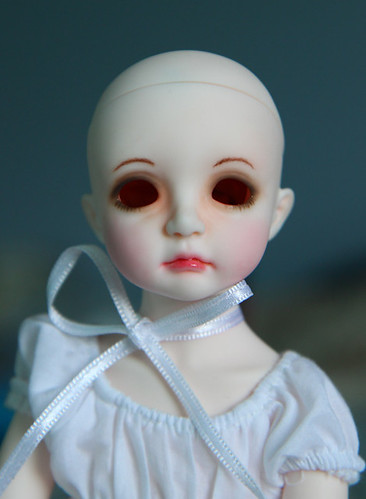
the faceups continue, many layers of paint later the girls are done and waiting for the varnish to dry around the eyes so that they can get lashes, eyes and wigs.
i used mostly pastels to color them, rubbing the pastels on sandpaper to get my pallet then applying it with a variety of brushes and q-tips. the eyebrows were done with pastels and watercolor pencils and the lashes with thinned down acrylic paint.

here is ananda
ananda eyeless

and ellyce
ellyce eyeless 2

ellyce eyeless

i’m surprised at how different they look even though i used similar painting schemes and the sculpt is identical for both. ellyce’s shorter neck makes her face look chubbier.

my first (and second) faceup part 2: mr super clear and the paint hood

  • Posted on May 22, 2011 at 12:07 am

i decided to do ananda’s little sister ellyce at the same time as ananada.  it allows me to work on one while the paint/sealant dries on the other.

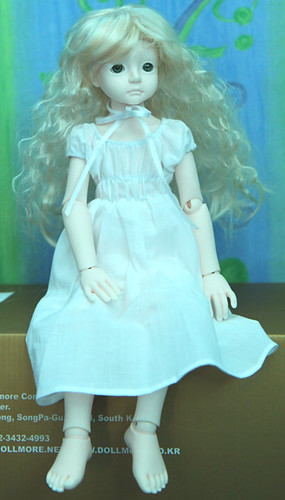
so to give ellyce equal time, here she is as she first arrived with default eyes and wig,

deardoll shabee panda suit

here she is ready for her first coat of mr super clear. her body is adorable and very posable but desperately needs heavier string!

deardoll in paintbox

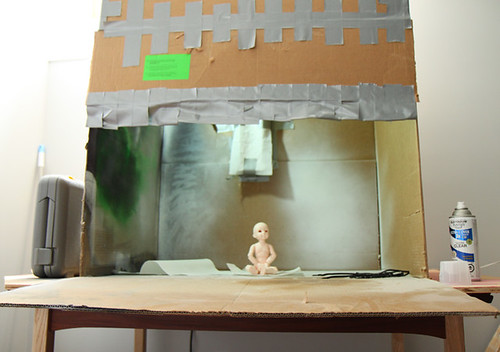
and here is the fume hood she is sitting in.

the paint hood
the hood was built for michael by his dad, for painting his guitars. the white rectangle in the back is a filter/fan which leads to a long vent hose that we put up in the window when the hood is on. the vent is attached to a piece of wood that blocks the rest of the window opening so the fumes don’t blow back in. the box is just that, a box. the front flap folds up to close after painting to “seal” it. and is held closed by moving the tool box (seen on the left) in front. simple, but effective. it doesn’t block 100% of the fumes. we still paint with a respirator on, but it keeps most of them out of the basement where michael lives. there is also a light inside at the top, so you can see what you are painting.

my first faceup: part1

  • Posted on May 11, 2011 at 4:16 pm

my cans of mr superclear finally arrived – by sea all the way from  hong kong, no less –  so i’m ready to try my first face-up ever.  my first victim – er i mean subject – is my cousin ananda, a dollmore, narsha friend shabee. she’s been looking very pale and ghostlike ever since she came to live with us, and begged to be the first to get a facial.

in the spirit of true makeover articles, i will start with the before shots.   this will show what she looked for to start with.  i apologize in advance for the crummy lighting.  they were taken in the bedroom and the light through the curtains makes her look very greenish.  i assure you she is not normally green!

ananda pre-faceup here she is looking as she did when she first arrived.

ananda pre-faceup this is a closer look at her face.

even without makeup she is very cute!

ananda pre-faceup with her wig and eyes removed for protection from the first spray coat.  she will be getting a new hair color and changing her eye color as well, but that’s no reason to muck them up with spray 🙂

ananda pre-faceup another angle.

she is trying to be patient with all these photos but is really ready to start!

thread crocheted owls

  • Posted on May 3, 2011 at 10:14 pm

crochet owls

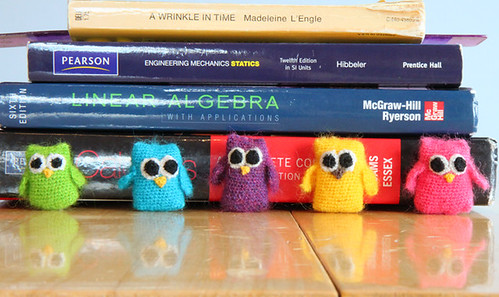
i’ve been having fun lately making little crocheted owls for my small cousins.  this is a rather odd line up of them, ’cause i used them in an assignment for my photography course.  we were learning how angles and aperture size affects depth of field. i love how the reflections showed up so clearly on the table in this photo.

crochet owls with books

here’s another shot against some textbooks, also part of the assignment, but it gives a better idea of the size.  we had to line the objects up against a flat background for the second part of the assignment, and i couldn’t resist the juxtaposition of cute little crocheted things against serious math texts.

on top is another of my all time favorite books ” a wrinkle in time” by madeleine l’engle.  i’m re-reading the series for the umpteenth time.

banff/lake louise trip day 3

  • Posted on May 3, 2011 at 7:33 pm

it’s been a while since i added to my trip log, life’s been busy…isn’t it always?
today was a quiet day. the sun was bright, the air was clear, we went for another stroll around the lake. for some reason most of my pictures didn’t work out, but i have a couple to show you….

enjoying the day

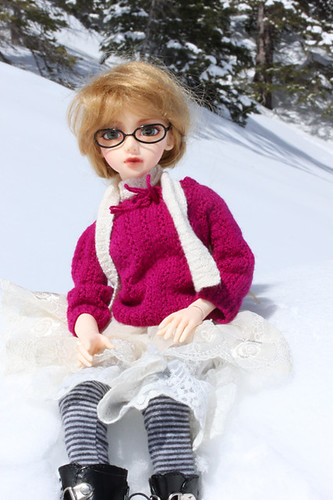
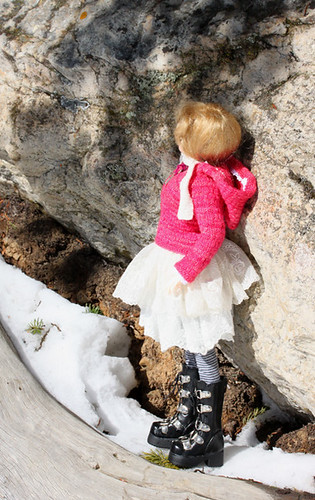
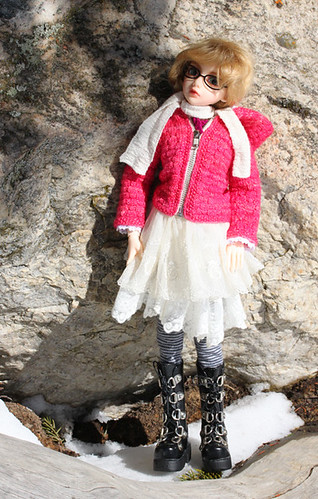
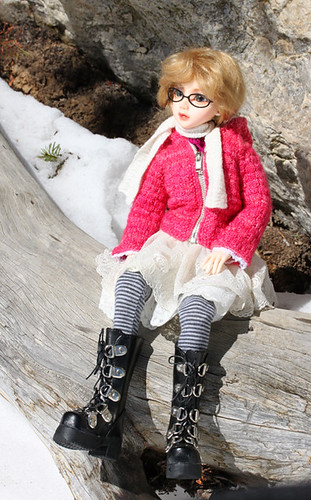
at the end of the lake i climbed up on a huge snow covered rock just to enjoy the view.  it was warm enough that i chose a lighter weight sweater today – this one a lovely pink lace knit out of zephyr wool-silk, teamed up with my cream colored scarf to keep the chill off. i relished having the sun in my face and being able to go bare-headed today.

an introspective moment

as usual we found many places to explore and a few good enough for a photo op.

trip to lake louise/banff day two

  • Posted on April 12, 2011 at 5:59 pm

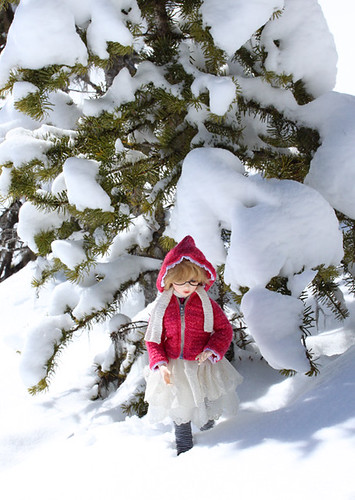
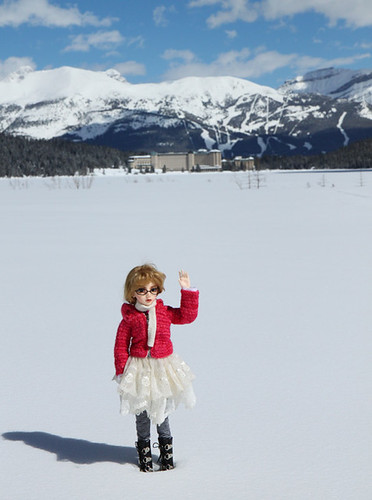
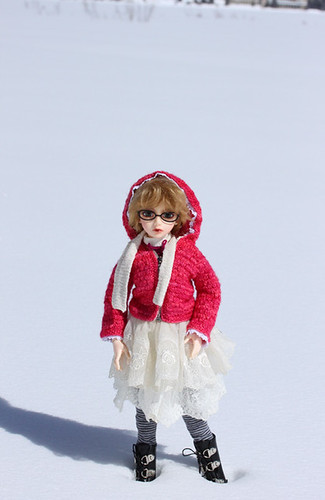
after the heavy snowfall the day before, i woke to sunshine sparkling off a snow covered landscape. the day was calm and windless, a perfect day for a stroll and photo-shoot around the lake. the deep untouched snow did make for some hard walking, but it was so beautiful that i didn’t mind

walking around the lake

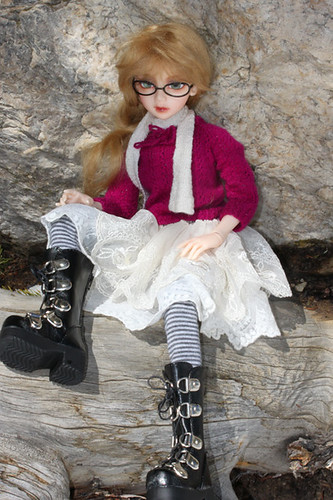
today i dressed in my new lace skirts (see tutorials for more info on them) and a lovely thick, soft jacket made of shocking pink, malabrigio sock yarn and trimmed with cotton lace. once again i wrapped my bamboo scarf around my neck to keep out the chill.

the sun was already melting the snow, so i debated climbing up a nice little path i found.

starting to climb

but in the end i decided it was just too steep and slippery…

maybe too far?

so i sat down to enjoy the view for a while instead.

i think i'll rest instead

it really was a gorgeous view!

here you can see just how far i had walked.  i started out at the chateau….

see how far we came?

and walked all the way around the lake to the other end!

the snow was so clean and untouched…

the snow is so untouched

i just had to make a snow angel

i have to make a snow angel
then it was time to head back for just in time for dinner.

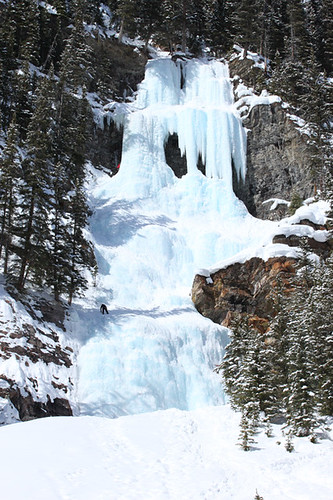
on the way back i stopped to watch some brave people scaling a huge ice fountain on the cliffside.

ice climbers

but was just as happy to stay on the ground this time.

trip to lake louise/banff day one

  • Posted on April 9, 2011 at 2:46 pm

after a long drive through a spring snowstorm, we finally arrived at chateau lake louise for the first day of our  holiday. what a relief to get there! the drive took twice as long as normal because of the heavy snowfall. we took our bags to our room then quickly dressed for a walk outside before dusk.  the snow had stopped falling and the whole lake gleamed with a fresh coat of powdery white.

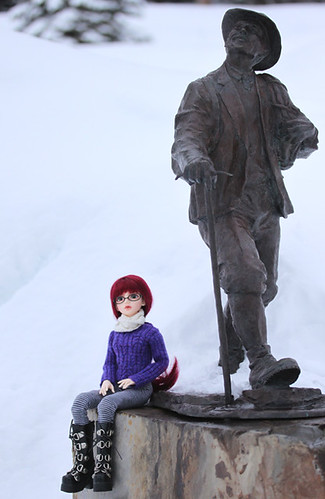
purple sweater statue

walking down to the lake i found a lovely bronze statue of a guide, who must have been a bjd, because he was just my size!

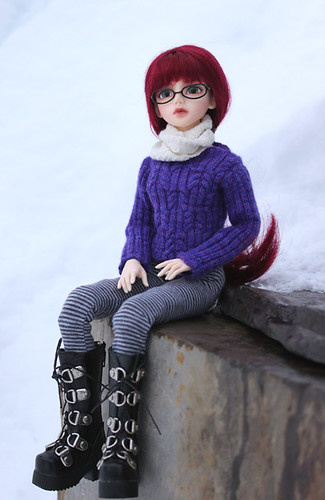
purple sweater statue base

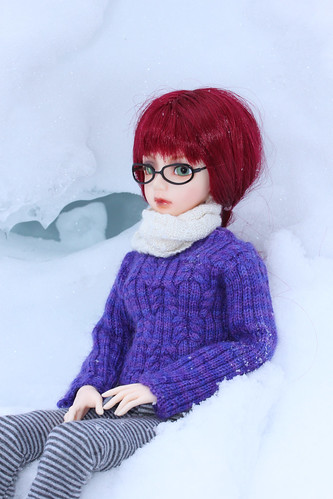
since part of the reason for our trip was to photograph all of the new sweaters i had designed, we took a closeup of my lovely purple wool cabled sweater as i relaxed on the statue’s base. my cosy reversible cream bamboo scarf was just the thing to keep my neck warm in the afternoon’s chill.

purple sweater climbing

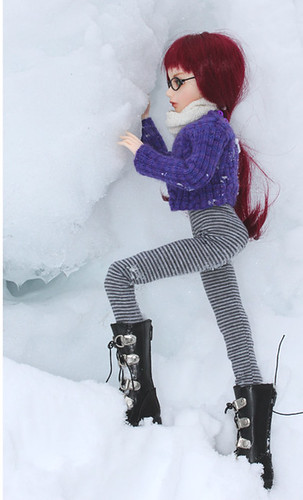
up the hill i saw an ice cave and climbed up for a closer look. i really need to knit some mitten’s next, that snow is cold on my bare hands!

purple sweater ice cave

the little cave had some beautiful ice formations but after the hard climb i needed to sit and rest a bit.

purple sweater ice cave closeup

maybe just a little longer? would you like another peek at my sweater while you wait for me?

purple sewater falling

on the way down i lost my footing and slid to the bottom. that was certainly a faster way down the hill, but i think i’ll go inside now and warm up….


crocheted lace skirt tutorial

  • Posted on April 9, 2011 at 12:37 am

(this tutorial is picture heavy and might take a while to load)

i just finished making 2 of these lace skirts with crocheted waistbands, and thought it would be fun to share how i did it.  it was so quick and easy that you can have a cute skirt for your bjd in just a couple of hours or less (depending on how fast you crochet)

first off you need to gather your supplies. i used about 1 meter/yard of 12.5cm/5″ wide lace, a small amount of bamboo lace yarn, a piece of elastic 3mm/1/8″ wide and long enough to fit over your girls hips with some overlap and a 1.00mm crochet hook (us size 11/12). that was enough to make a nicely gathered skirt for an msd sized bjd.  for a sd sized doll i would use 1.3-1.5 meters of lace  any width you deem appropriate.

ok, off we go….

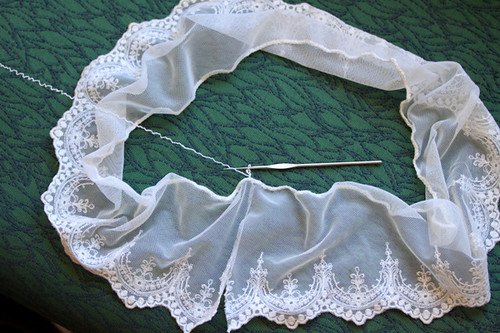
starting at one end of the lace with the right side towards you, crochet single crochet along the top edge.  i went down about 3mm or so to catch enough of the lace to keep the stitches from ripping out. i also crochet over the yarn end so i don’t have to sew it in later.

crocheting the first row

this particular lace had a narrow woven in thread to reinforce the top, but my other skirt just had a cut edge.

try to keep your stitches at least roughly, evenly spaced apart, so that the later gathering is even, but you don’t have to be too exact.  i didn’t count the holes by any means, just kind of eyeballed that it was about the same. the other thing to watch out for is that your stitches aren’t too close together or the waistband will be too bulky. i gathered it in ever so slightly with my stitches.

continue on till you get all the way across.
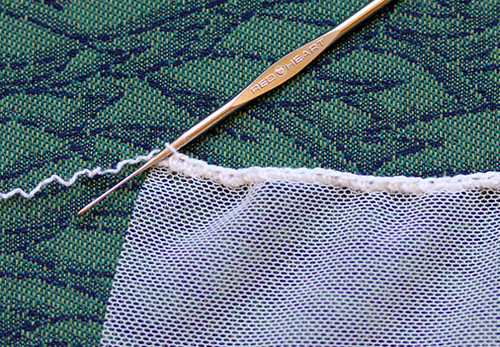
finishing row 1

this is your longest row.  it gets shorter from here.

when you get to the end, bring the lace around to form a loop, being careful not to twist it.  stitch a join to the beginning of the row. if you like you could sew the lace edges together by hand or on your sewing machine before you finish that first row.
starting row 2

now we start to decrease. crochet 2 stitches together all the way around.
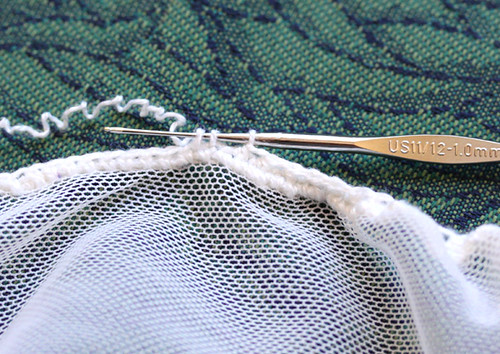
decreasing stitches

repeat until the skirt opening is just a little bigger than your girls hip. for this skirt i did two rows of decreasing every stitch and one row of crochet two together then 1 stitch plain, all the way around.  it will all depend on how many stitches you made on the first row, and how long you cut your lace, what your decrease pattern will be.
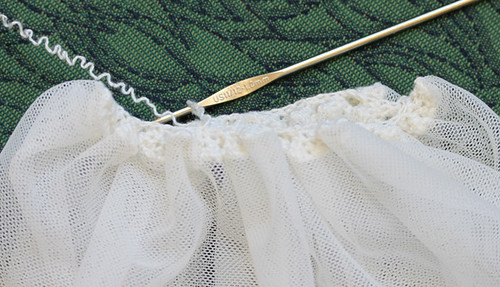
rows 2 and 3

now it’s time to add the elastic.  you can do this one of two ways.  the first skirt i made, i stitched one double crochet chain one, in each single crochet of the row below.  then i threaded the elastic over and under each double crochet all the way around.

the second skirt i thought, there has to be a faster way, so i tried the following;

chain 4  in the first stitch of the last row of single crochet (counts as 1 dc chain 1). place your elastic under that stitch. going under your elastic, dc chain 1 in next sc.  continue stitching around, alternating 1 stitch on top of elastic, next stitch under, till you get to the end.  your last stitch should go under the elastic, then flip the end of the elastic back  under the first stitch so it stops and starts in the same hole.  join your thread in the third chain of that first stitch and fasten off.
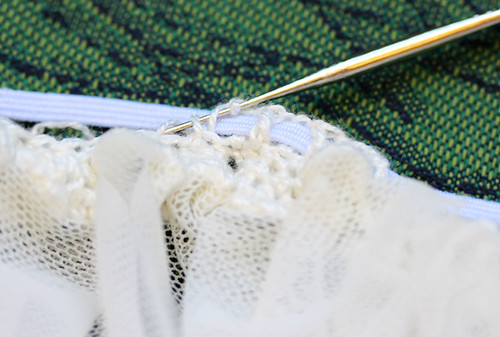
adding elastic

pull your elastic in until it just goes around your girls hip if you stretch it a bit.  overlap the two ends, cutting off any excess, and stitch together.
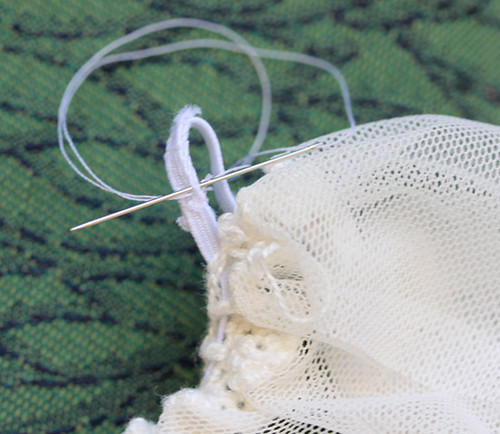
sewing elastic

sew the yarn end(s) in and, if you want to, hand stitch the lace edges together.  i made my skirts in a hurry while sitting in a hotel room so quite frankly i didn’t bother.  i just put the cut edges at the center back when i wore them for pictures and with all the gathers it didn’t show at all.
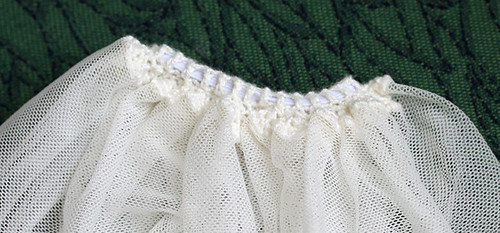
finished waistband

this is what your finished waistband should look like.
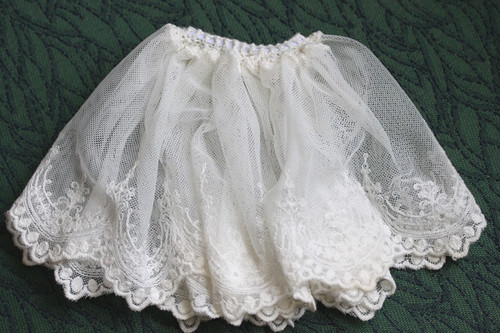
crochet lace skirt finished

and your finished skirt.  now wasn’t that easy?


the beauty of hoar frost

  • Posted on March 31, 2011 at 10:58 pm

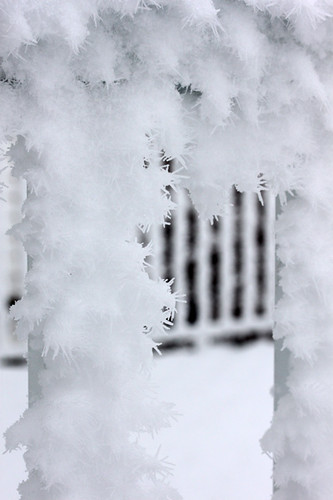
i’ve always loved the look of the world when it is covered in hoar frost, the trees leafed out in gleaming crystals, the whole world fresh and clean.  before dirt and mud spoils its purity, the sight to me is breathtaking.

hoar frost railing

i love too, how the frost changes everything – giving a new perspective to the most mundane of things.

waiting for spring