You are currently browsing the craft room cleanup category
Displaying 21 - 30 of 40 entries.

my caravan has a table

  • Posted on September 30, 2018 at 9:28 am

since the last attempt at a table turned into a storage bench, my ‘pukis requested another table, and there was just enough room in the caravan for a small one.

table bare
i started with a miniature candlestick from my stash, just a shade under 1-1/2″ tall. the top is a 1-1/2″ wooden disk and i just glued them together.

table painted
i painted the bottom metallic purple, the top turquoise. it looked a little bare and i considered painting a floral design on top, but realized my painting skills don’t really match the vision i had. so instead i looked online for pictures of mandalas, resized them and then printed out a bunch on cardstock. i find that what looks good on my desktop is not always the correct color or clarity when printed, so this gave me some choice. after i cut out and auditioned them, i modge-podged the one i liked best on the table-top.

table in caravan
it just fits, and holds two tiny pewter mugs i ordered online. the furnishings are done, it’s time to work on the diorama next.

rusty soup pot

  • Posted on September 29, 2018 at 8:50 am

with no kitchen in the caravan, my ‘pukis need to cook over an open fire. what better to cook with than a nice soup pot? i could have just bought one, but where is the fun in that? once i figured out the appropriate size, it was time to hunt for a suitable base.

pots
i found these bolt covers really cheap at the hardware store. they were the perfect size and shape for a soup pot. the top is the cap from a travel size spray bottle. i’m going to try all three and see which works best.

first i sanded them all to get rid of any imperfections and to get the surface ready for painting. i sprayed the bolt covers with a couple coats of rustoleum aged metallic rust, inside and out. the spray bottle cap was sealed with clear spray, painted with a light dusting of the aged metallic to make “rust” spots. and then put aside as i’m not sure yet what i am going to do with it yet.

bucket 2 patina
bucket patina
next i hand painted a combination of coppers/bronze, brown and teal metallic to get an aged look.

bucket side
for the first pot i glued on tiny copper hearts to form the bottom handles, and made the actual handle out of copper wire. now it can swing freely

bucket 2 side
for the second pot the handle was made out of #2 black eyes. the handle will be wire again. i’m debating trying to get some black wire for this one, doing the plain copper wire again or just trying to spray the copper with black paint….

littlefee craft table

  • Posted on September 28, 2018 at 12:13 pm

i’m still working on both the craft clean-up and my realpuki caravan, but the next bits aren’t at the point where i can put up pictures or posts yet. so here is another quick and easy littlefee/yosd sized prop.

littlefee craft table
i have a bunch of these little shelving units, in various sizes and configurations. they were actually gift boxes that held wooden brain teasers. i have bought several over the years. the brain teasers themselves become stocking stuffers for various family members, or go in to shoe boxes for operation christmas child (they make great gifts for boys 10-14.) i had planned to use them in my pukifee bedroom, but ended up with way more than i needed, so what to do with the extras? these 3 turned out to be exactly the same height and are going to get re-purposed as a craft table. the top is a pine board from michaels. the width was perfect and it just needed to be shortened slightly.

littlefee craft table
here is how i plan to set it up. at first i was just going to place them together so that the pieces could be used elsewhere if needed. but they separated too easily, so i glued them together with white glue instead (fast tack to be exact)

littlefee craft table
checking to make sure the table top fits. after i trimmed it i sanded all the edges and rounded them slightly.

littlefee craft table
waiting for the glue to set.

littlefee craft table
and all finished!
because the bottom was pre-stained and the top unstained, it was going to be almost impossible to match the colors, so i didn’t even try. instead i stained the top with ‘beach glass” water color paint. i really like the contrast.

tin boxes larger…

  • Posted on September 26, 2018 at 4:49 pm

i liked how the little tin boxes came out so well, that i decided to make some bigger ones for my littlefee-minifee sized dolls

'tin' boxes larger
this time instead of 15mm (9/16″) cubes, i started with 25mm (1″) cubes

'tin' boxes larger
i picked coordinating tiles to make patterned lids instead of plain.

they were nice, but at this scale there wasn’t quite enough detail to be realistic. so after thinking a bit, i got some fine cord from my embroidery thread bin, estimated how much i would need by wrapping loosely around one cube 6 times, and then painted it silver.

tins with lids
here you can see it drying on my handy dandy silicone sheet. this lets the paint be all the way around and it still doesn’t stick. the extra paint just washes off my sheet later.

tins with lids
i then carefully glued it around the top. since the labels were coated with modgepodge already i just applied another thin layer and then stuck the cord in place. it worked perfectly, the cord stuck and no worries about extra glue showing. now my tins look like they have lids 🙂

tins in scale
and just to show the scale. here they are stacked on eilidh’s desk.

littlefee study desk

  • Posted on September 25, 2018 at 2:54 pm

switching to a different size this time…

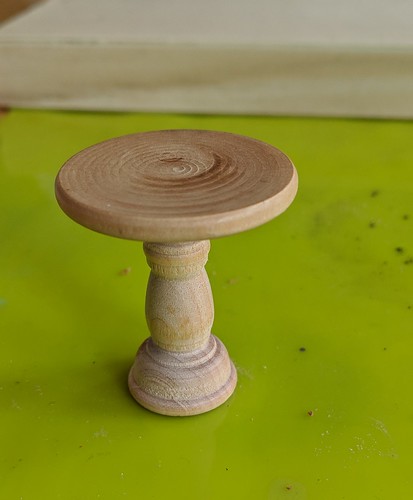
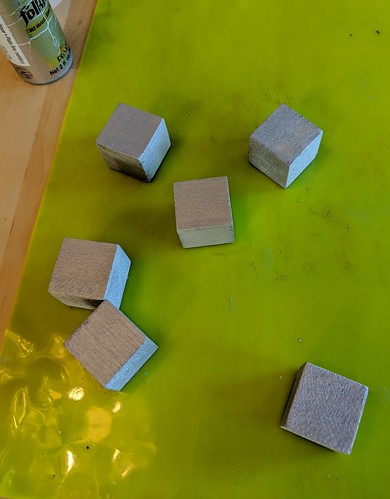
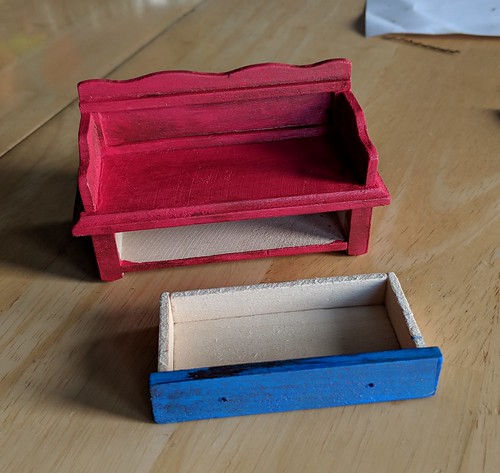
as i went through some of my drawers i found several odds and ends that i thought might eventually be made into tables. it was time to decide which ones would actually work, and which pieces were the wrong scale for any of my dolls and could be given away.

table parts
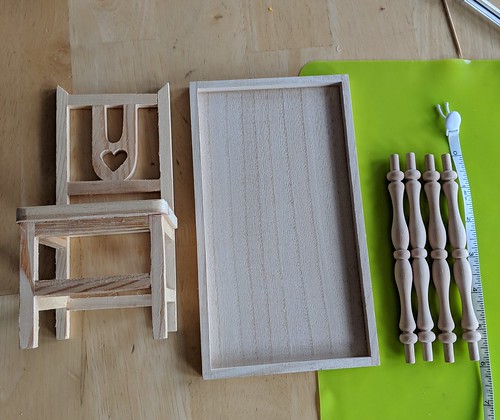
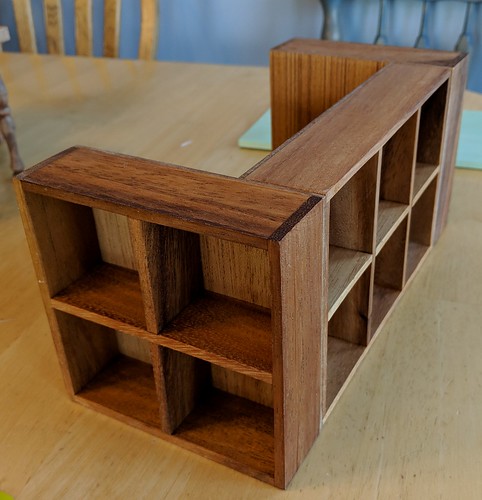
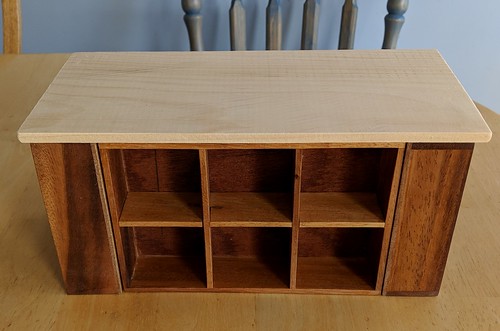
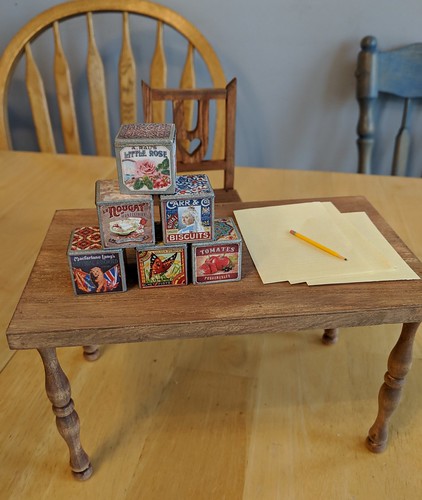
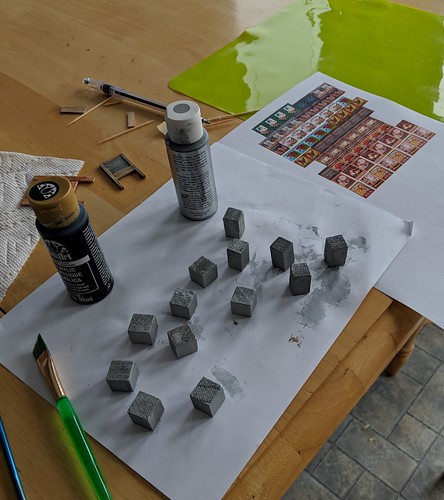
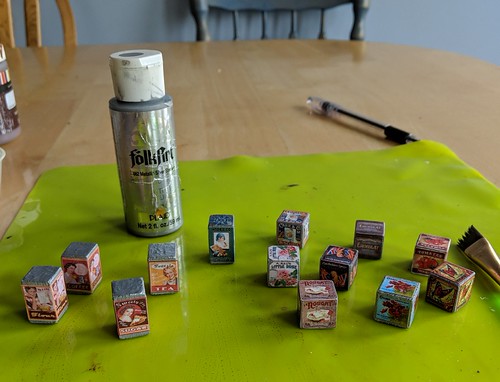
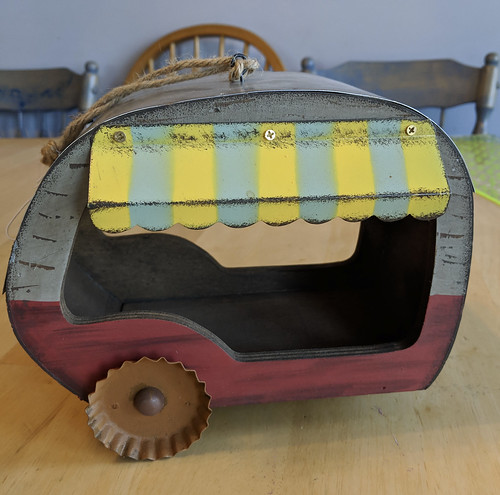
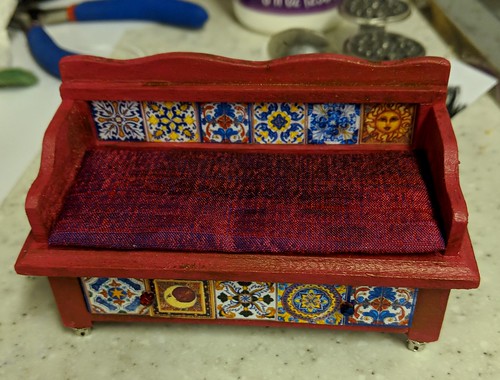
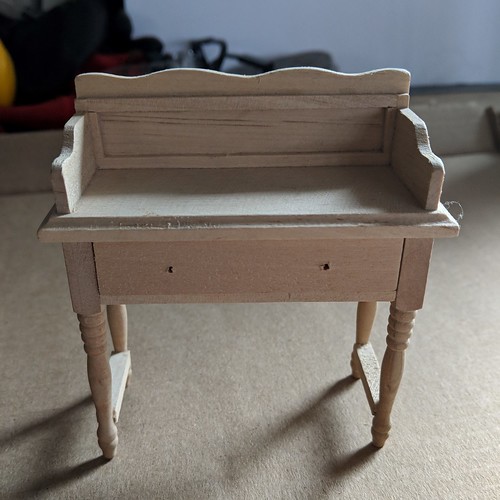
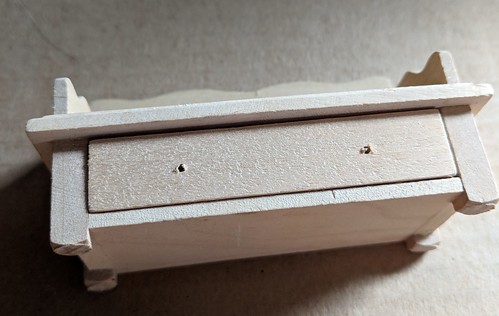
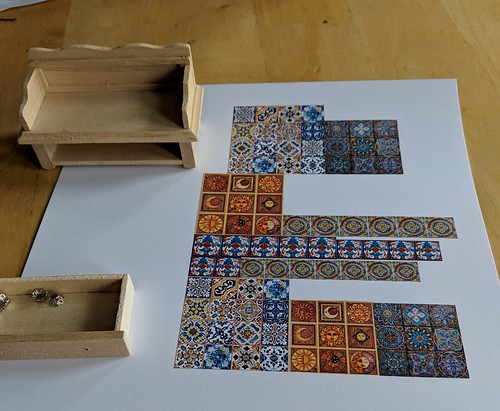
these pieces looked like they had the potential to become part of a study center for my littlefee sized dolls.

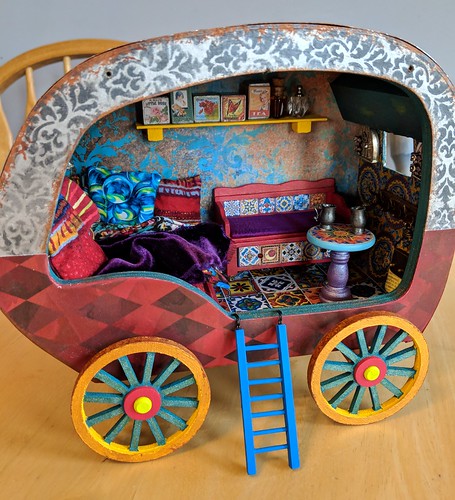
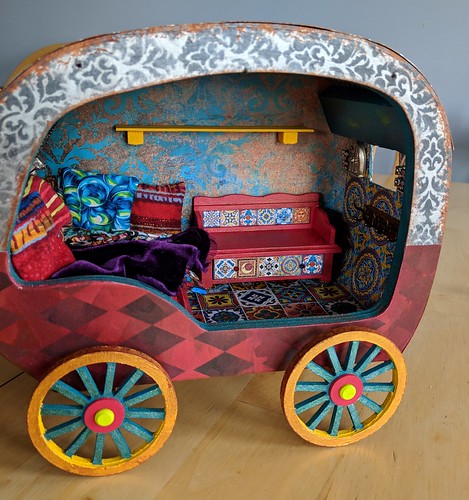
did i mention that once i get my craft rooms cleaned out, my dh is going to help me build an msd-sized house for my dolls? i’m thinking this one, i just need to clear out enough room to set it up before we build it. i am also planning to con him into making a photo box/room box that i can set up differently depending on what photo i want to take. either way the furniture will be put to good use.

table legs shortened
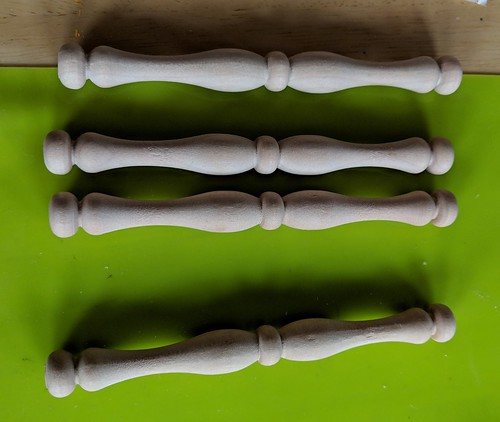
the spindles needed to be shortened to make the right length table legs, so i carefully cut the tenons off. that made them the perfect length and also gave more surface area at the top to glue, and the bottom for sturdiness.

table glue drying
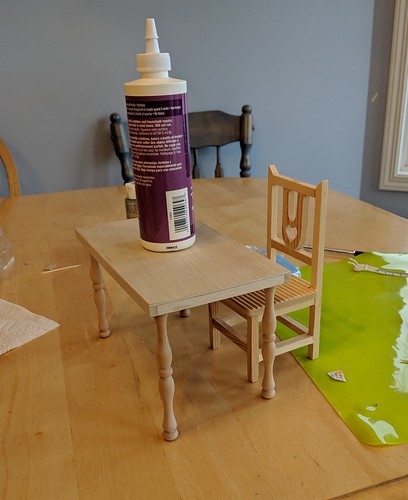
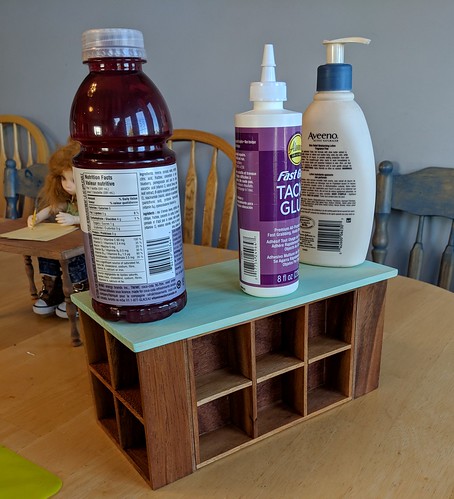
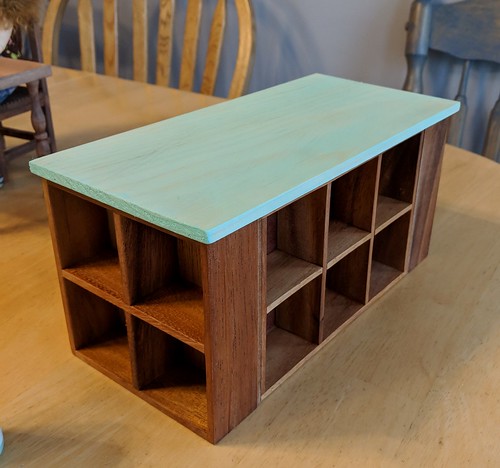
the spindles were glued to the bottom of the table and also to the corner of the edging. once the glue set up a bit, i carefully turned the table over and adjusted the legs to make sure they were straight and all resting on the floor without wobbling. the glue bottle worked as a weight to hold them in place while the glue finished drying. the chair was from the dollar store (according to the price sticker still on the back 😉 ) and really only needed a good sanding to work. i wish i’d grabbed a couple of them, but i’ve had this one for several years and can’t get any more. i don’t know why i only chose to get one in the first place?

table stain
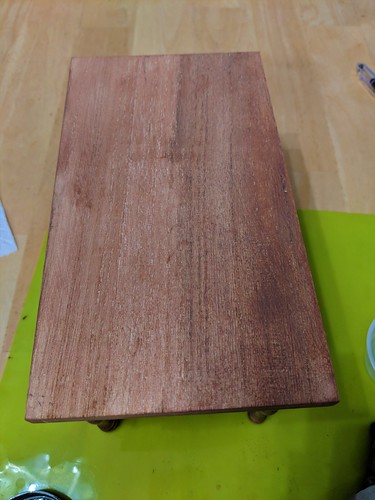
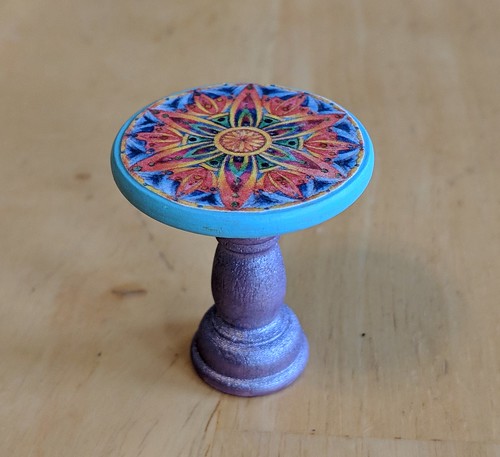
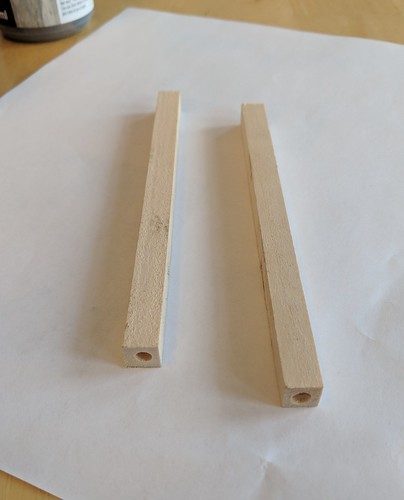
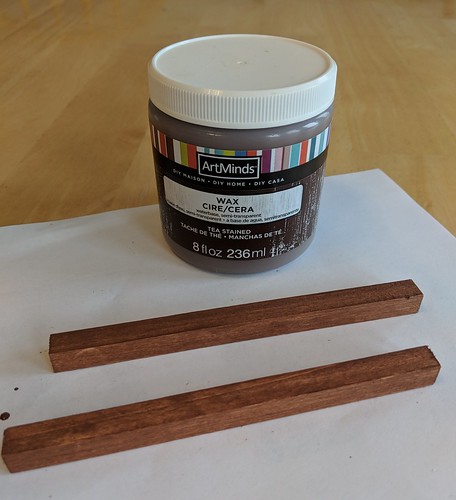
first i stained all the pieces with a reddish brown. it goes on pretty solid then is wiped off with a damp cloth to lighten up and let the wood grain show through. after it dried i rubbed on a very light coat of barn wood grey to get a more aged look to it. you can see the original color on the left, the final color on the right. i still need to seal it with a light coat of matte varnish. a child’s desk/chair, in my experience at least, is seldom clean and shiny!

table and chair finished
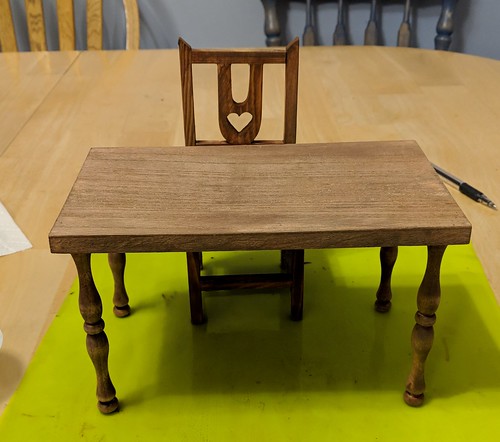
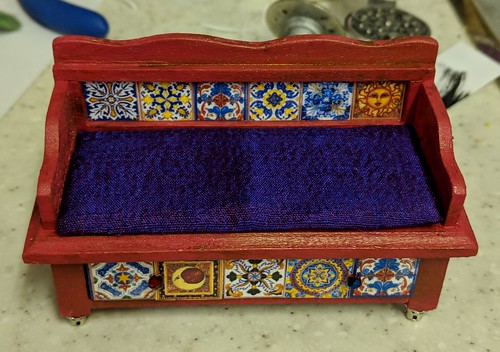
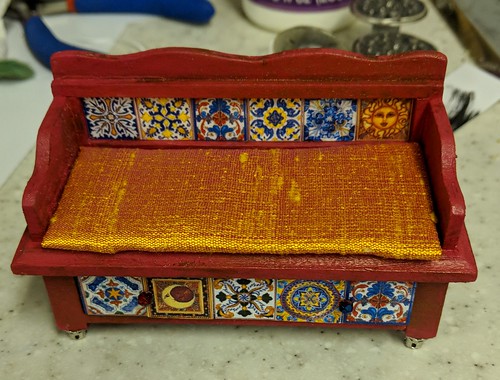
and the finished project.

writing a paper
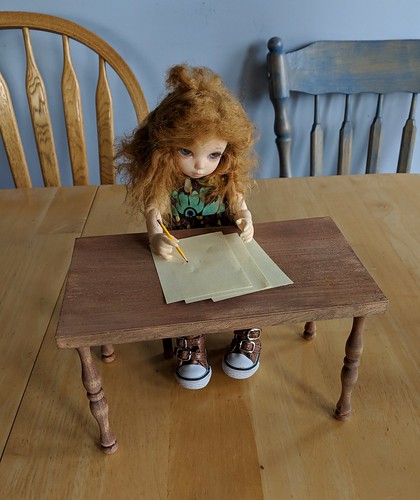
eilidh immediately tried it out to write her english paper.

more finishing touches, tins and bottles

  • Posted on September 24, 2018 at 8:29 am

another quick project. i had some small wooden cubes and left over square doweling and decided to make some “tins”.

more finishing touches
i cut the dowel just a smidge longer than my labels, painted them all silver, then glued on labels. 4 sides and the top sides for the cubes, 4 sides for the rectangles, plain squares on all the bottoms and also the tops of the rectangles to make them smooth. the one turquoise rectangle got patterned top and bottom instead, just cause i had leftover tile that matched.

more finishing touches
once the glued dried i first set the paper with modgepodge, then painted all the plain paper silver again. voila – tins! the extras will go in the kitchen of the house i am planning next.

more finishing touches
here they are on the shelve with some tiny bottles i picked up a few years back, and found again while cleaning 🙂 they are all stuck on with fabric basting glue. hopefully that will hold, but be removable later if i find something else i’d rather use. we shall have to see if it works….

awn again off again

  • Posted on September 23, 2018 at 1:25 pm

i know that’s a bad pun, but i couldn’t resist 🙂
i thought  you said you were cleaning?
if you look way back to the original awning it was cute, but the colors were just too pale for my refurbished caravan.

awning repainted
so i painted it with more of my metallic blue/teal mix then aged it with copper and brown to get the rust back. it is a much better color now. i like how the original colors show through as just a subtle striped effect

awning on
i like the way it looks, but unfortunately it blocks too much of the light, making the interior too hard to see. since i really like all the details on the inside and want them more visible, the awning is off again. i may try it on the back side, or just use it for a completely different, and as yet unplanned project, maybe a little shop? 🙂

bench cushion

  • Posted on September 22, 2018 at 11:11 am

i decided my bench needs a bit of cushioning for travelling over rough bumpy roads.

bench pillow 1
i’m making glued ones since i wanted something fairly thin and flat. first i cut cardstock and trimmed till just a tiny bit smaller than the bench to allow room for the fabric to fold over. then cut pieces of flannel the exact size and glued them on.

bench pillow centered
the fabric is pieces of silk dupioni i cut for bed pillows and didn’t use. luckily they were perfect size for this size. all three are iridescent with a different weft and warp. i placed the cardboard/flannel combo on top but didn’t glue it.

bench pillow bottom
i glued the first edge and folded it over, then glued the long ends and folded them over as well tucking the corners in slightly so they don’t show

bench pillows top
and finished!… took me less than 15 min start to finish. most of that time was making sure the cardstock was a perfect fit. it took longer to do this blog post than it did to make the pillows!

now i just have to decide which one to use, though i may just tuck the spares away and change them up depending on what clothes the ‘pukis wear.
which color do you like best on this?

bench pillow red blue
red/blue
bench pillow purple red
purple/red
bench pillow gold pink
gold/pink

this is a table?

  • Posted on September 21, 2018 at 7:02 am

the best laid plans…
i was ready to work on my table.

bench start
i wanted some extra storage so decided to use this writing desk, instead of just a plain table.

bench cropped
the only problem was it was too big. realpuki’s are probably more of a 1/16 scale than the standard 1/12 so once again i needed to mod. i cut the legs off, planning to shorten and reattach them, but then liked the look and decided to make it into a bench instead.

bench and tiles
i decided to cover the front of the drawer and the rectangular section of the back with tile. so first i picked some tiles from my “tile file” and carefully resized them. since i don’t find the ruler on the word doc, terribly useful, i did up a couple of trials on the same page, then printed them off in grayscale on plain paper first. once i had the sizes perfect (the drawer is a bit wider than the back so i needed two sizes), i deleted the wrong ones and re-printed in color on cardstock. lastly i set them with a couple coats of clear spray varnish. i am extremely grateful that my dh decided to make a workshop in the garage last year, so it is heated and he added an exhaust fan for when i paint. now i don’t have to wait for nice weather!

bench painted
while the tile was drying i painted the bench. red for main, blue for drawer, then aged by dry brushing with antique copper. (i later painted the whole drawer blue so it wouldn’t show plain wood when my ‘puki’s leave it open.)

once the tile was dry i cut out each one individually. then a played around with them till i liked both the combo and the order before gluing them down.

bench drawer
here is the front drawer tiled. the holes were in the wrong place to attach the original drawer pulls, so i just glued on some red/blue crystal beads from my stash

bench bead cap feet
4 bead caps make filigree feet, that raise it to the perfect height

bench done
finished!

bench in situ
and put in place

time to put the wheels back on

  • Posted on September 20, 2018 at 7:27 am

putting on the wheels
first i cut 3/4″ dowels just slightly wider than my caravan, so the wheels won’t rub on the sides. my dh drilled holes in each end just long enough to insert the axle pins

putting on the wheels
next they were stained with one of the many stains in my paint box. i liked this rusty brown the best with the rest of my colors.

putting on the wheels
i glued the axle pins into the axles, then glued the axles to the bottom of the caravan using wood glue.

ladder
while my realpukis are very acrobatic, i decided to make it easier for them to climb in and out. i had this little ladder in my box of spare parts. don’t remember what i was planning to do with it, but it worked perfectly here.

for some reason it was longer on one side on the bottom, and the other on the top? so i evened it up before i painted. to make it a bit safer i took a pair of size 2 sewing “hooks”, bent them into a more useful shape and snipped off the ends. then i drilled tiny holes in the top of the ladder and glued the hooks in. i could have just used wire, but i had the hooks left over after i used the “eyes” elsewhere, and they were the right color. my wire was not. 🙂