the best laid plans…
i was ready to work on my table.
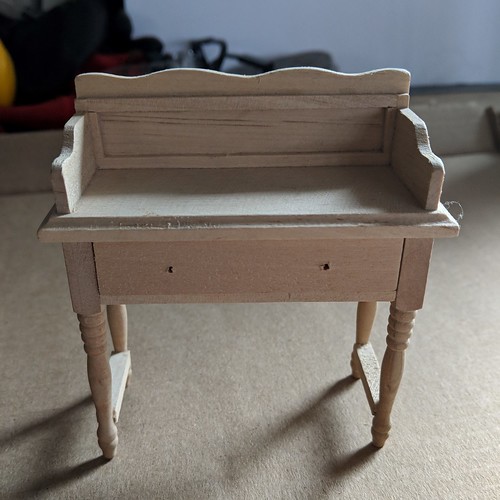
i wanted some extra storage so decided to use this writing desk, instead of just a plain table.
the only problem was it was too big. realpuki’s are probably more of a 1/16 scale than the standard 1/12 so once again i needed to mod. i cut the legs off, planning to shorten and reattach them, but then liked the look and decided to make it into a bench instead.
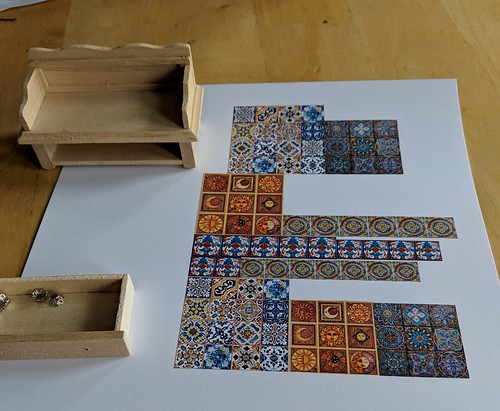
i decided to cover the front of the drawer and the rectangular section of the back with tile. so first i picked some tiles from my “tile file” and carefully resized them. since i don’t find the ruler on the word doc, terribly useful, i did up a couple of trials on the same page, then printed them off in grayscale on plain paper first. once i had the sizes perfect (the drawer is a bit wider than the back so i needed two sizes), i deleted the wrong ones and re-printed in color on cardstock. lastly i set them with a couple coats of clear spray varnish. i am extremely grateful that my dh decided to make a workshop in the garage last year, so it is heated and he added an exhaust fan for when i paint. now i don’t have to wait for nice weather!
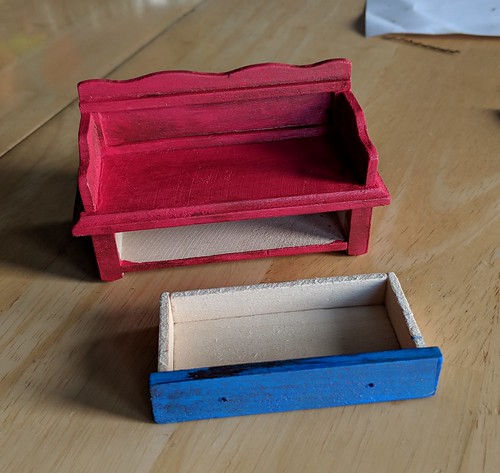
while the tile was drying i painted the bench. red for main, blue for drawer, then aged by dry brushing with antique copper. (i later painted the whole drawer blue so it wouldn’t show plain wood when my ‘puki’s leave it open.)
once the tile was dry i cut out each one individually. then a played around with them till i liked both the combo and the order before gluing them down.
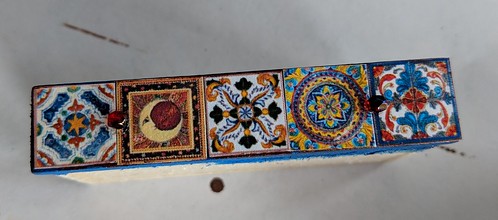
here is the front drawer tiled. the holes were in the wrong place to attach the original drawer pulls, so i just glued on some red/blue crystal beads from my stash
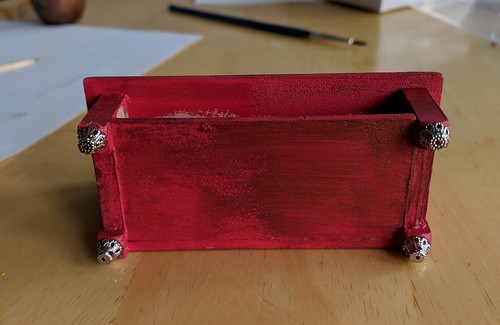
4 bead caps make filigree feet, that raise it to the perfect height

finished!

and put in place
Leave a Reply