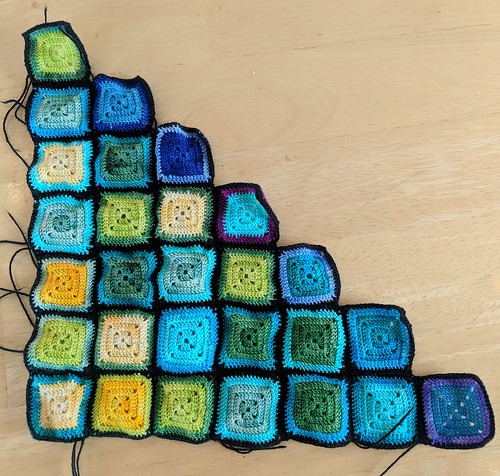
after a surprising number of above zero temps at the beginning of the month, i am now seeing more cold temps and this week stayed in the blues, dipping into the purples overnight
Displaying 91 - 100 of 536 entries.
temperature blanket day 28
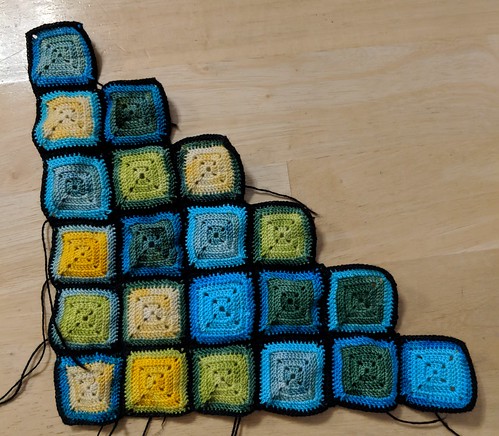
temperature blanket day 21
three weeks in and i’m still on track.
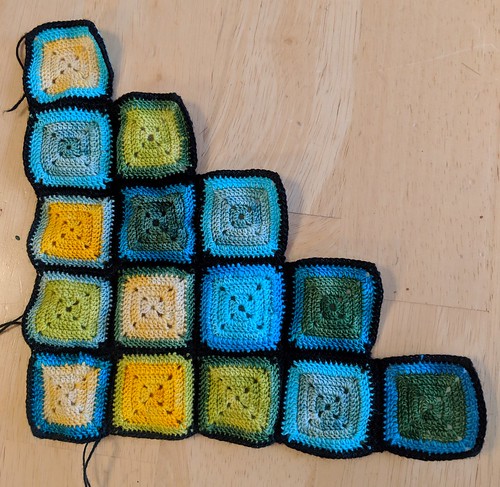
temperature blanket day 15
it progresses.
just over two weeks in
temperature blanket day 10
decided i would post this every time i finish a row. that means it will be pretty often at the start, not so fast as the rows get longer..

so this is day 10 done. i like it so far. though it will need a really good blocking when it’s done i think
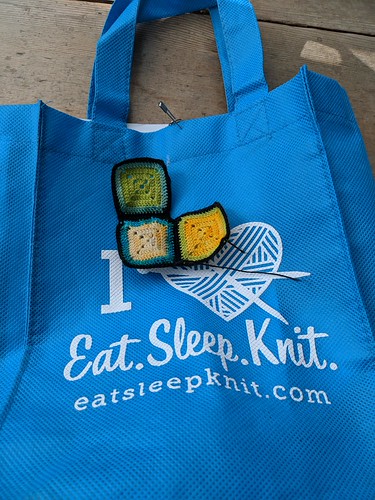
temperature blanket day 3
after much dithering and changing my mind on how to do this, i realized that by only recording the high temps, i would have very few squares with my favorite colors- all those represented by the bottom colors, plus we often have wide temperature changes here, and i wanted to somehow show how great the change was in a single day. so i am doing the middle three rows as the high, then a 4th row as the low for the day, surrounded by a sc row of black. the squares with be joined with more black
by crocheting in the ends as i go. that way i should have at most one black end per day to weave in.
here is my final (i think) set of colors and the temperatures they represent. i expanded the range so i could use up more odds and ends of yarn instead of new balls.
28+ tart (prairie)
26-27 ravelry red (malabrigo lace)
22-25 fuscia (malabrigo lace)
18-21 neon pink (prairie)
15-17 cactus flower (malabrigo lace)
12-14 sunset (malabrigo lace)
9-11 sauterne (malabrigo lace)
6-8 butter (malabrigo lace)
3-5 applegreen (malabrigo lace)
0-2 water green (malabrigo lace)
-1 to -2 verde adriana (malabrigo lace)
-3 to -4 sapphire green (malabrigo lace)
-5 to -8 button jar blue (prairie)
-9 to -12 nassau blue (prairie)
-13 to -16 cian (malabrigo lace)
-17 to -19 azul bolita (malabrigo lace)
-20 to -22 jewel blue (malabrigo lace)
-23 to -26 wino forever (prairie)
-27 to -30 jacinto (malabrigo lace)
-31 to -35 periwinkle (malabrigo lace)
-36 and below natural (malabrigo lace)
yarn usages
2 daily highs to 1 gram
3 daily lows to 1 gram.
5 black edgings to 1 gram
here is the first three days, sitting on top of my carry bag. this is my absolute favorite project bag, it is the perfect size and was a prize from a previous eatsleepknit yarnathon.
swatch/blanket
i crocheted up one square in each color to check that the gradient was fairly smooth.
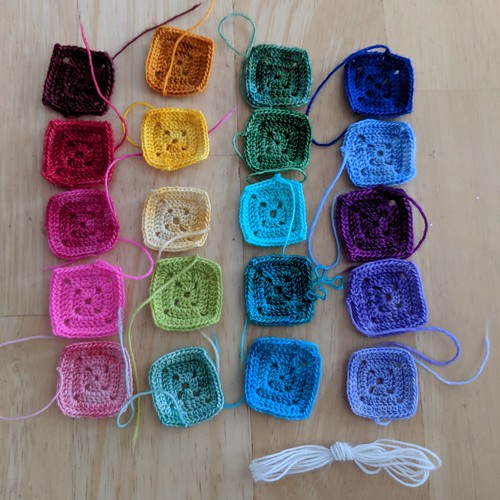
then i tested the concept of alternating with white squares.
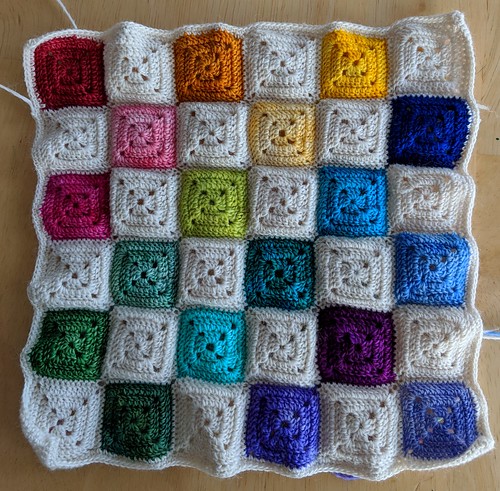
i ran the colors on the diagonal rather than in straight lines. that made it easier to crochet together but alternating squares means i really need to have a whole row finished before i put them together. that is fine for a regular blanket but not great for a temperature tracker. i didn’t want to waste the swatch though, and this yarn is almost impossible to frog, so i added a border and it will work as a little blanket for a pukifee
a new year a new plan
continuing to work on my great craft purge, i’m planning to make this the year of the yarn stash buster. i added a lot to my stash last year. (esk has too many gorgeous yarns) but this year i need to start using it up. i’m still planning to do the yarnathon this year, but only as far as i can adapt the kals to doll knitting.
today i was going through my queue and my stash to get a rough idea of what i would like to do. the first batch of yarn i pulled was 14 colors of malabrigo lace or madelinetosh prairie to do a temperature blanket.
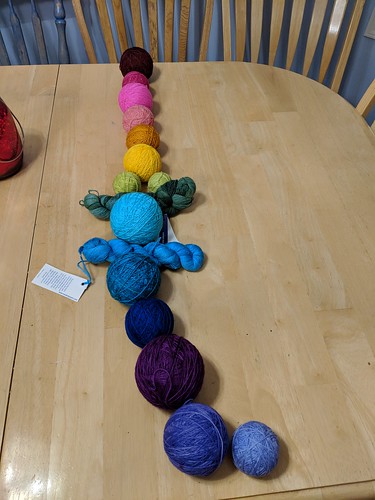
that will give me one color for every 5 degrees of temperature change…
fishing pole!
my realpuki gypsies asked for a fishing pole, so they could catch themselves some dinner, so i went looking for supplies.
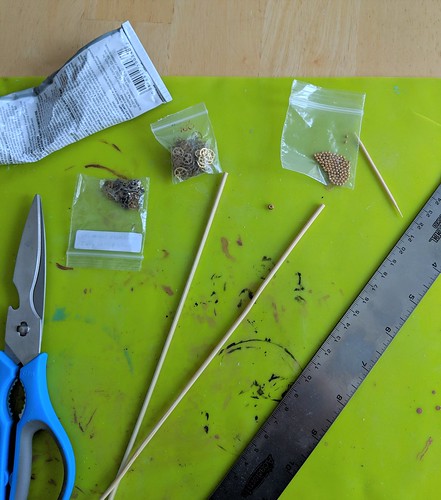
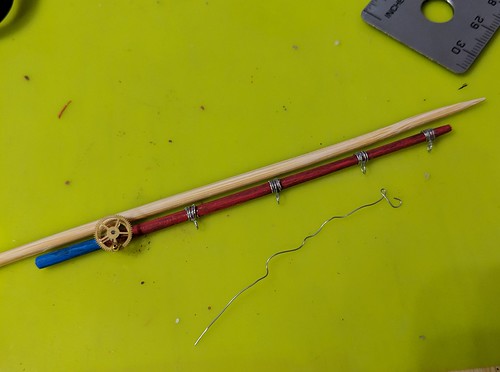
a skewer and some old watch parts, and tiny gold beads seemed like a good start. in addition i got a ruler to check the length, my e6000 glue since i would be gluing metal, a toothpick to apply the glue, and scissors to cut the rod.
the first thing i realized was that my skewers were to thick to be in scale. my ‘pukis wanted a nice light rod, not a heavy stick! toothpicks would have been the right width, but were’t long enough so i went out to the garage to get sandpaper and carefully sanded down the skewer till it was the right diameter. i kept rolling it while i sanded to keep it round.
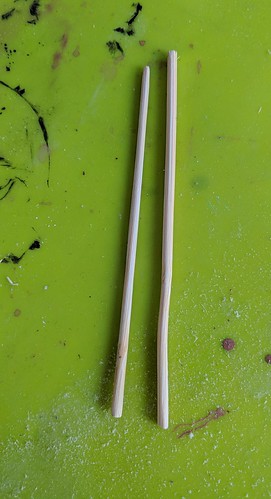
the rod on the right is the original diameter, the rod on the left is how i sanded it down.
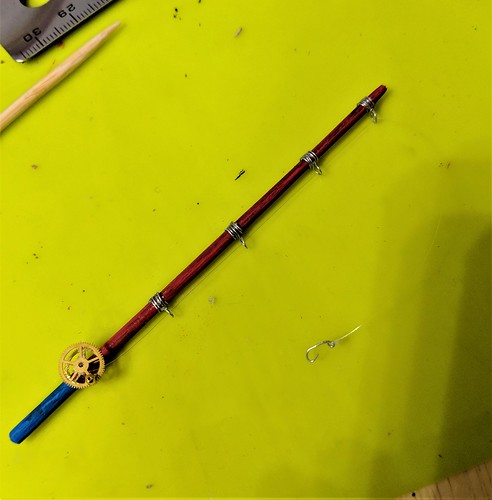
next i applied a thin layer of dark brown to the top, and light brown on the bottom for a handle. when it dried it looked to dark/dull, so i over-painted with red on top, blue on the handle. i forgot to photograph this step, but you can see the colors in the later pictures anyway.
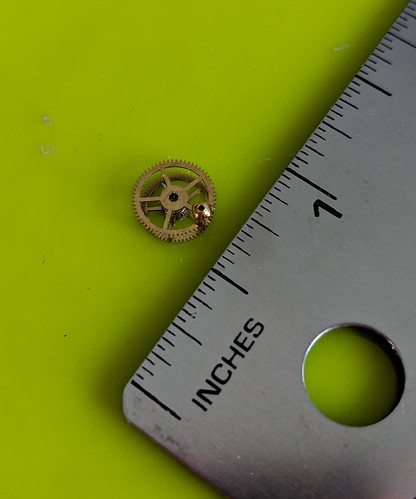
while the paint was drying i made the reel. i picked out two gears for the sides, and a small tube-like gear for the center spacer. i glued those all together and added a tiny bead for the handle.
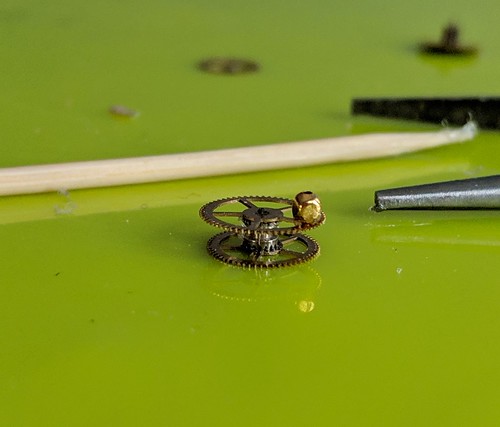
and a side view.
next i went to my craft supplies and got some very fine wire. i would have preferred brass/copper to coordinate with the reel, but all i had was silver tone, and since i am on a craft purge, whenever possible i am using what i have instead of buying new.
i wrapped the wire a couple of times around the rod, twisted it around a toothpick to form a loop, then wrapped it twice more around the rod, and cut off. i did this 4 times to get four loop guides. when i had them all done, i spaced them evenly along the rod, and added a touch of glue to keep them in position. then glued the reel on near the handle and let the glue set. from a small scrap of the wire, i made a fishhook shape.
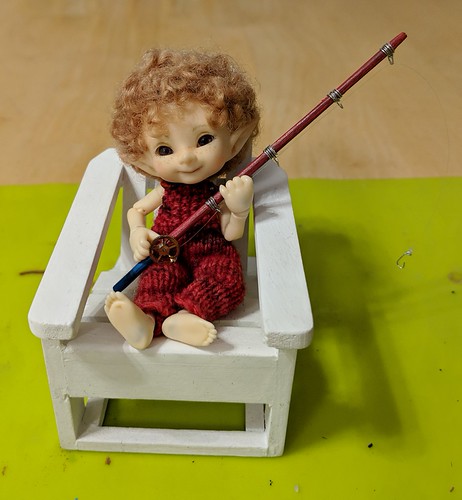
once the glue was set i tied a piece of invisible thread to the hook with a surgeons knot. a dab of glue made sure it wouldn’t come undone. the thread was then threaded through the loops and wrapped several times round the reel. another dab of glue kept it from un-winding. i left the ends intact till the glue set, then trimmed them as close as possible. you have to look really close to see the thread, since it is, more or less….invisible. but the scale looks perfect in real life.
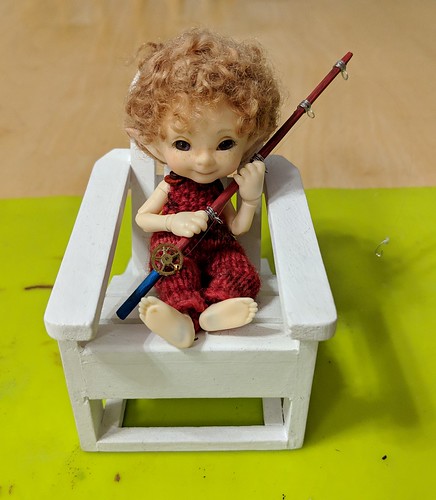
tumnus agrees!
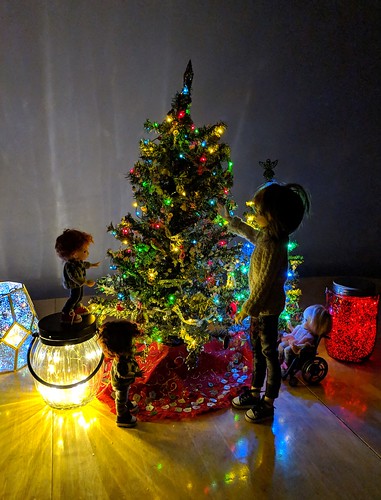
cricket and the christmas lights
cricket posed by the tree to wish you all a merry christmas
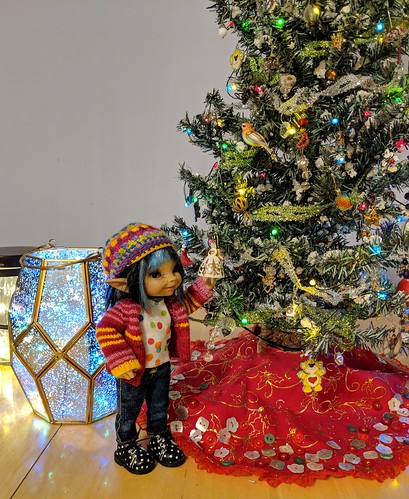
then she discovered the fairy lights!
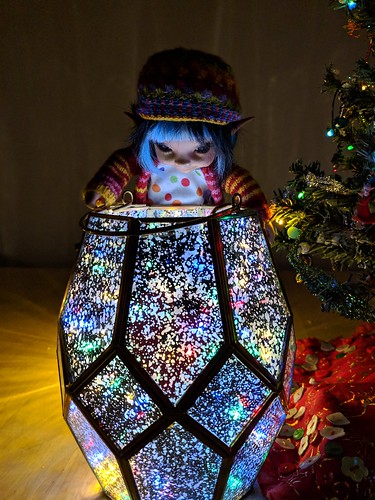
wishing you all a christmas filled with magic and wonder