You are currently browsing the tutorials category
Displaying 41 - 48 of 48 entries.

quick and easy photo lights/light box

  • Posted on February 22, 2013 at 4:12 pm

i got some new “photo” lights for christmas, and tried them out for the first time today. i’m really pleased with how much they improved the picture quality. this is basically untouched (i changed the color slightly- the daylight bulbs weren’t quite right but that was it, normally i do a lot more editing than that) i’m impressed since i picked something really tough to try-really high contrast both in terms of dark/light clothes and the vividness of lucy’s coloring vs the emmie’s delicate tones
lucy and emmie
(lucy is introducing emmie, who is too shy to meet everyone on her own)

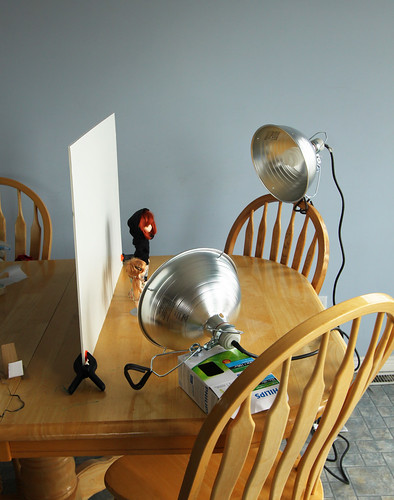
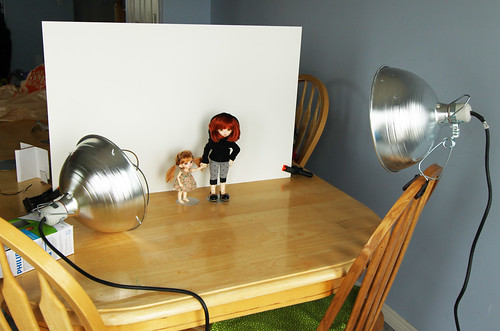
here is my set up. it was pretty simple. a couple of clips from the dollar store hold up the foamcore board backdrop. (an idea i got off an internet tutorial, sorry i can’t remember where) this works so much better than propping it up against a box on the table! it was always sliding or falling over when i did that. the lights are $20 clip on tasks lights from homedepot with daylight twister flourescent bulbs that you can get anywhere!

light set up side

light set up front

the third light source is my window, afternoon sun, midwinter, with the sun above the house – so not super bright, but if i was taking pictures in the evening i would need another couple lights to replace it i think.

i had planned to go the whole light box box route and build movable sides and covers for the lights to get them more diffuse, but it really wasn’t necessary. there are no harsh shadows the way it is, and the covers/lightbox cut down on the light so i would just have to add more. maybe if i got higher wattage lights i would need covers but these ones don’t need it (they are 100w equivalents 21 watts actual i believe)

building a treehouse part 5

  • Posted on August 3, 2012 at 10:12 am

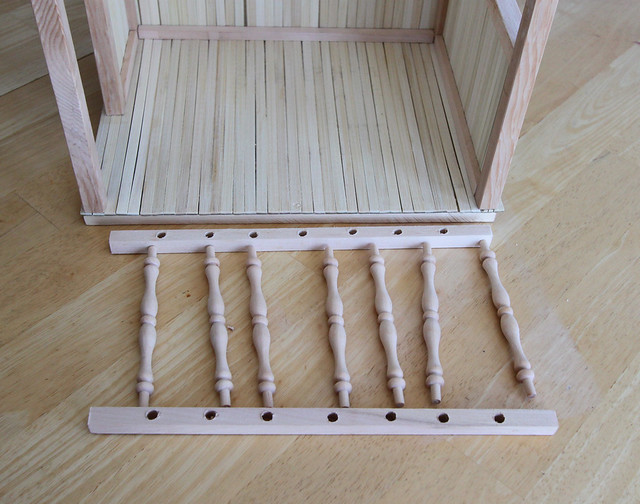
i finally got a few minutes to add the next step to my treehouse – the front railing. first i cut 2 square dowels to fit inside the front support beams. i measured and marked the center point, which in my case was 6 inches (i still alternate between inches and cm depending on which is easier or works better) then i drilled a hole for the spindle pinion (at least i think that’s what it’s called) the first hole was too small but worked great as a pilot hole for the bigger one. next i figured out the spacing for the other 6 spindles. that turned out to be a perfect 1-1/2″, easy! 🙂 i drilled those too and once i realized the holes had to go all the way through the dowel i placed the second under the first while drilling and got perfectly spaced pilot holes in my second dowel and none in my counter, bonus! 😉 for the second dowel i used scrap wood underneath to protect the counter. here is the result.
treehouse 20

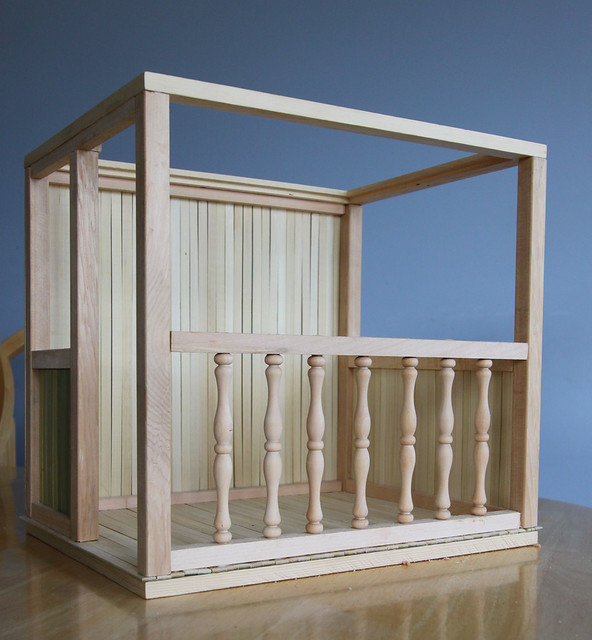
next i glued the bottom dowel to the base and weighed it down so that it dried flat. once the glue was dry i glued all the spindles in place, top and bottom and then glued the top of the railing at the ends. so it now looks like this.
treehouse 22
i just have to sand the top of the railing since the pinions came through in a couple of places then add my balsa veneer.

building a treehouse part 4

  • Posted on June 12, 2012 at 4:09 pm

so as i planned last session i glued support beams across the back to straighten out the slats. it does that very well, but since i didn’t plan it out it looks unfinished now. good thing i never really expected this one side to show. if i was doing it again i would make this like the side walls and sandwich the slats between the flat beams at the top and bottom, recessing it to allow the back beams to be flush with the side pillars
treehouse 15
you can see that the slats are much straighter now. i pressed them really flat with a stack of heavy books till the glue was firmly set.
treehouse 17
once the glue on the back wall was hard, i finished the side walls as i said above by gluing slats between 2 narrow strips of wood, top and bottom. i thought at first i’d have to paint the wrong side since they have a greenish coating, but it ends up just looking like weather treated lumber so i’ll probably leave it. the stairs will go up to the open doorway and the last side will have a railing instead of a wall to let more light in
treehouse 19
this shows the slats sandwiched between two beams from the top. i need to figure out how to finish that edge. the large beams are wide enough but they look too bulky, and the narrow beams aren’t wide enough. i need something wide and flat, almost like a veneer or something.

next step will probably be to get a cutting board or similar chunk of wood for the base, cut the tree stump and build the stairs.

building a treehouse part 3

  • Posted on June 10, 2012 at 12:29 am

i got the back wall done. i glued small square dowels to the top and bottom of the frame and then trimmed the skewers the right length before gluing them on. it’s a good thing i didn’t make the wall any higher or i would have had to piece it. the skewers were just long enough to fit. i really lucked out there since i didn’t think to check before making the frame. i think i need to glue a crossbeam across the middle of that wall to even out some of the warping. i picked the slats that were the straightest end to end, but didn’t check for bowing.
treehouse 14
noah insisted on helping, but was so tired towards the end he fell asleep.

miniature clothespin rocker

  • Posted on June 9, 2012 at 3:33 pm

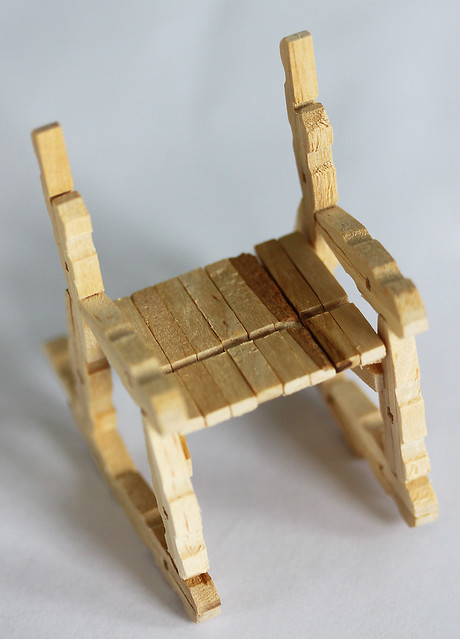
i took a short break from the treehouse to make a rocking chair from clothespins and woodsies match sticks for my real pukis. it’s a variation on a clothespin rocker i’ve seen posted in several places, but i switched out some of the clothespin pieces for woodsies to make it more symmetrical, so i thought i would post a quick tutorial.clothespin rocker 10
smidge is graciously modelling without her hair since otherwise you can’t see the chair at all 😆
clothespin rocker 1
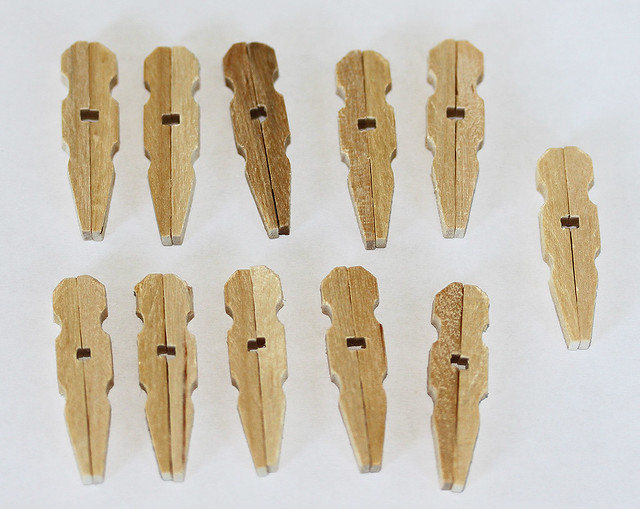
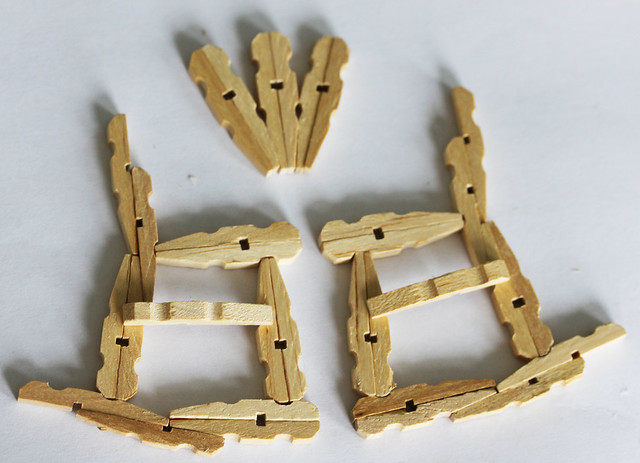
first remove all the springs from 24 miniature clothespins then glue 11 sets together back to back. i used aleene’s fast tac glue since it sets fairly quickly and dries really hard and clear.
clothespin rocker 2
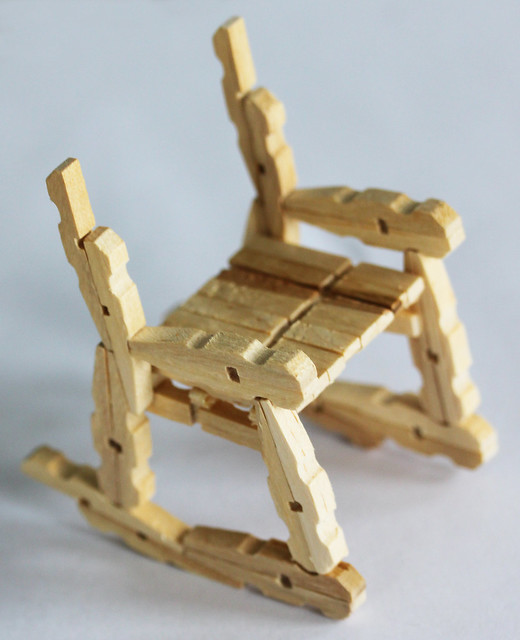
following the picture glue three sets together for the chair back and the rest together as shown for the sides. (you will also be using 10 half pins to finish up the sides.) make sure the sides are mirror images of each other and that the crossbar is the same height for both sides.
clothespin rocker 3
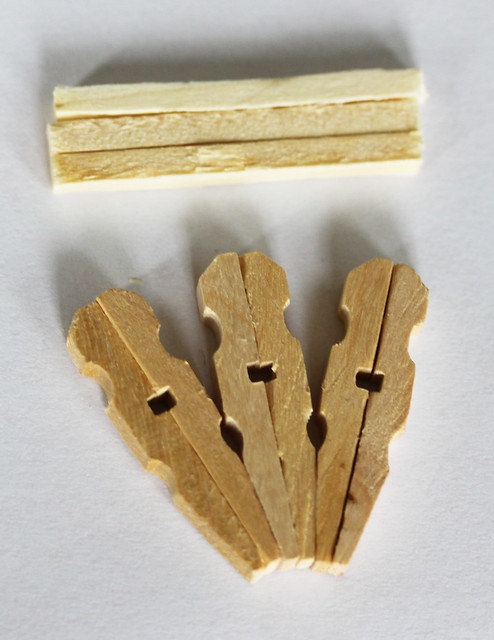
cut three “woodsie” matchsticks the same length as the width of the widest part of the chair back. these will be the seat supports
clothespin rocker 4
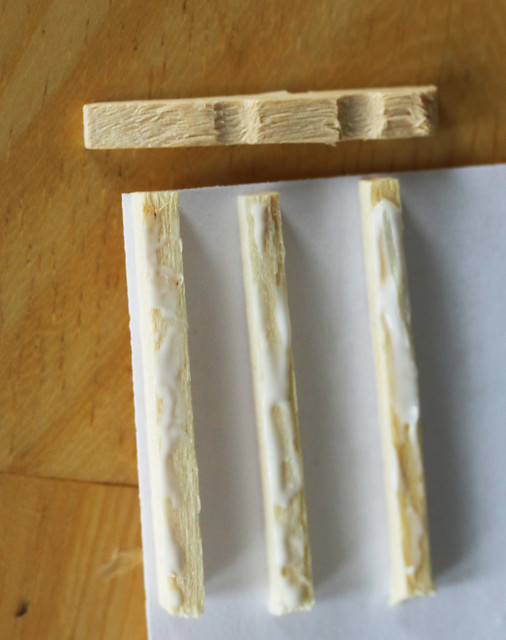
i lined the seat supports up on the corner of a piece of paper to make sure they were squared properly. two should fit in the dips of the clothespin and the third almost at the thinest part of the end. run a line of glue down each wood strip
clothespin rocker 5
cover your wood strips with clothespin halves. mine took 8 halves for this size but a larger size only took 5.
clothespin rocker 6
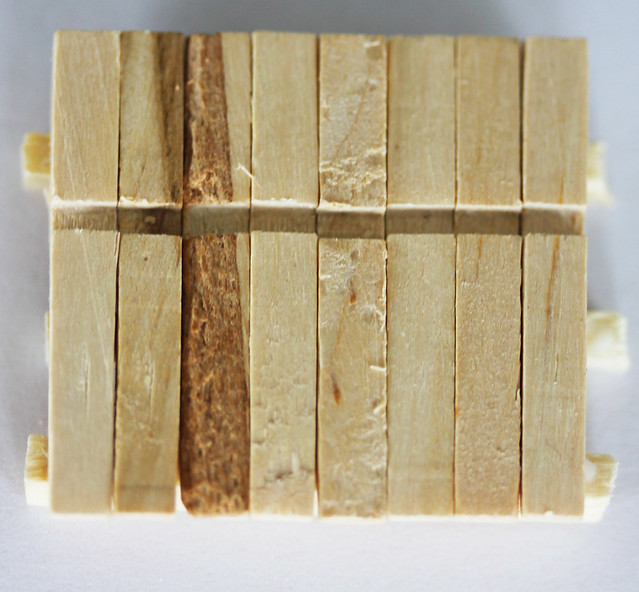
turn the sides so that the crossbars face in and glue the seat on
clothespin rocker 7
another view of how the seat is attached
clothespin rocker 8
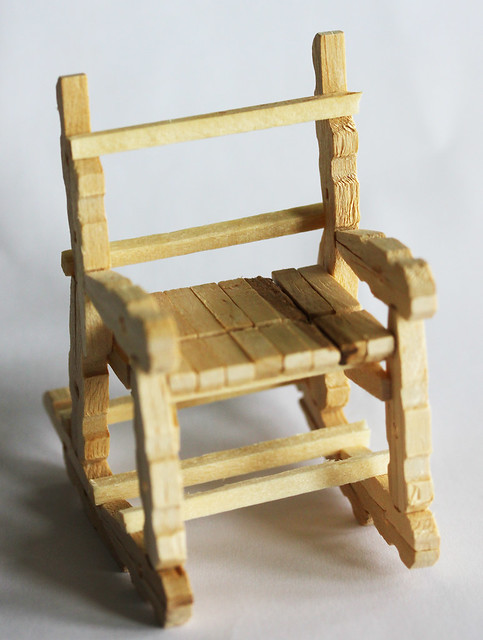
cut 5 woodsies long enough to reach across the frame. you will be putting the seat back pieces on the natural ledges formed by the clothespin ends. one on the front, one on the back. (if that doesn’t make sense let me know and i’ll try and take another picture. the other 3 brace the rockers. two inside the legs and one across the back right against the legs.
clothespin rocker 9
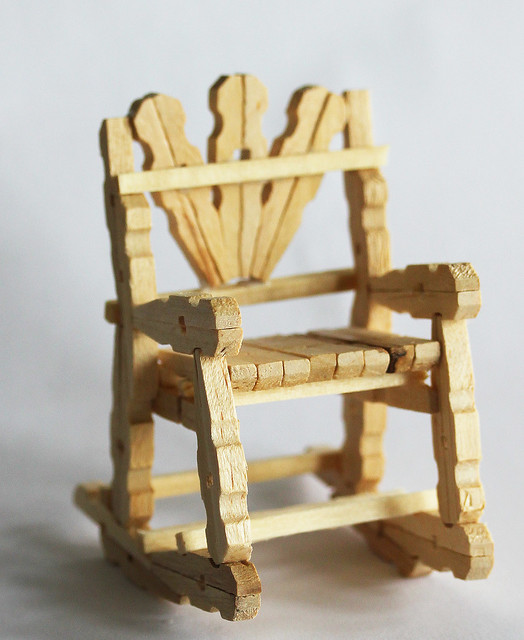
last glue the seat back in place. the should just touch the outer uprights and rest on the lower seatback brace. gluing it to the upper brace though is what really holds it in position. and now your chair is done.

you can make it with larger clothespins for larger dolls but you will have to get bigger wood for the braces as well.

have fun and if you want to show yours off, feel free to post a link :o)

building a treehouse part 2

  • Posted on June 9, 2012 at 2:14 pm

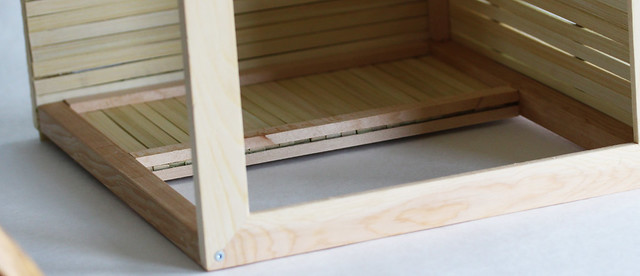
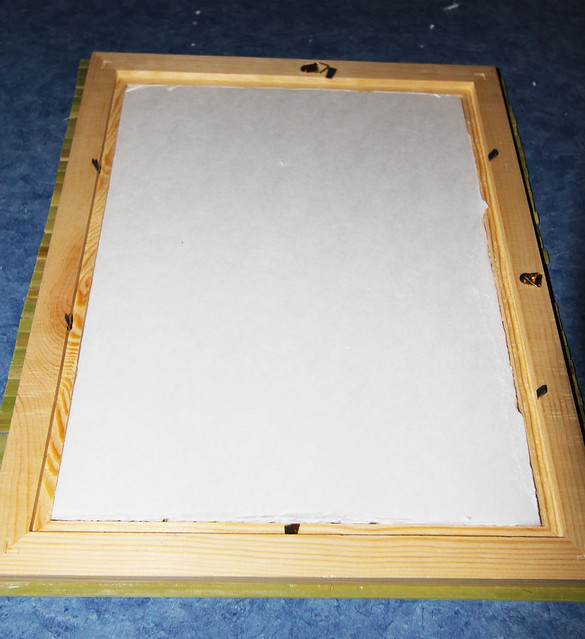
i finished up the base by cutting a piece of foamcore to fit in the hole of the frame,then glued it down. you can see it fills the space pretty exactly. this is so neither the flooring or the base will bow when i attach the tree stump
treehouse 9
then i added back the hardboard backing and glued this to the foamcore, using a stack of books as weights to hold it all flat as the glue dried.
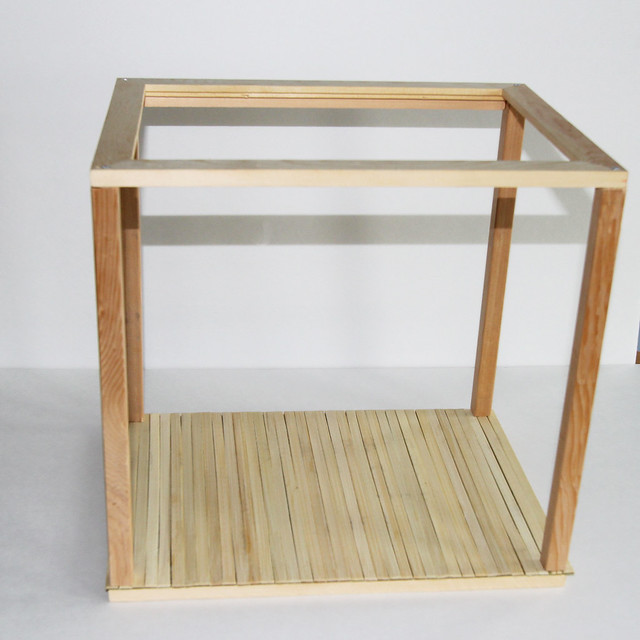
i trimmed the boards so that they were close to the frame, then cut 1/2″ square strips of wood 11-1/2 inches long for the side supports. i first attached them to the corners of the second frame then the corners of the floor. i tried screwing them in but didn’t have the right size square head attachment for my drill so ended up drilling holes slightly too small and then hammering the screw in. odd but it worked.
treehouse 12

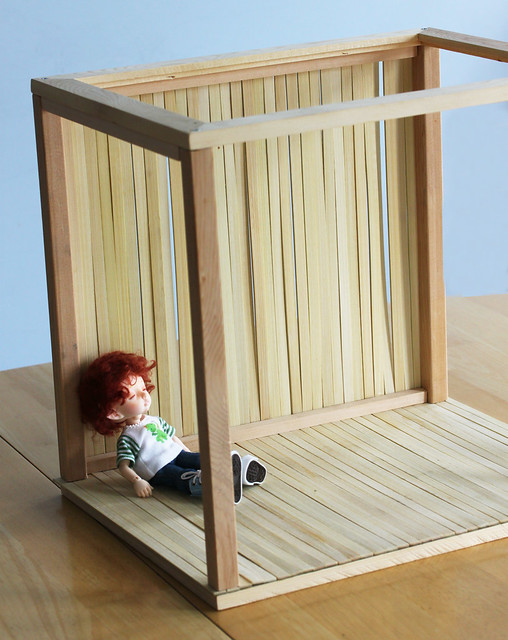
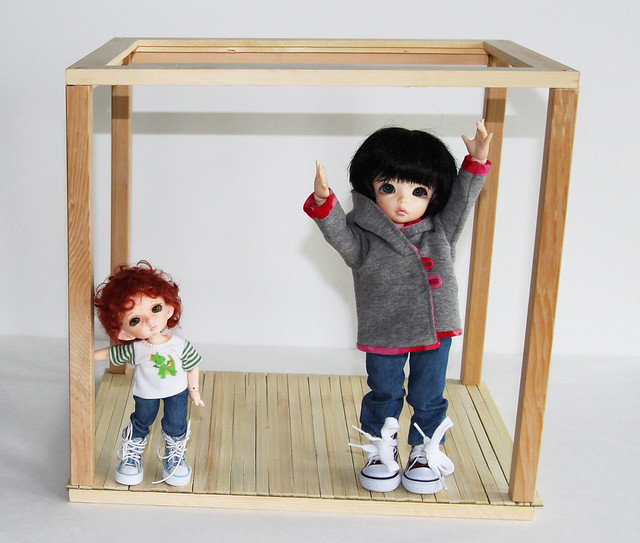
here kiri and noah demonstrate the size. i probably could have made it a smidge shorter, but the proportions are nice this way so i’m happy with it.
checking it out

building a treehouse

  • Posted on June 2, 2012 at 7:51 pm

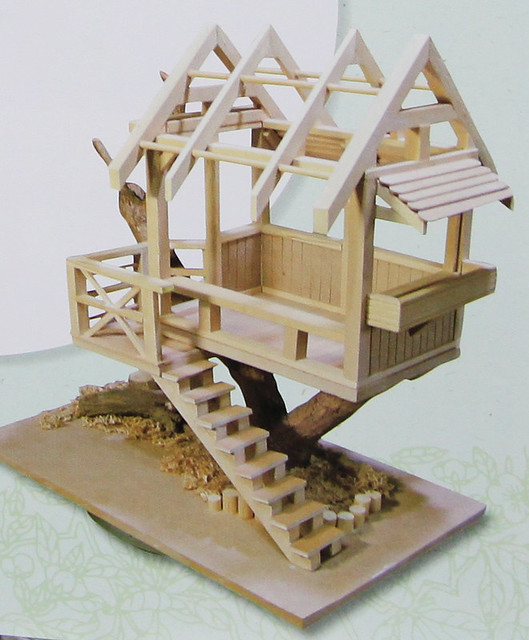
i have several large bushes with severe die-back from a storm, and that combined with this picture from a japanese mook, treehouse 1inspired me to make a treehouse for my tinies.

of course being me i’m not sure the house will be recognizable by the time it’s done and it has already grown from just fitting my realpukis to being big enough for my pukifees and littlefees to play in. i promised the rps a smaller one later. anyhow i thought it might be interesting to chronicle how i made it as possible inspiration for someone else or just for my own interest 😉

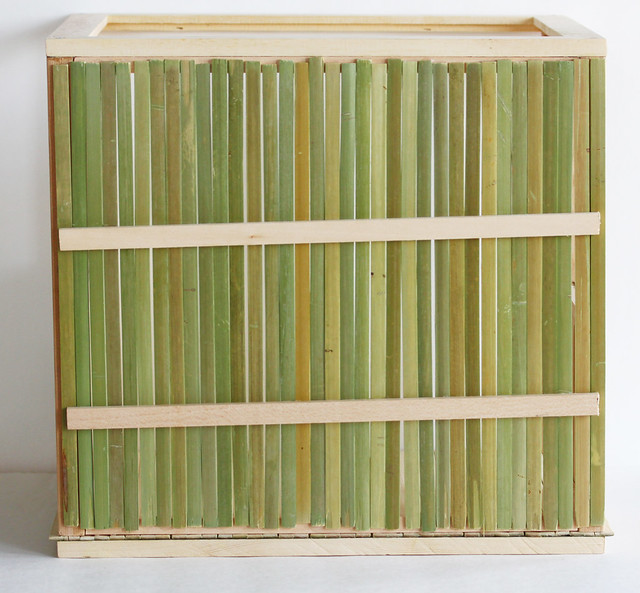
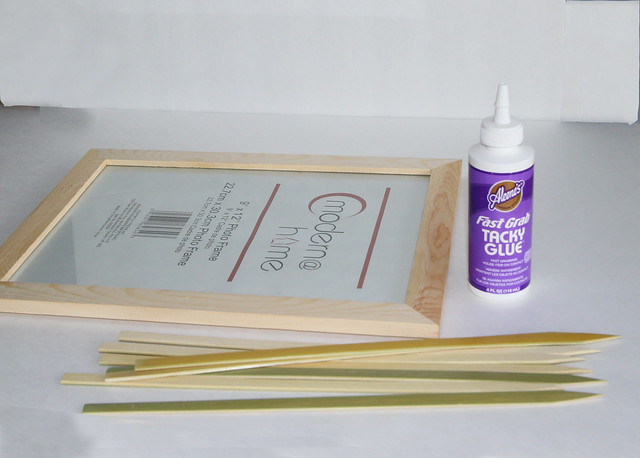
i found some great flat frames at the dollar store to use as the floor and roof supports, and flat bamboo skewers to use as planking.
treehouse 2
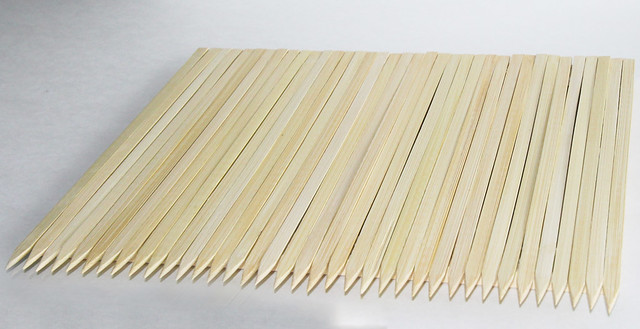
i glued them down in sections, periodically checking that they are staying reasonably straight, the skewers themselves aren’t perfectly straight – though i did discard the really warped ones – so i’m planning to make it look as though a child helped build it.

here is the floor laid down and glued in sections (just ’cause my weights are too small to do it all at once.) i’ll be cutting the points off later
treehouse 5

last picture today is of the “weights” holding the wood as flat as possible t omake good contact while the glue dries
treehouse 7

crocheted lace skirt tutorial

  • Posted on April 9, 2011 at 12:37 am

(this tutorial is picture heavy and might take a while to load)

i just finished making 2 of these lace skirts with crocheted waistbands, and thought it would be fun to share how i did it.  it was so quick and easy that you can have a cute skirt for your bjd in just a couple of hours or less (depending on how fast you crochet)

first off you need to gather your supplies. i used about 1 meter/yard of 12.5cm/5″ wide lace, a small amount of bamboo lace yarn, a piece of elastic 3mm/1/8″ wide and long enough to fit over your girls hips with some overlap and a 1.00mm crochet hook (us size 11/12). that was enough to make a nicely gathered skirt for an msd sized bjd.  for a sd sized doll i would use 1.3-1.5 meters of lace  any width you deem appropriate.

ok, off we go….

starting at one end of the lace with the right side towards you, crochet single crochet along the top edge.  i went down about 3mm or so to catch enough of the lace to keep the stitches from ripping out. i also crochet over the yarn end so i don’t have to sew it in later.

crocheting the first row

this particular lace had a narrow woven in thread to reinforce the top, but my other skirt just had a cut edge.

try to keep your stitches at least roughly, evenly spaced apart, so that the later gathering is even, but you don’t have to be too exact.  i didn’t count the holes by any means, just kind of eyeballed that it was about the same. the other thing to watch out for is that your stitches aren’t too close together or the waistband will be too bulky. i gathered it in ever so slightly with my stitches.

continue on till you get all the way across.
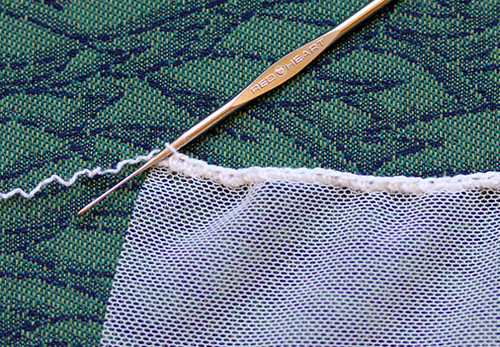
finishing row 1

this is your longest row.  it gets shorter from here.

when you get to the end, bring the lace around to form a loop, being careful not to twist it.  stitch a join to the beginning of the row. if you like you could sew the lace edges together by hand or on your sewing machine before you finish that first row.
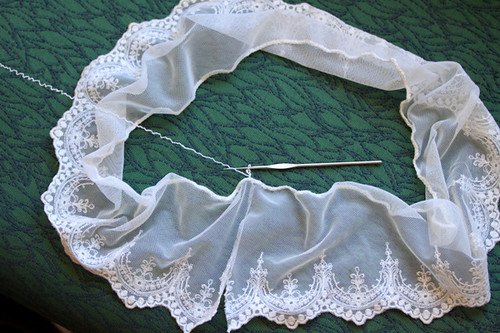
starting row 2

now we start to decrease. crochet 2 stitches together all the way around.
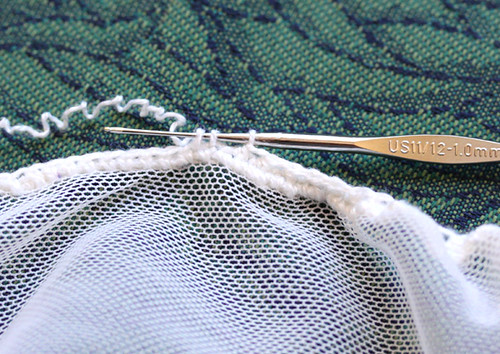
decreasing stitches

repeat until the skirt opening is just a little bigger than your girls hip. for this skirt i did two rows of decreasing every stitch and one row of crochet two together then 1 stitch plain, all the way around.  it will all depend on how many stitches you made on the first row, and how long you cut your lace, what your decrease pattern will be.
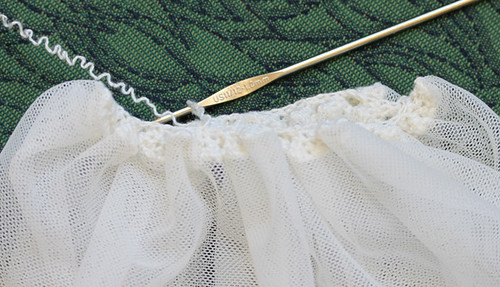
rows 2 and 3

now it’s time to add the elastic.  you can do this one of two ways.  the first skirt i made, i stitched one double crochet chain one, in each single crochet of the row below.  then i threaded the elastic over and under each double crochet all the way around.

the second skirt i thought, there has to be a faster way, so i tried the following;

chain 4  in the first stitch of the last row of single crochet (counts as 1 dc chain 1). place your elastic under that stitch. going under your elastic, dc chain 1 in next sc.  continue stitching around, alternating 1 stitch on top of elastic, next stitch under, till you get to the end.  your last stitch should go under the elastic, then flip the end of the elastic back  under the first stitch so it stops and starts in the same hole.  join your thread in the third chain of that first stitch and fasten off.
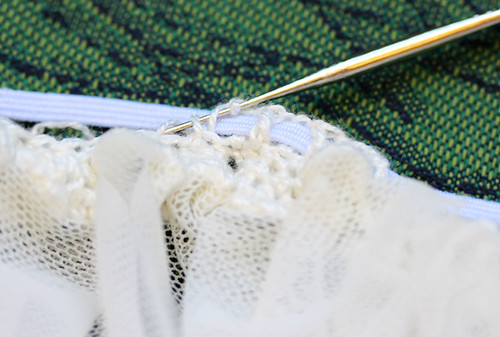
adding elastic

pull your elastic in until it just goes around your girls hip if you stretch it a bit.  overlap the two ends, cutting off any excess, and stitch together.
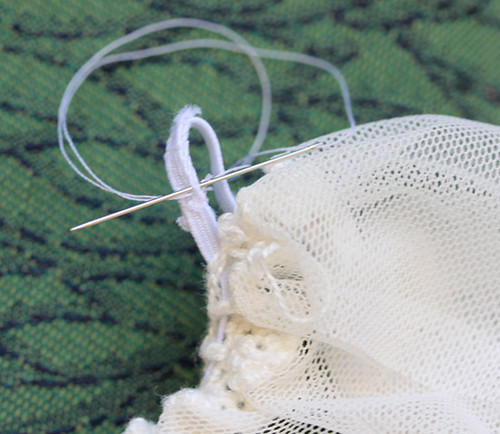
sewing elastic

sew the yarn end(s) in and, if you want to, hand stitch the lace edges together.  i made my skirts in a hurry while sitting in a hotel room so quite frankly i didn’t bother.  i just put the cut edges at the center back when i wore them for pictures and with all the gathers it didn’t show at all.
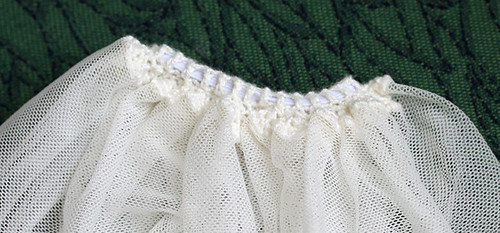
finished waistband

this is what your finished waistband should look like.
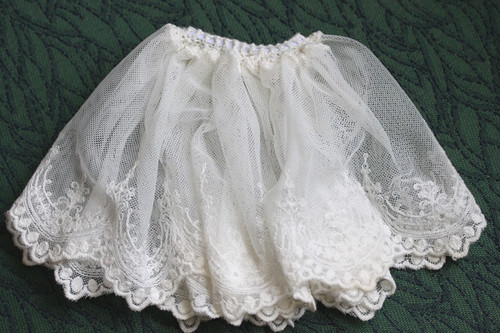
crochet lace skirt finished

and your finished skirt.  now wasn’t that easy?