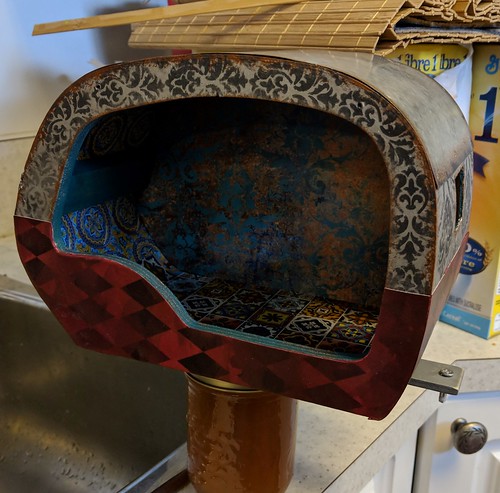
so i decided that while having that big opening let in a lot of light, it also severely limited what i could do on the inside. so today is operation wall close.
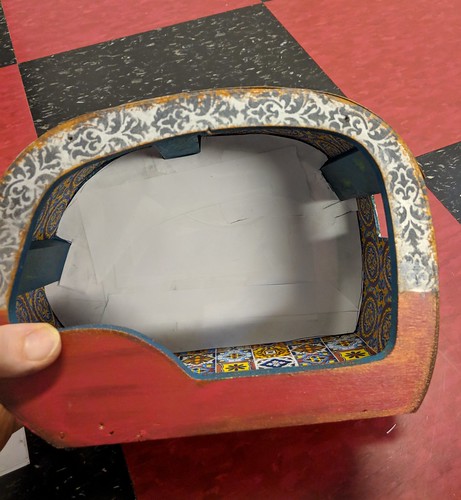
first i had to create a pattern for the inside wall. i cut and added, taped and refit, till the pattern was perfect. this will be recut from printed cardstock
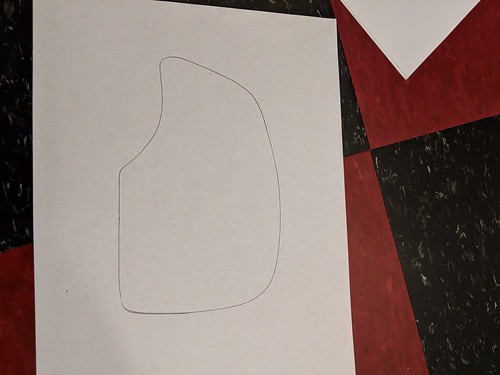
the other side was easier, i just flipped it over and traced. then used this to cut a piece of foam core board. that will add stability and thickness to the wall. i will also use the same pattern to cut the outer wall.
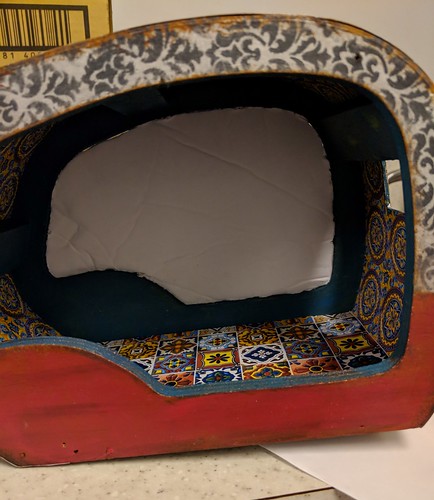
and here you can see the foamcore stuck in. it’s not perfect, but close enough, since it will get completely covered anyway.
my printed wall fits pretty much perfectly.
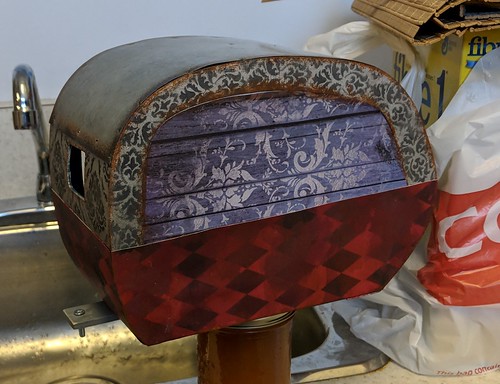
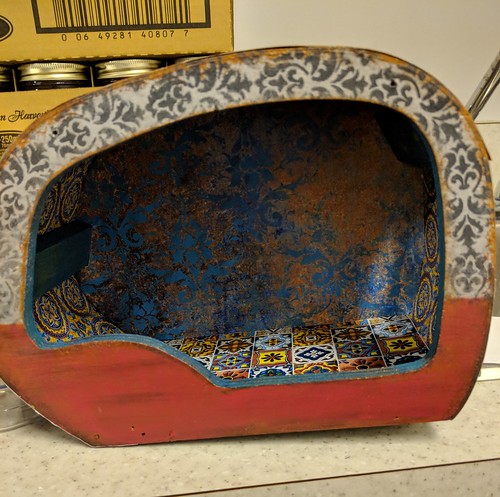
this was a bit of a miss. i altered the color on a jpg of wood i had, trying to look like the window is boarded up. i trimmed carefully to get a perfect fit. but didn’t realize till i added the bottom layer that leveling the wood from top to bottom makes it right at the top, but wonky at the bottom, sigh. i’m still deciding whether to leave it because it will usually be in out of sight, or try and do something to fix it? but what?
please ignore the mess in the background. the downstairs kitchen is on my list of places to clean/tidy, but i probably won’t get to it for a long time as it is far down the list, since very few people see it.
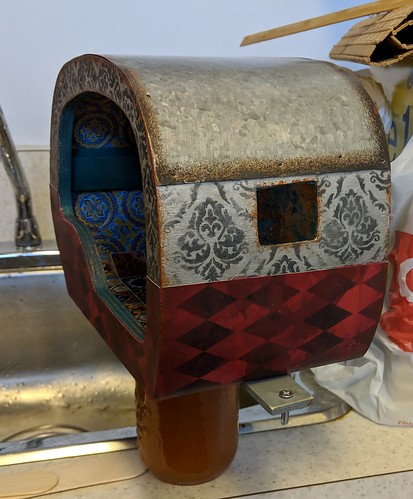
alternate views of the bottom half. i like the way they look…. and aren’t jam jars useful?
Leave a Reply